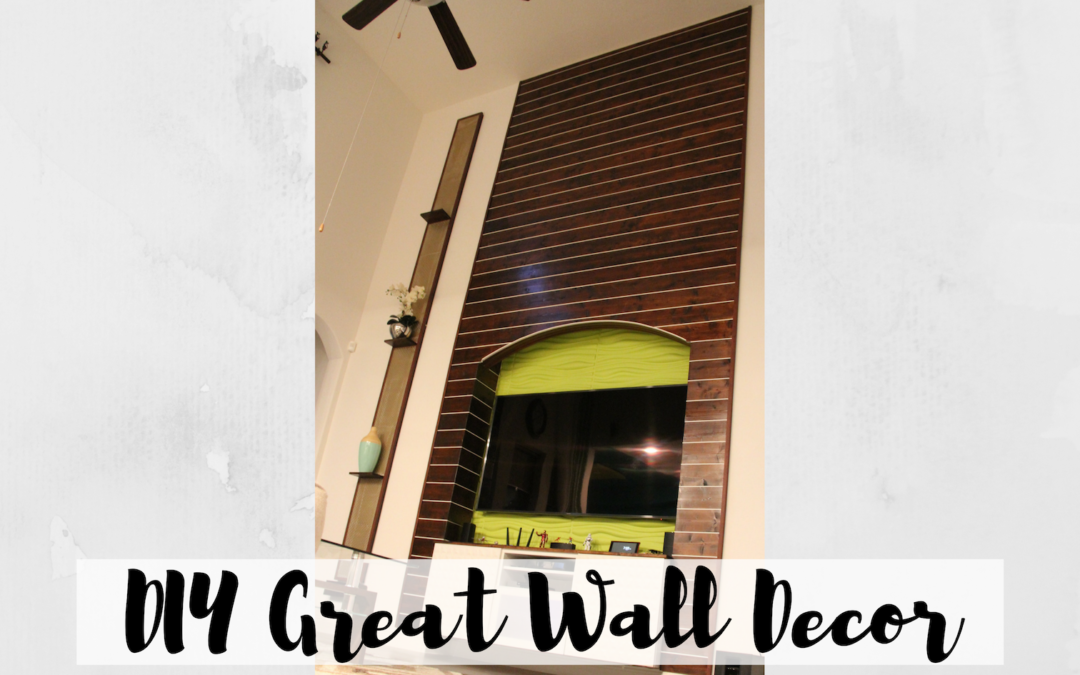
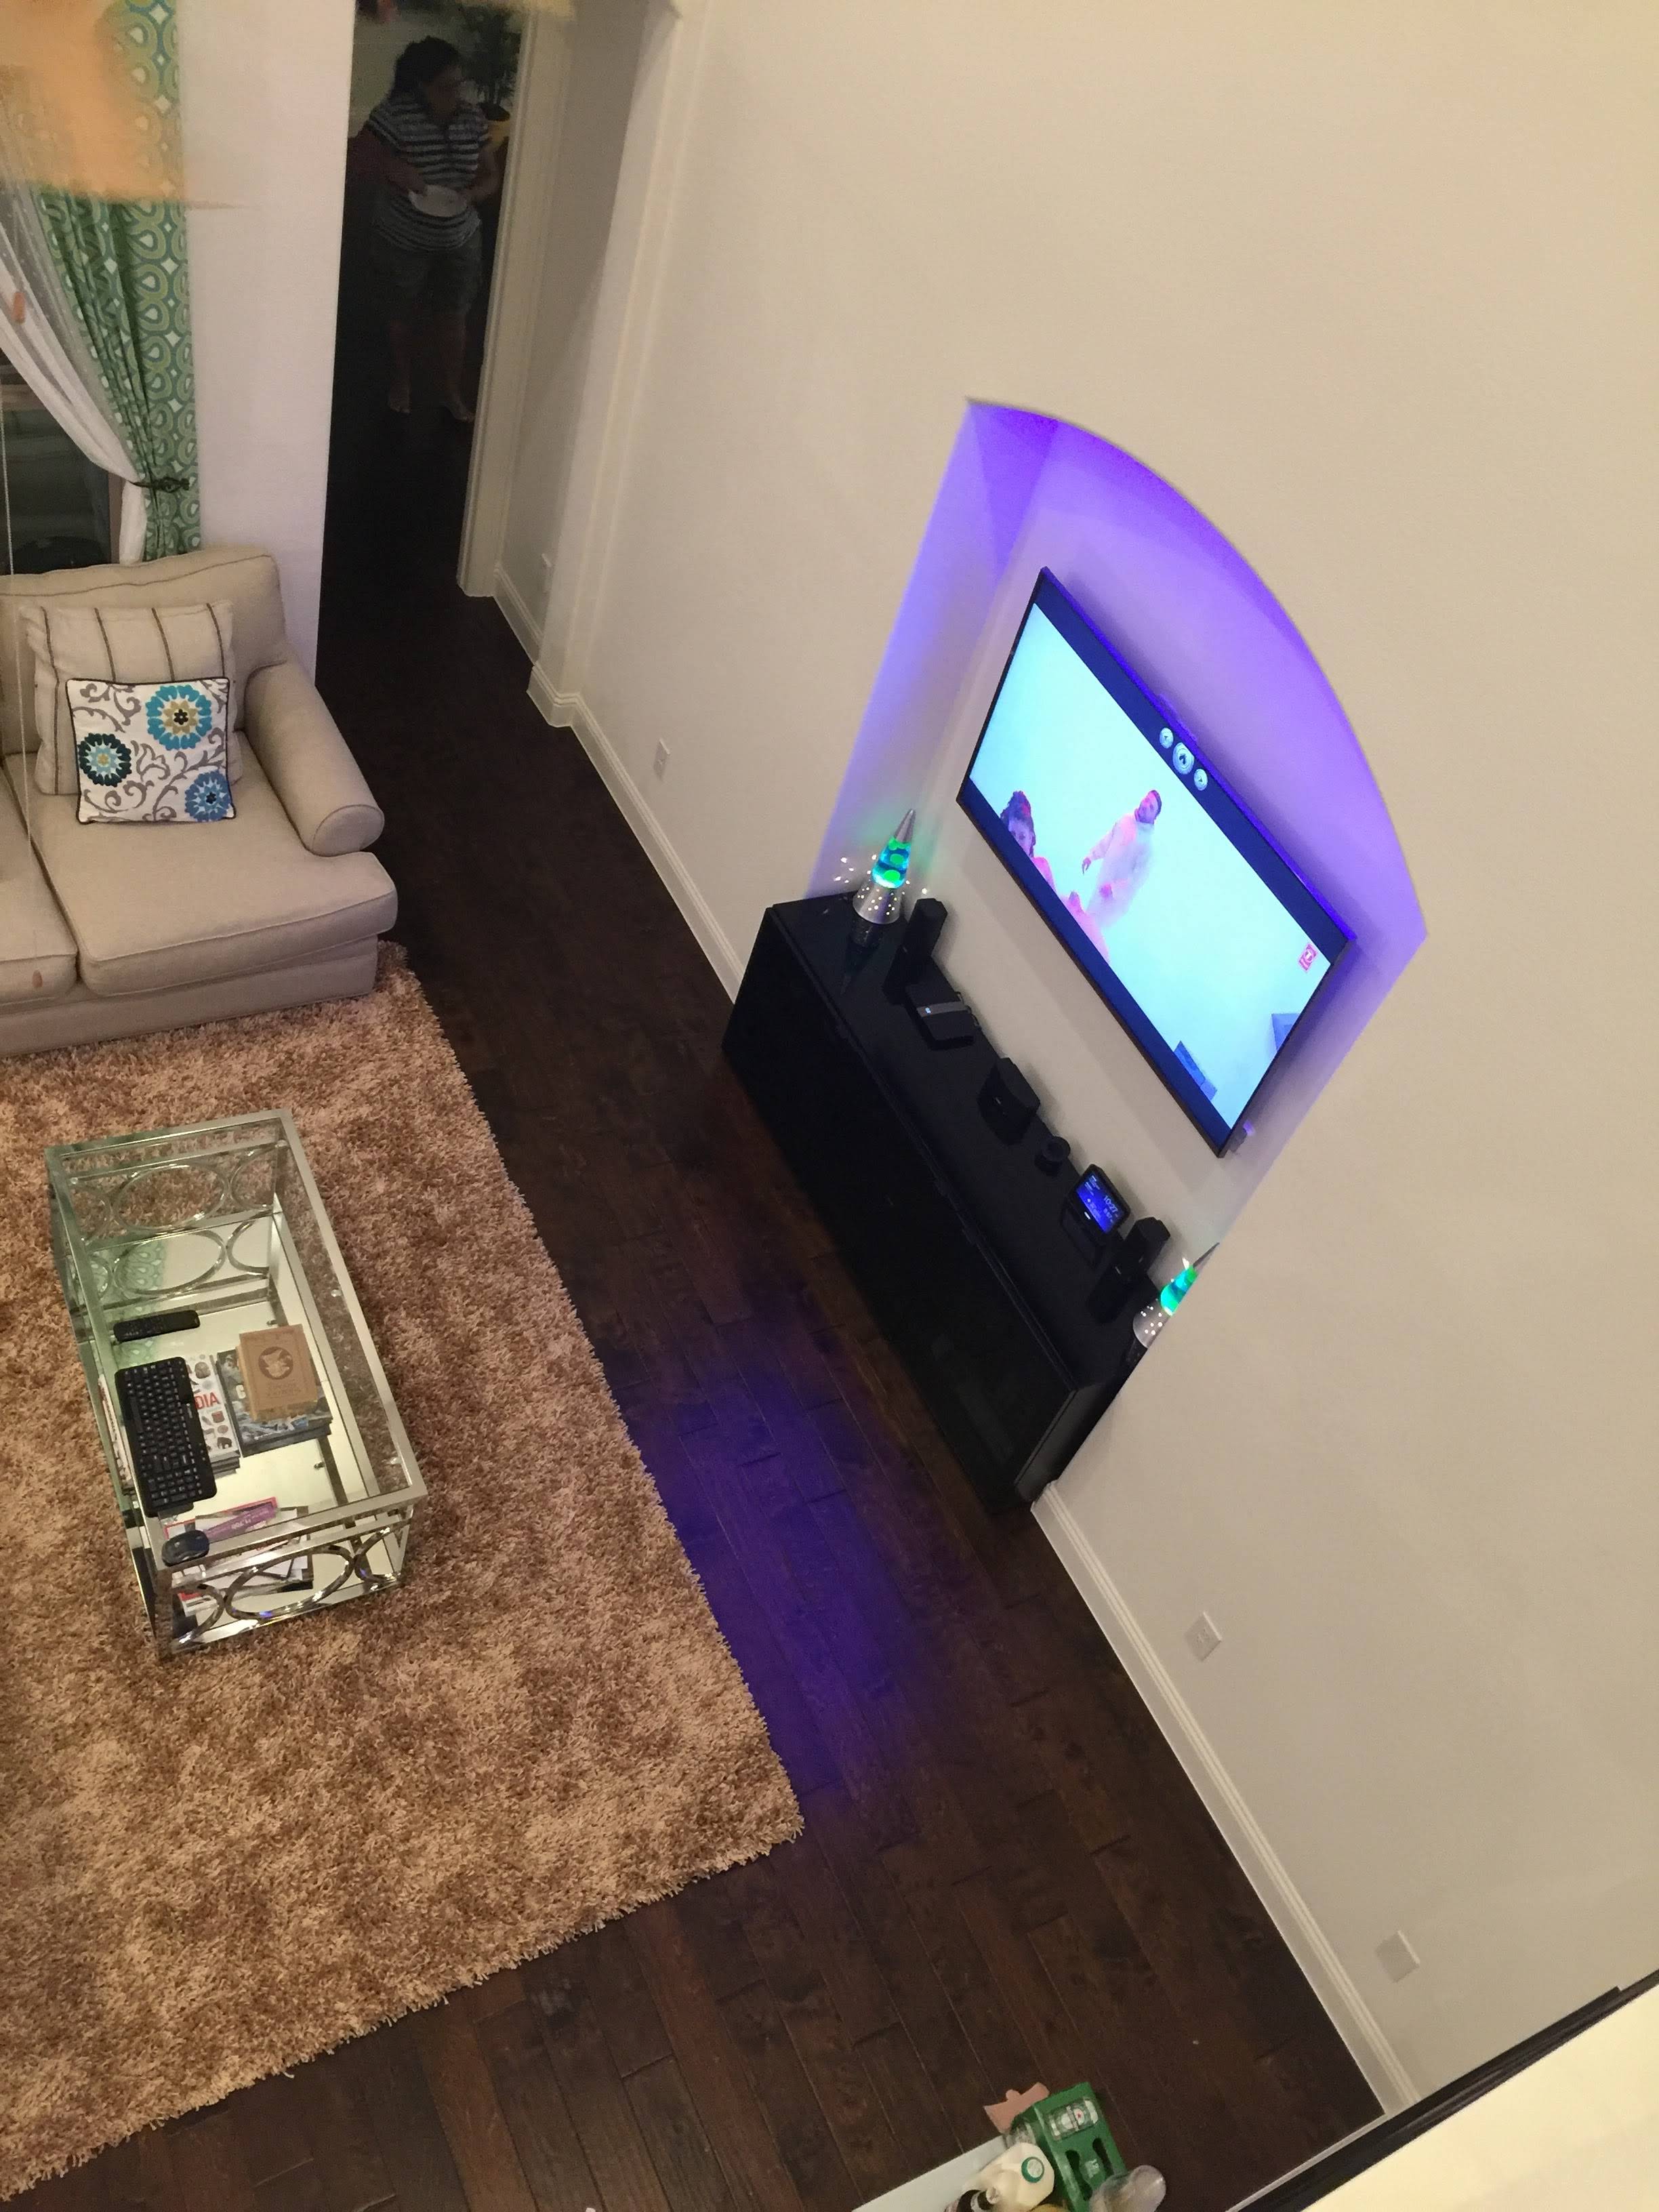
The living room is one of our favorite places in our home. With open kitchen attached to the living room, it happens to be the place we spend a lot of time. Definitely wanted to make it a beautiful place by adding some accent colors and decor.
We started thinking about decorating the great wall in the room. It is 18 Ft high and 12 Ft wide with the arch in the center of 8 Ft by 6 Ft. Our ideas were between tiling, stonework, woodwork. All of our options resulted big in terms of effort, expense, time. Finally, we decided to go ahead with wood decor because it was easy and less expensive out of all the ideas we had.
Our idea was to install stained wood of 8 Ft at the center of the great wall from floor to ceiling. We also wanted to cover the inside edge of the arch and also align with the curved edge of the arch.
Continue reading this post to see what we did and how we did this project
DIY Skill Level Needed:
Materials
- Wood: 1″ X 4″ X 8 Ft Square Edge Whitewood Board
- Trim: Flat Trim Chair Rail
- Stain: American Walnut Stain
- Nails: 2″ Finishing 18-Gauge Brad Nails, 1/2″ Finishing 18-Gauge Brad Nails
- Wood Glue: Gorilla Wood Glue
- Sand Paper: 100 Grit, 200 grit
Before picture
Week 1: Preparation of Planks
As you see in below picture, we wanted to cover the inside edge and outside edge of the arch with stained wood. Also, align with the arch curved edge. The arch is 8ft X 6ft
Preparing planks to cover inside and outside edge of arch: Cut the wood into small planks of 1 Ft using a table saw. Then one side of each plank was cut to 45-degree angle using a miter saw.
1 Ft planks with 45 degree angle cuts
Forming L shaped joint planks: Applied glue on angled cut edge of 2 planks, joined them with 1/2 finishing brad nail and stapled, thereby forming L shaped planks.
We prepared around 30 L shaped blocks, 15 to be installed on each side of the arch.
Left them to dry for like 2 hours.
After all planks were dried, the sharp joint edge was sanded with 100 grit first then with 200 grit sandpaper, thereby creating smooth and rounded edges at the joint.
Once the L shaped planks were ready, the staining process began
Stained 30 L shaped planks, 25 long 8Ft planks with 3 coats of American Walnut stain. This was like a week worth of work.
Week 2
Now it’s time to join the stained planks and white trim.
Wood Panels are ready to install on the wall.
Started with installing L shaped planks from the top corner of arch then ascend down until we reached the floor. Then cut the wood to the line with the curved edge of the arch.
Continued with installing straight plank all the way up to the ceiling.
All planks were installed with 2 inch finishing Brad nails to studs, thereby making them sturdy.
Tools
Because we had below tools in our tool collection, this project was easy to complete
1. Cut wood: Ryobi Table saw, Ryobi Miter saw
2. Install wood planks: Ryobi Finishing Nailgun
3. Staining wood: Oil and Stain Brush
4. Sanding joint edges: Corner Cat Sander
Thank you for reading our post. Comments are welcome. Please like and share on Facebook, Instagram, Twitter. In case of any questions, please contact us.


