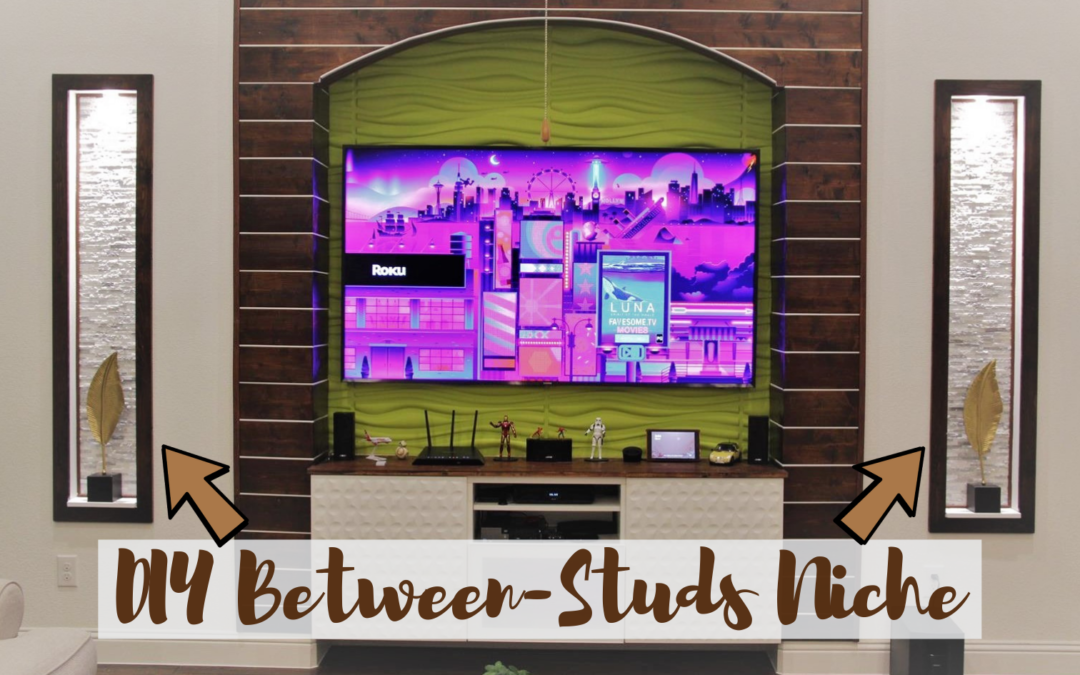
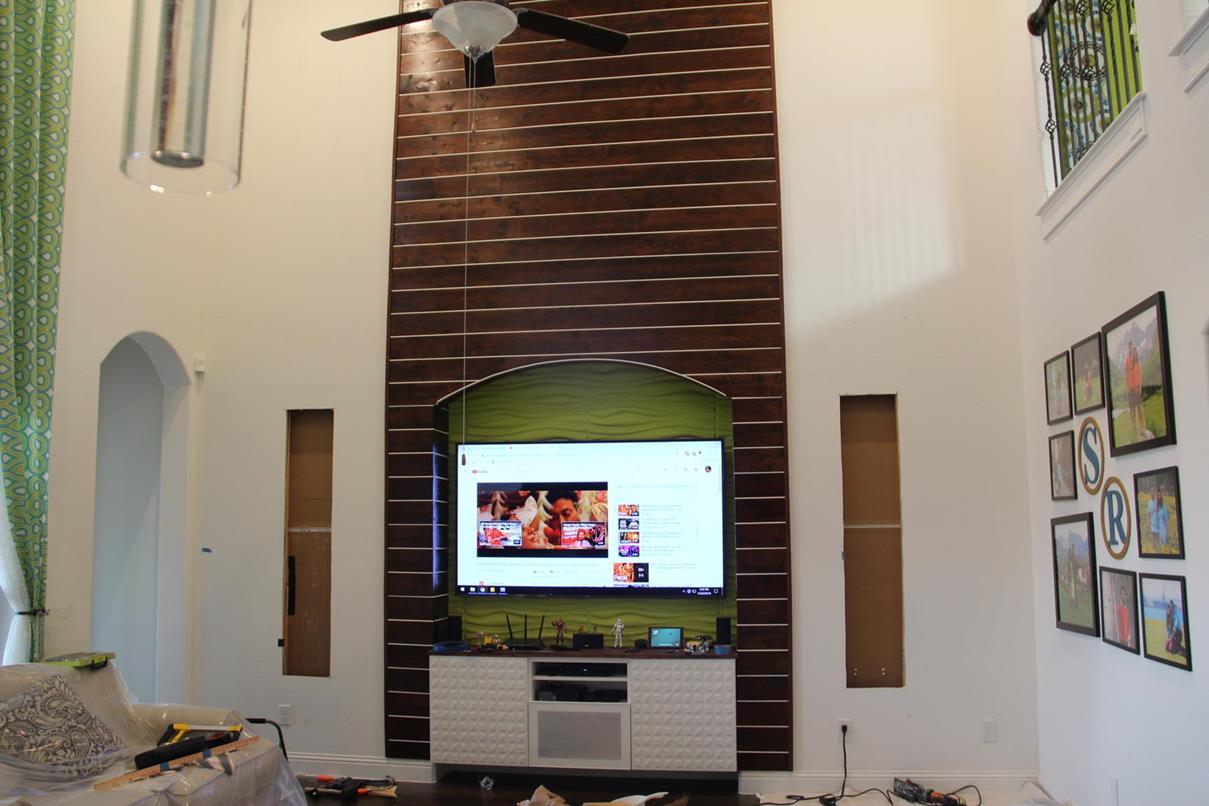
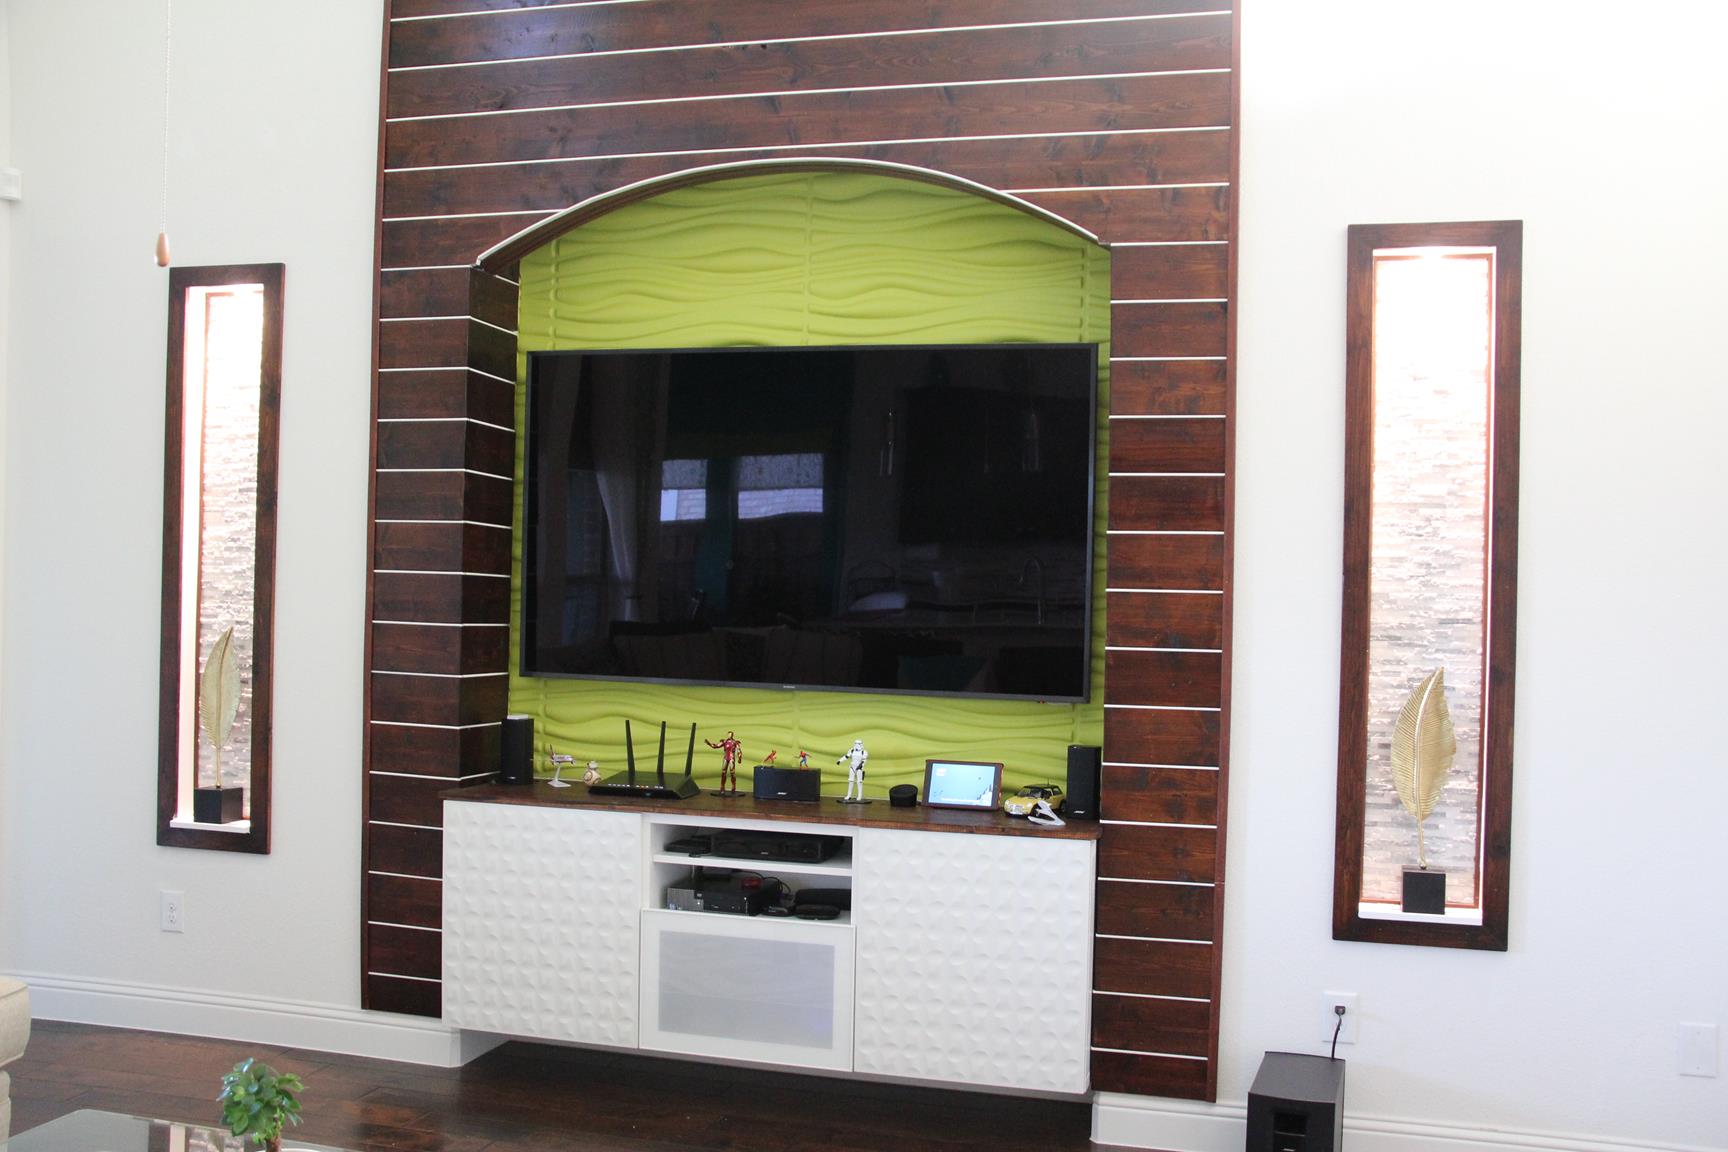
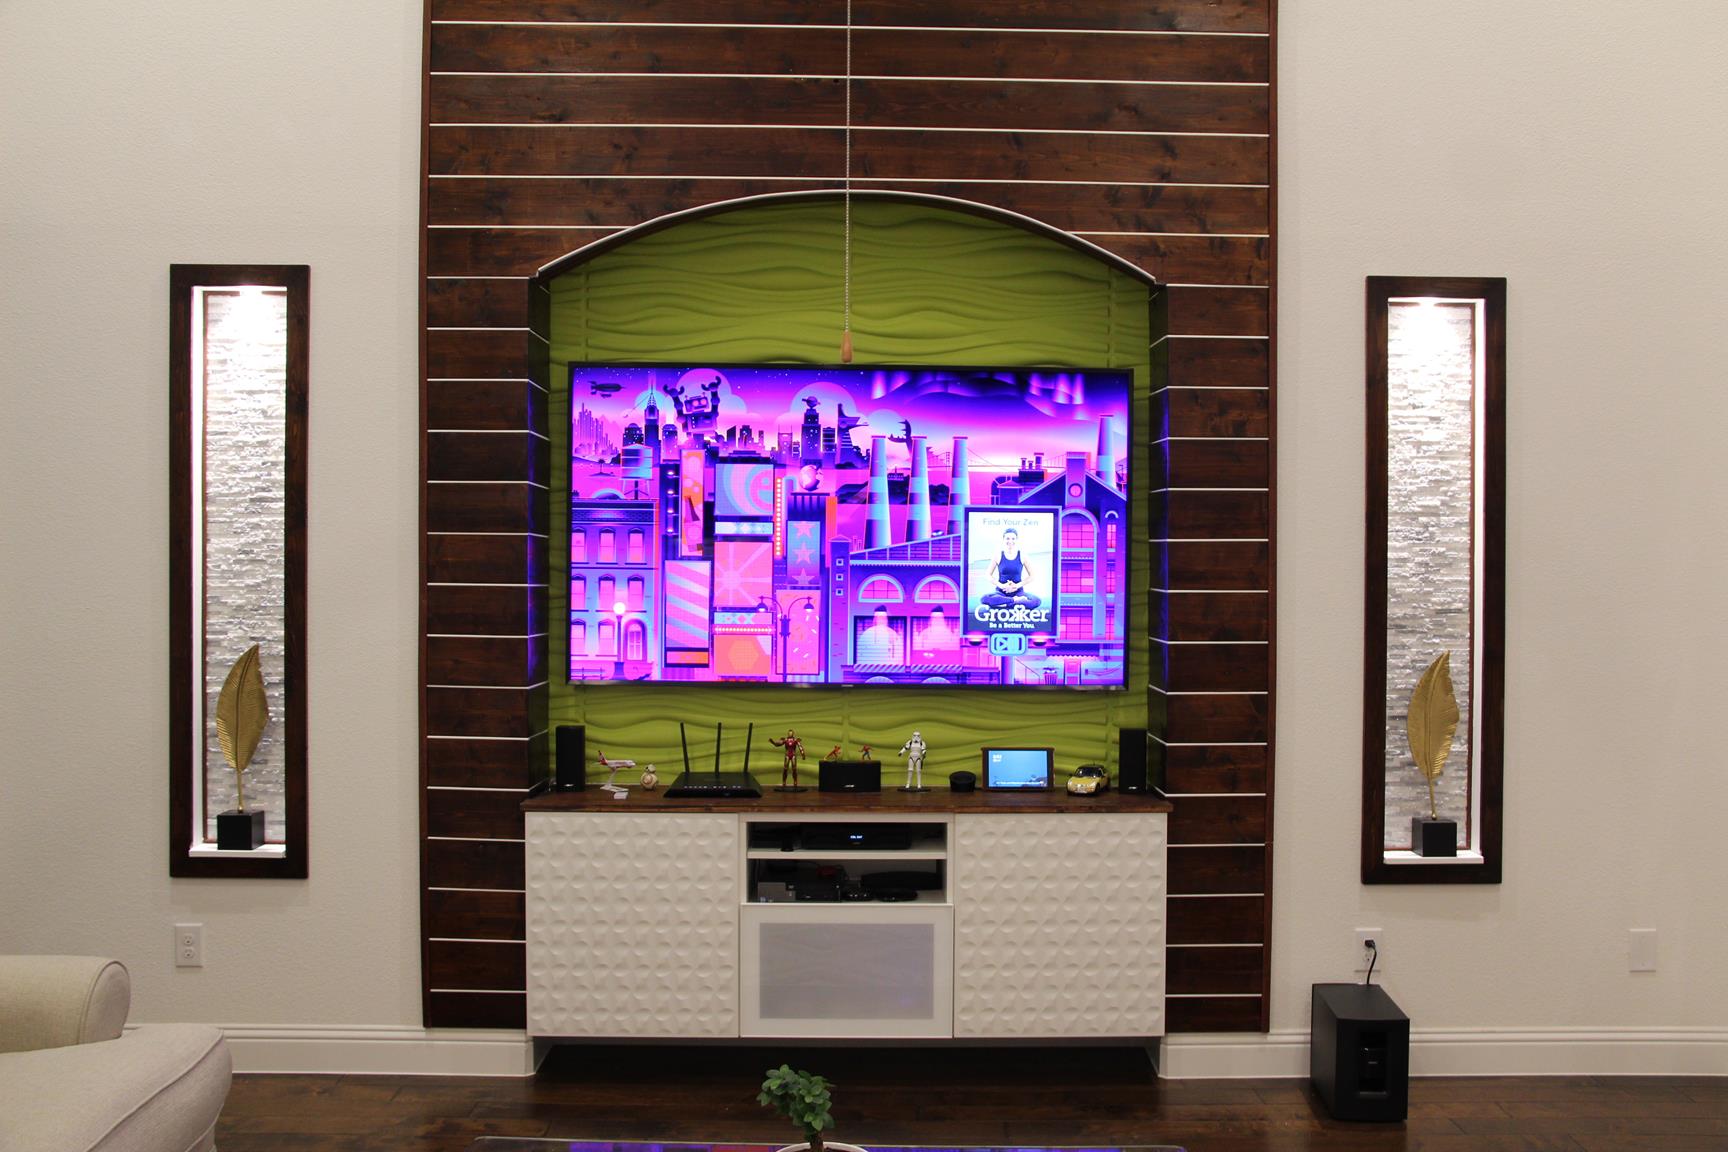
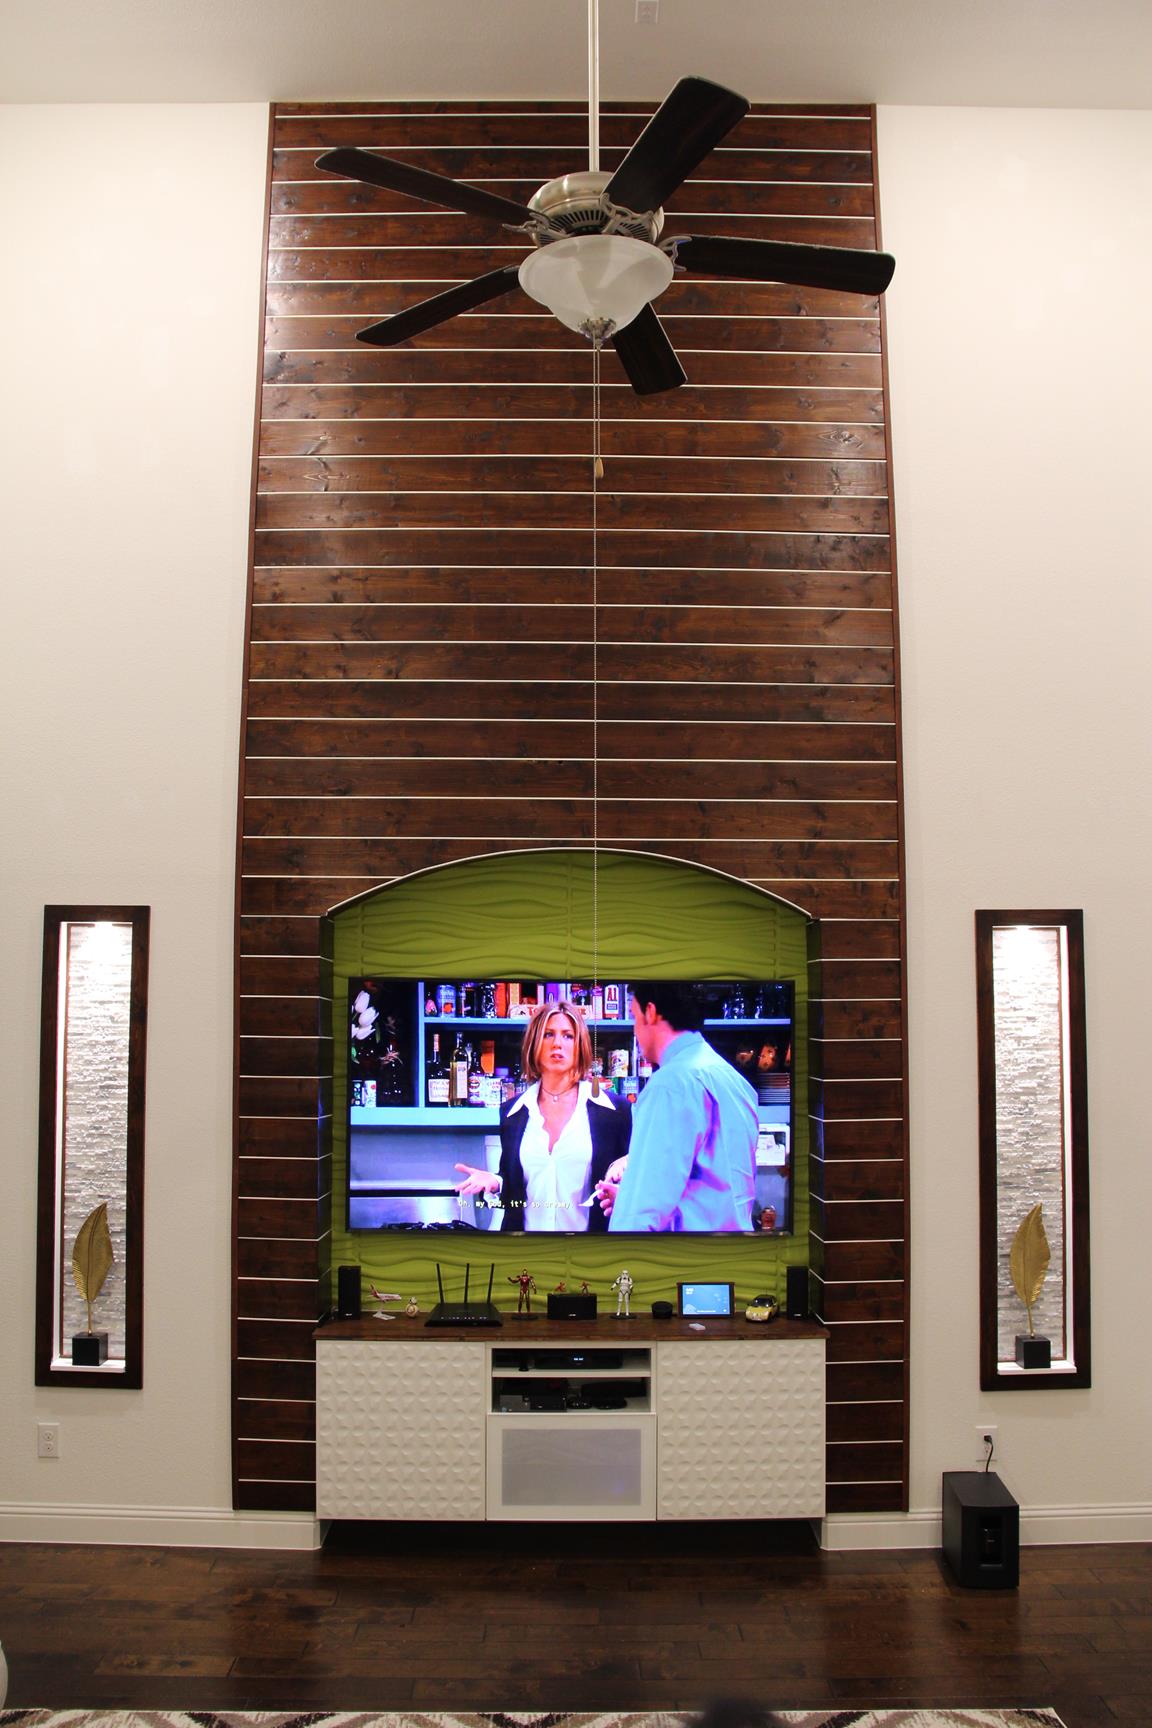
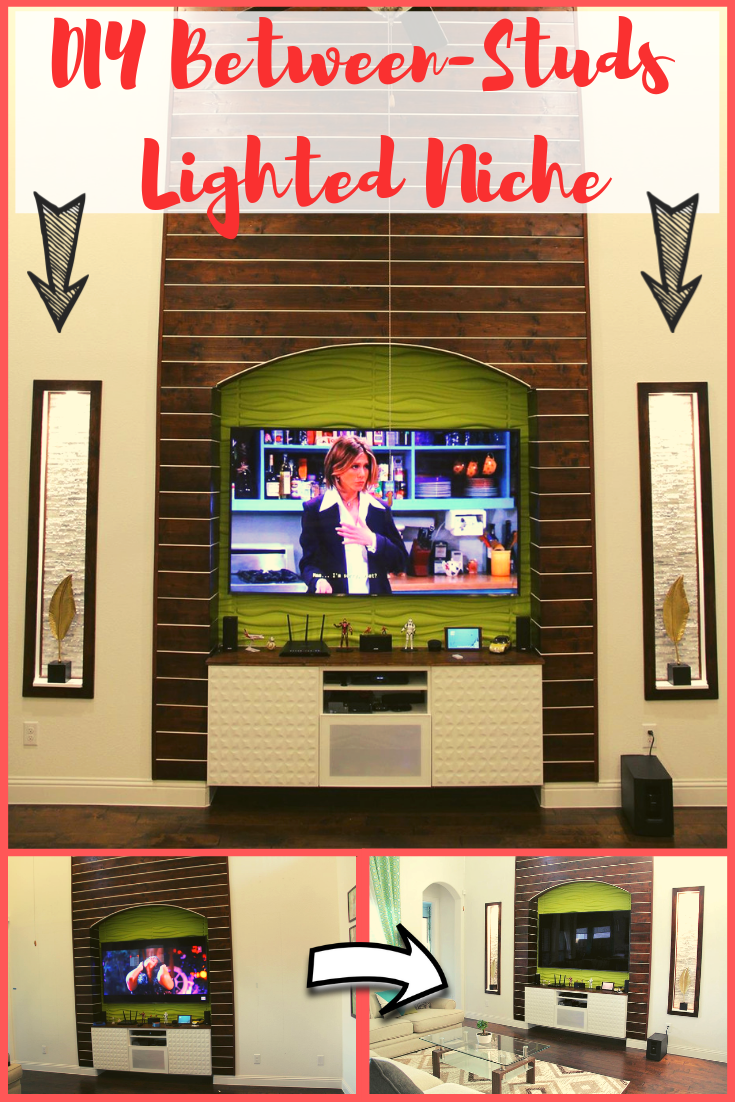
After seeing how good the smaller Wall Niche that we did a few days ago (See our Blog here DIY Wall Niche Decor) came out, We decided to take it up a notch. Continue reading to see how we built this Lighted Between-Studs Wall Niches over the 2018 Thanks-Giving Weekend.
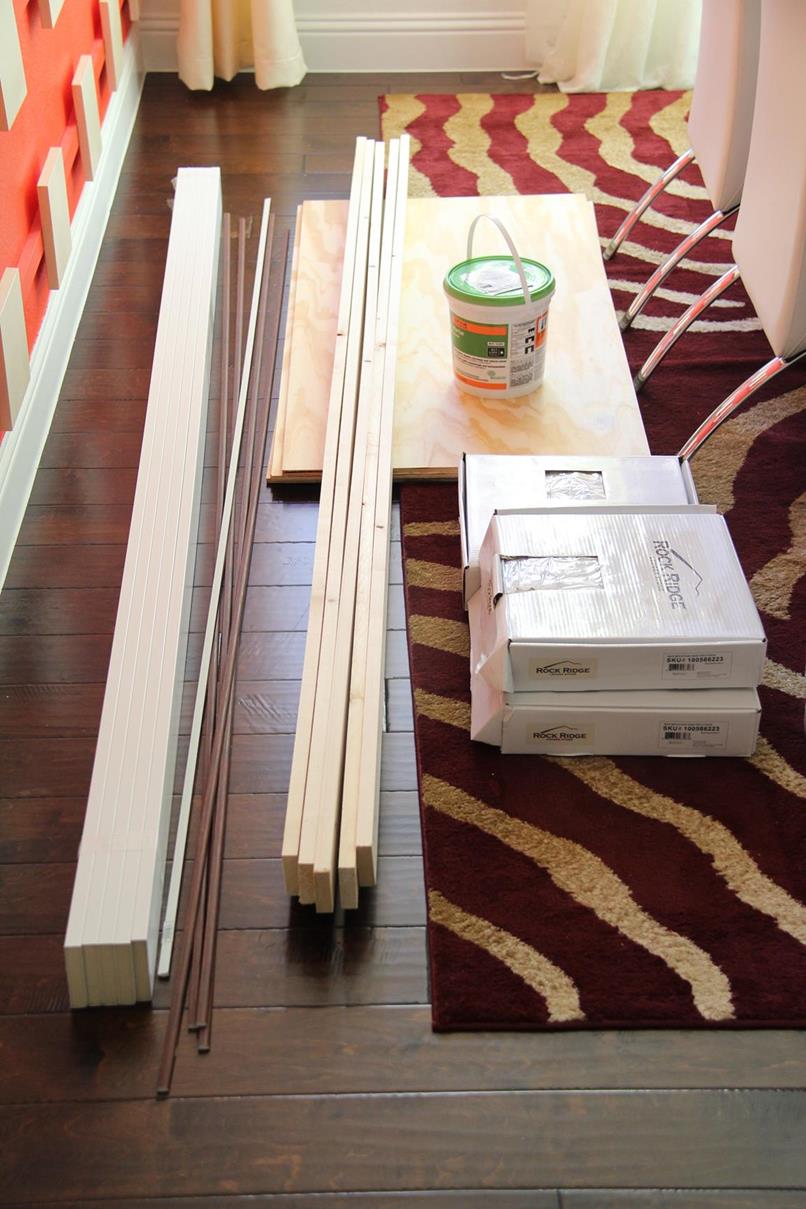
Materials Needed:
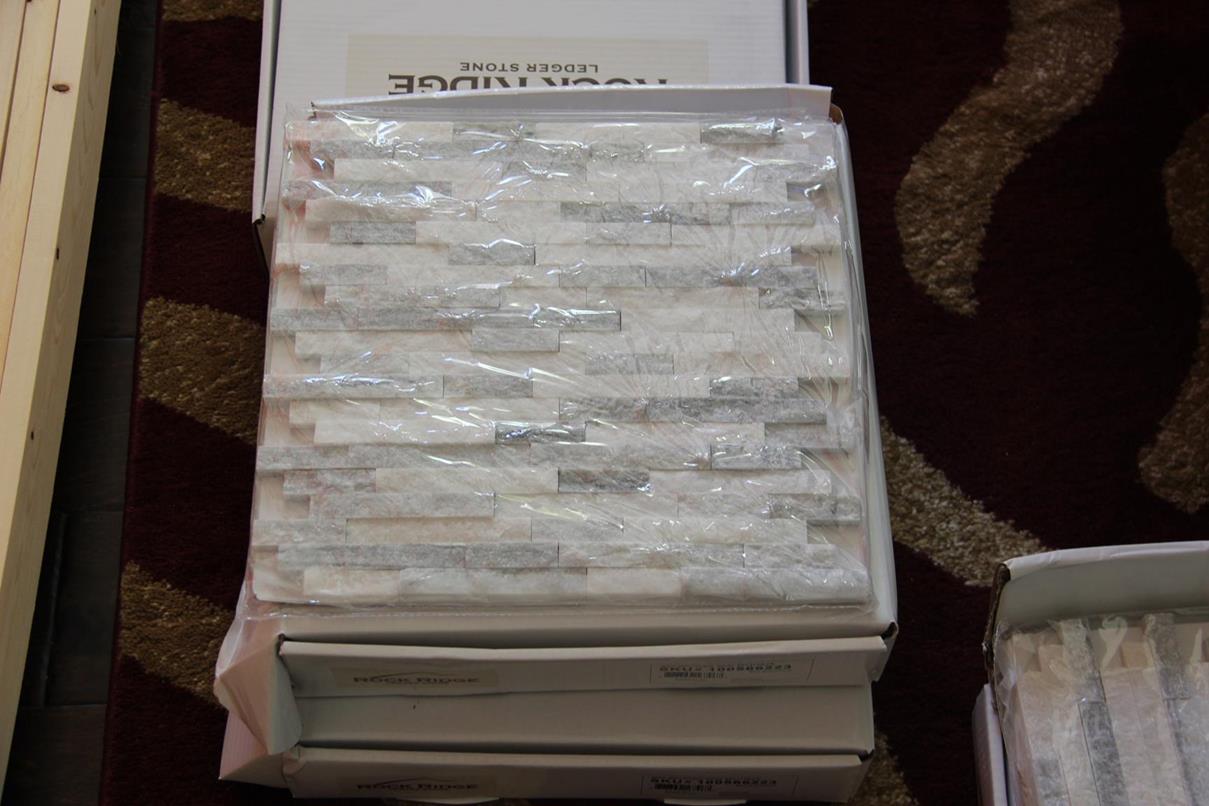
1) Alaska Gray Splitface 12 in. x 12 in. x 10mm Marble Mesh-Mounted Mosaic Tile (See HomeDepot Link)
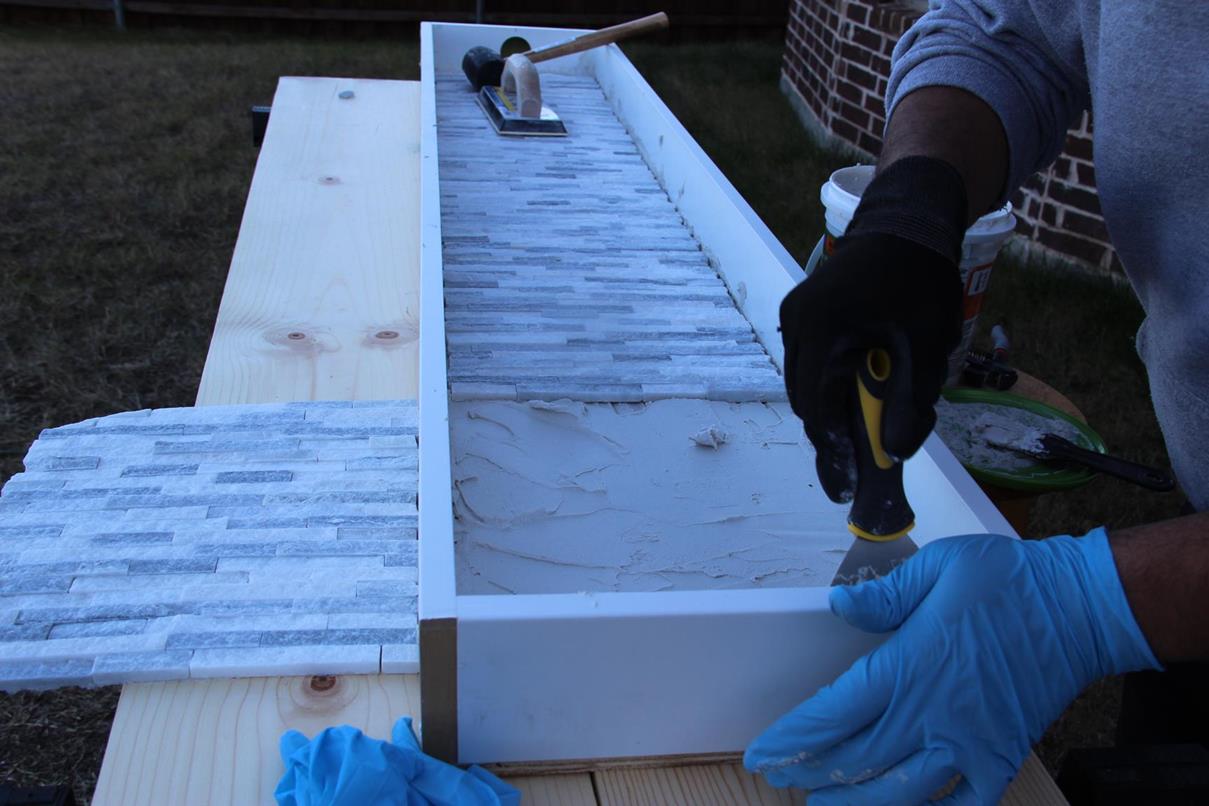
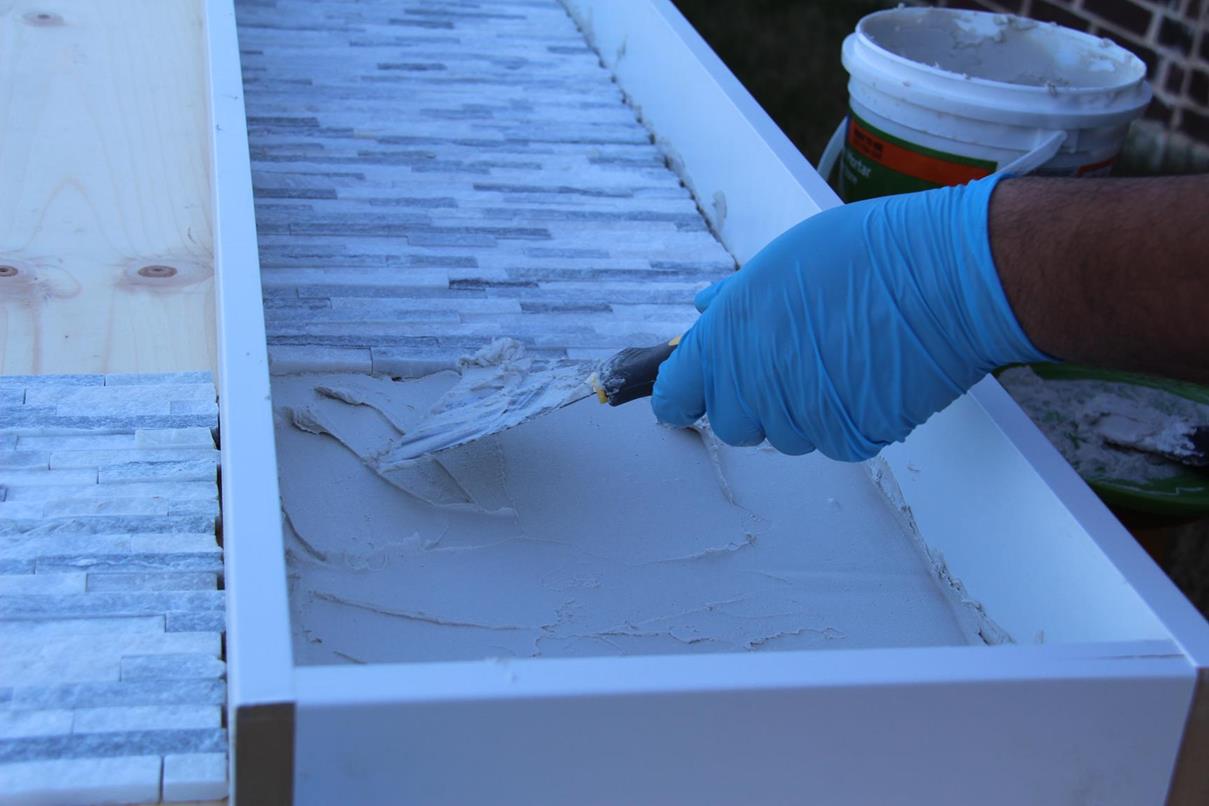
2) SimpleSet White 1 Gal. Pre-Mixed Thin-Set Mortar (See HomeDepot Link)
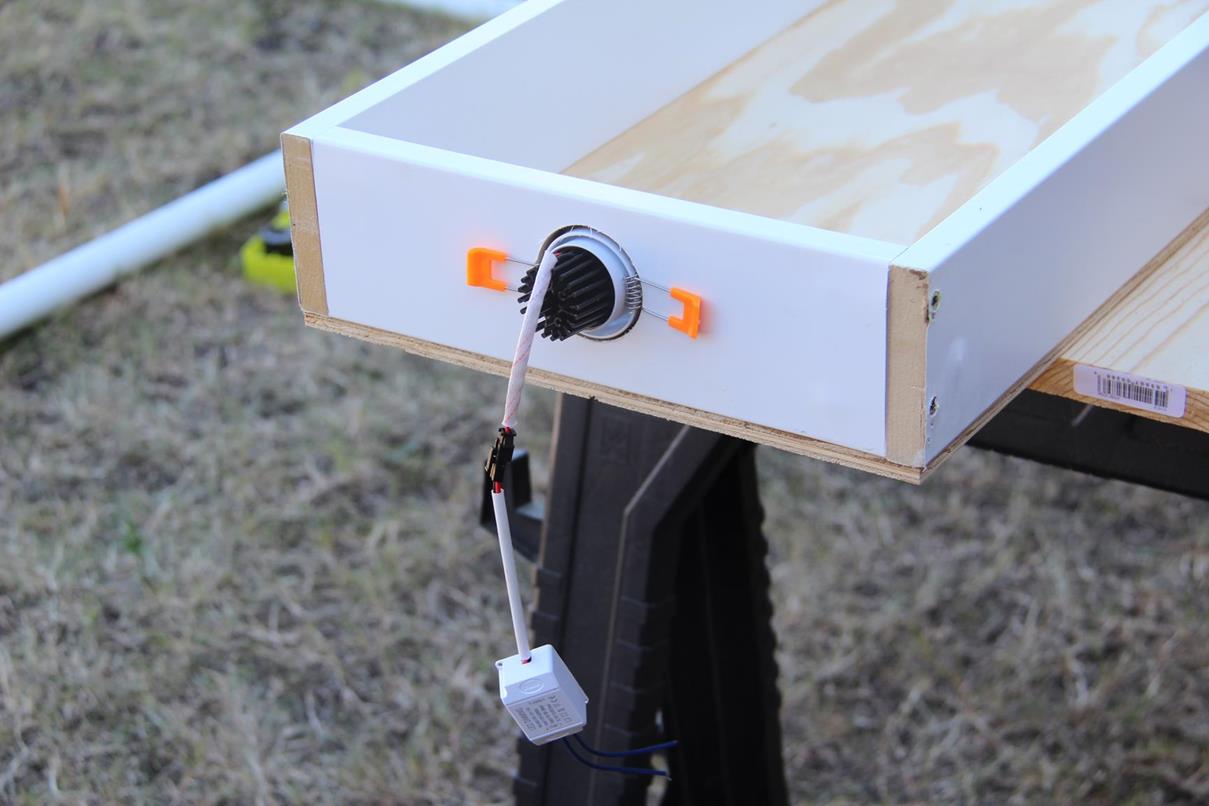
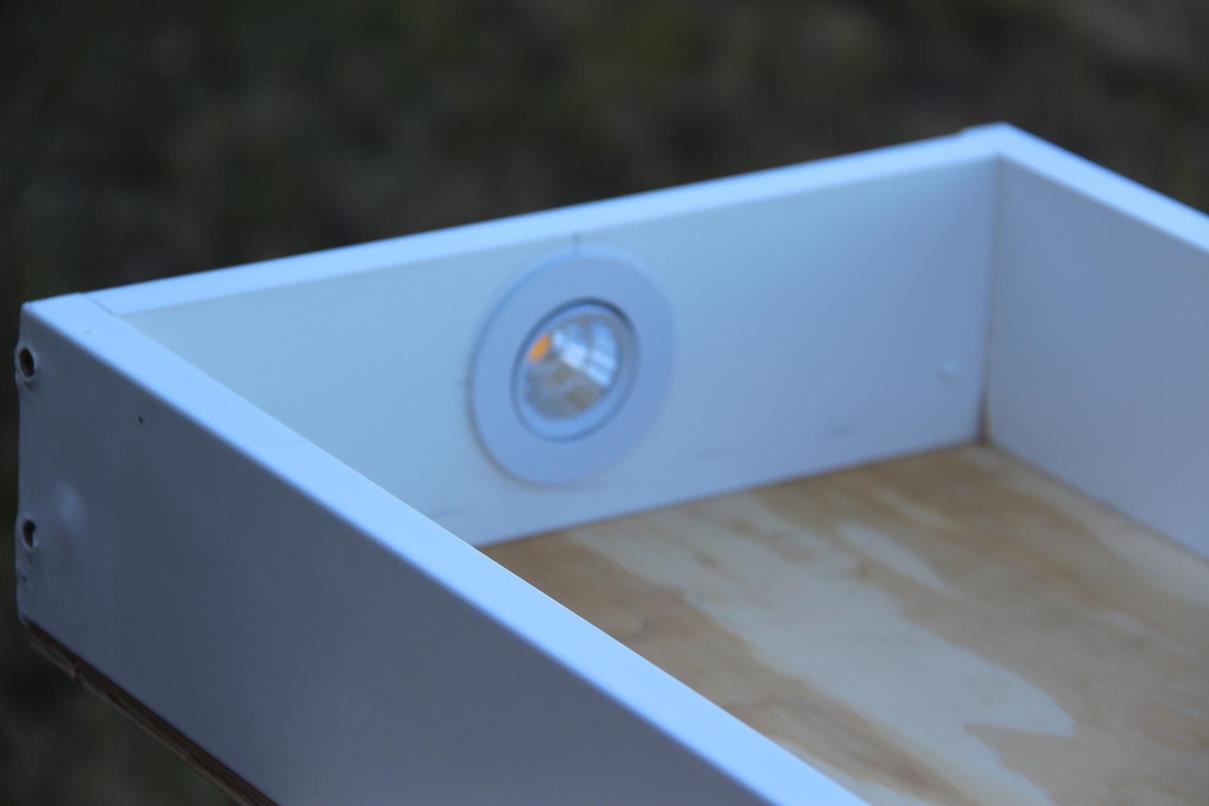
3) 4-Pack 3W CRI80 LED Downlight 247LM Cut-out 2in(51mm) 60 Beam Angle 3000K-3500K Bulbs (See Amazon Link)
4) 1 in. x 4 in. x 8 ft. MDF Moulding Board (See HomeDepot Link)
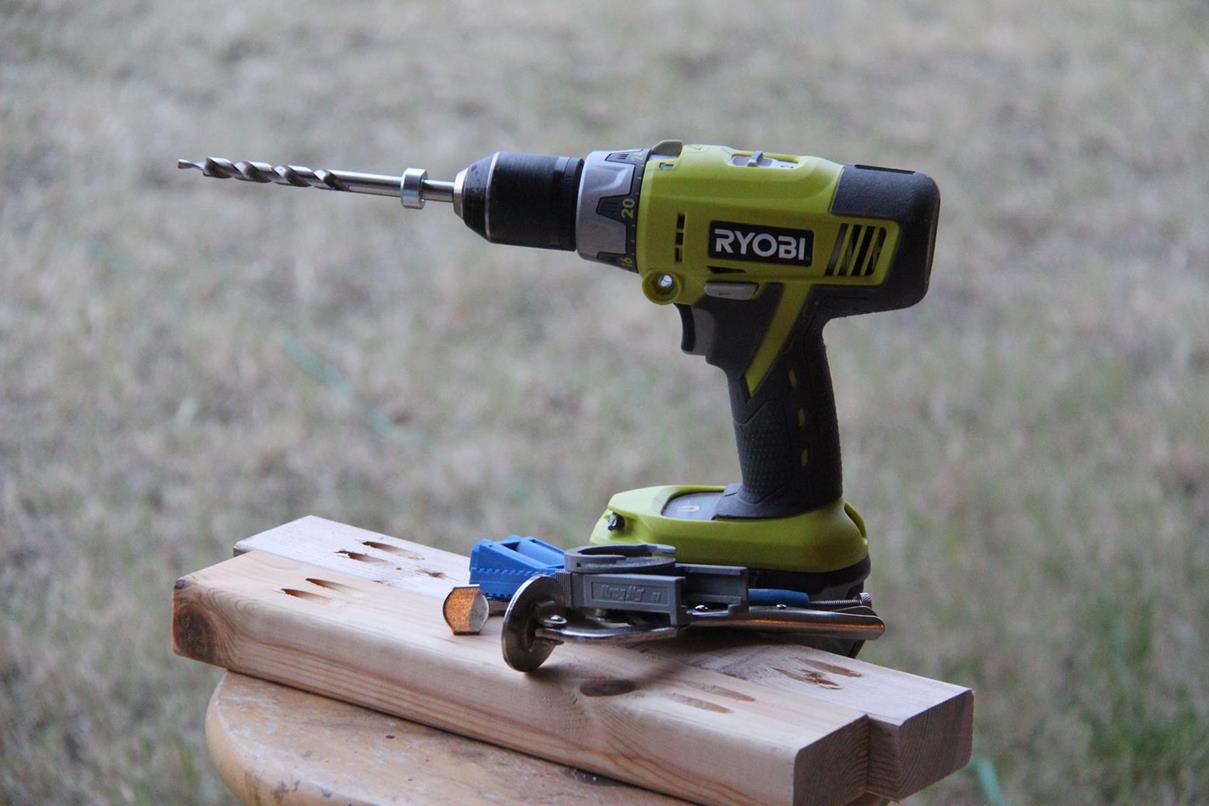
5) Other basic woodworking tools like Saw, Screwdriver, Drill, Paintbrush, Stainbrush etc.
Step 1: Decide Location
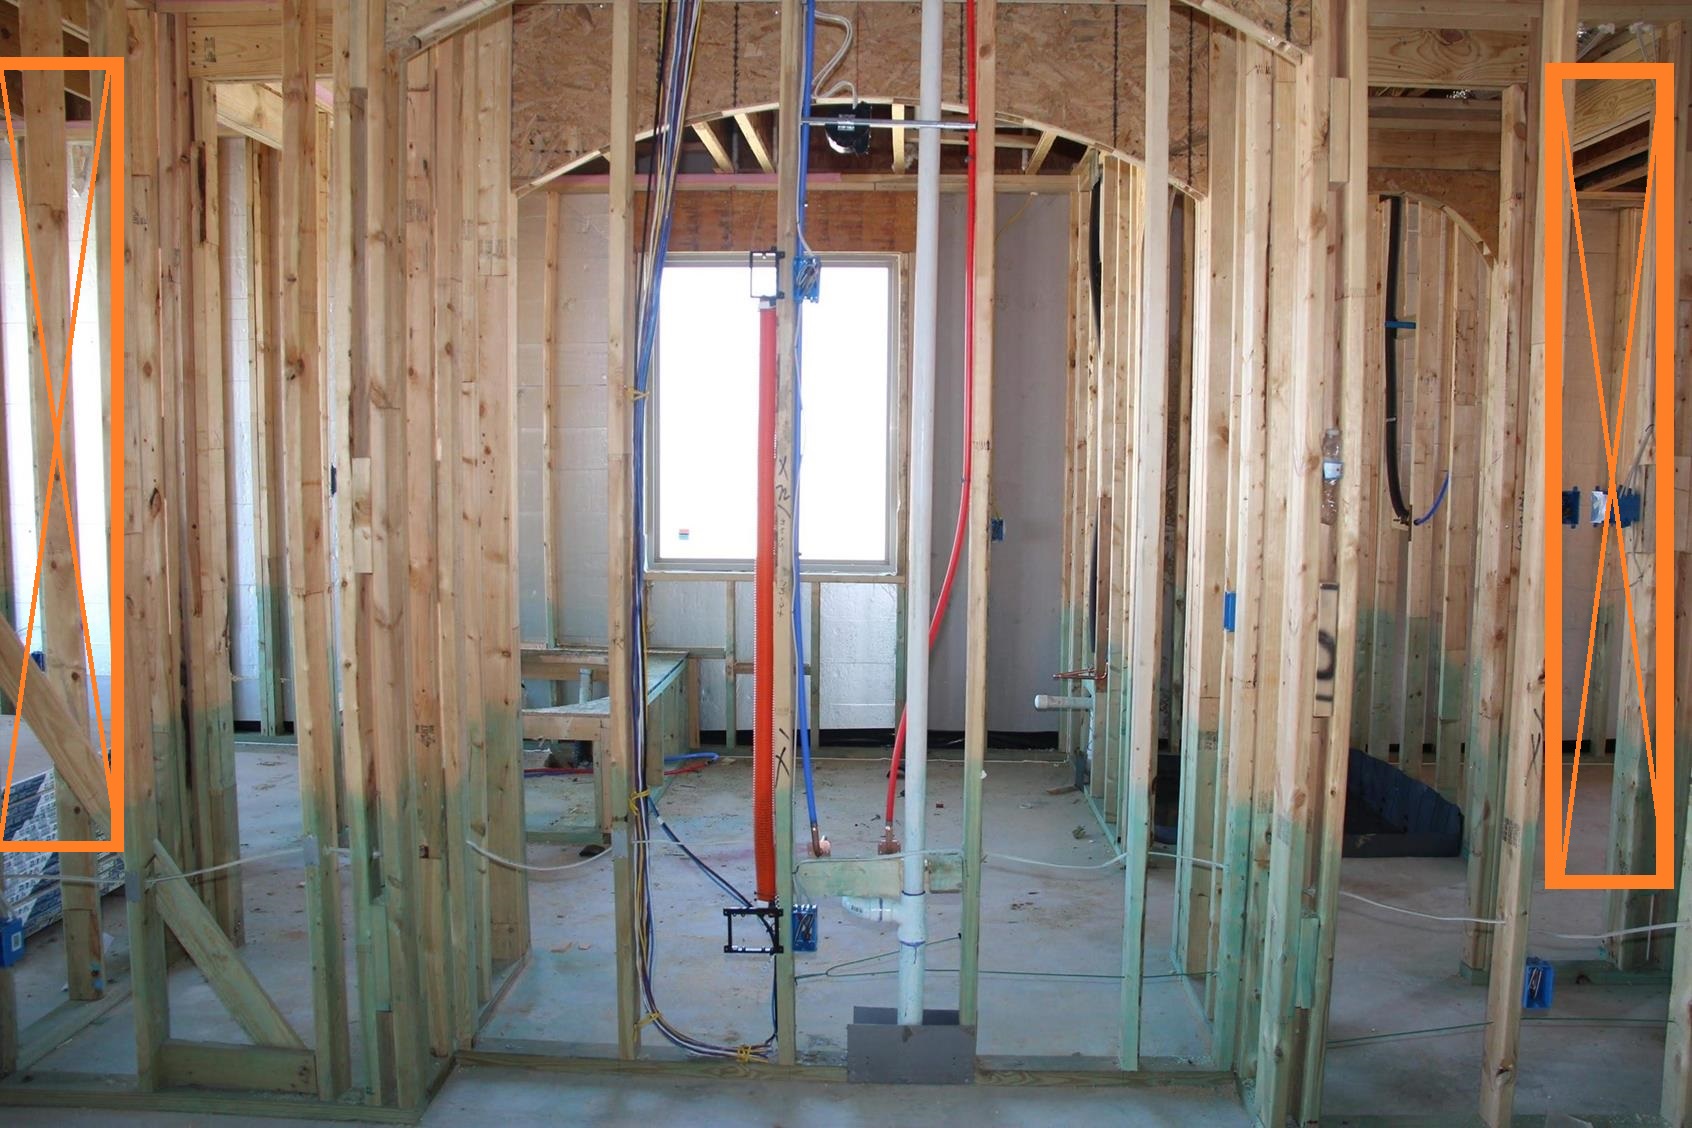
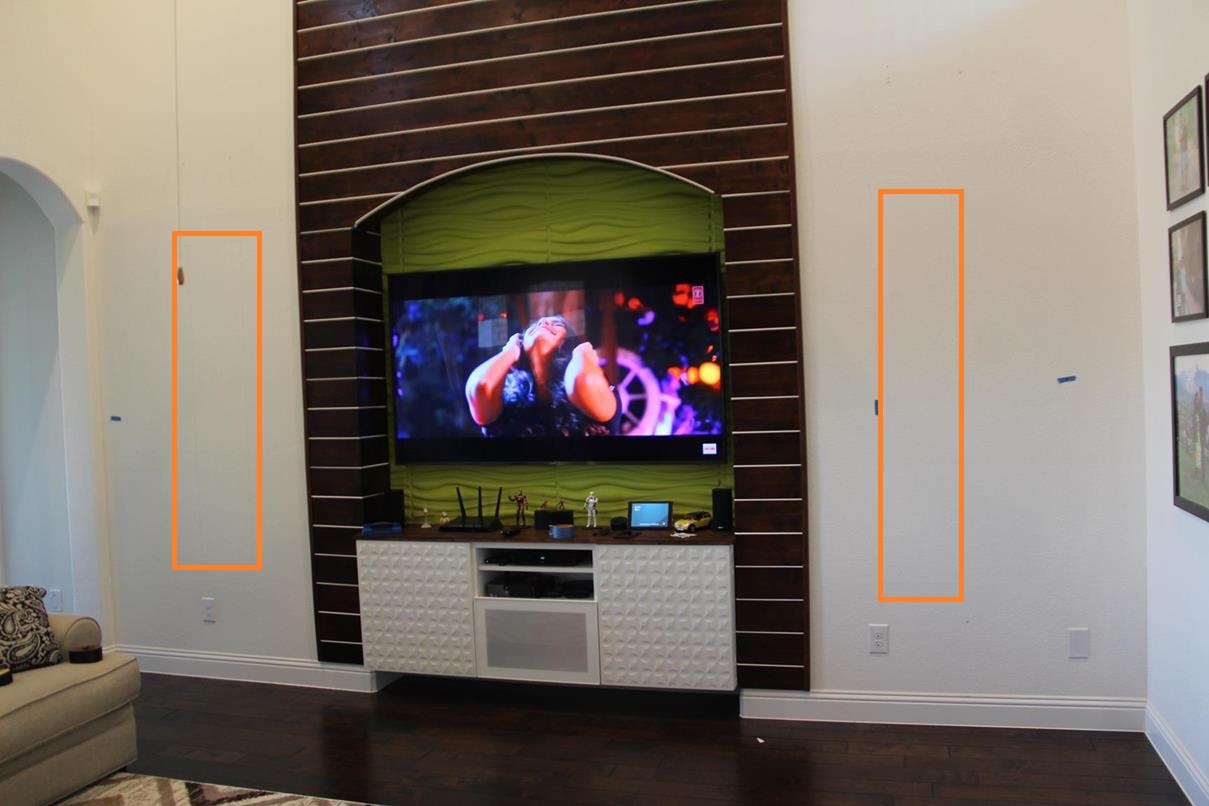
This step goes easier if you have the pre-drywall pictures of your home. Yes a studfinder can help with finding the stud locations but not the electrical wires or other things hidden behind the drywall.
We had the pre-drywall pictures of our house and this made it easier for us to finalise the location.
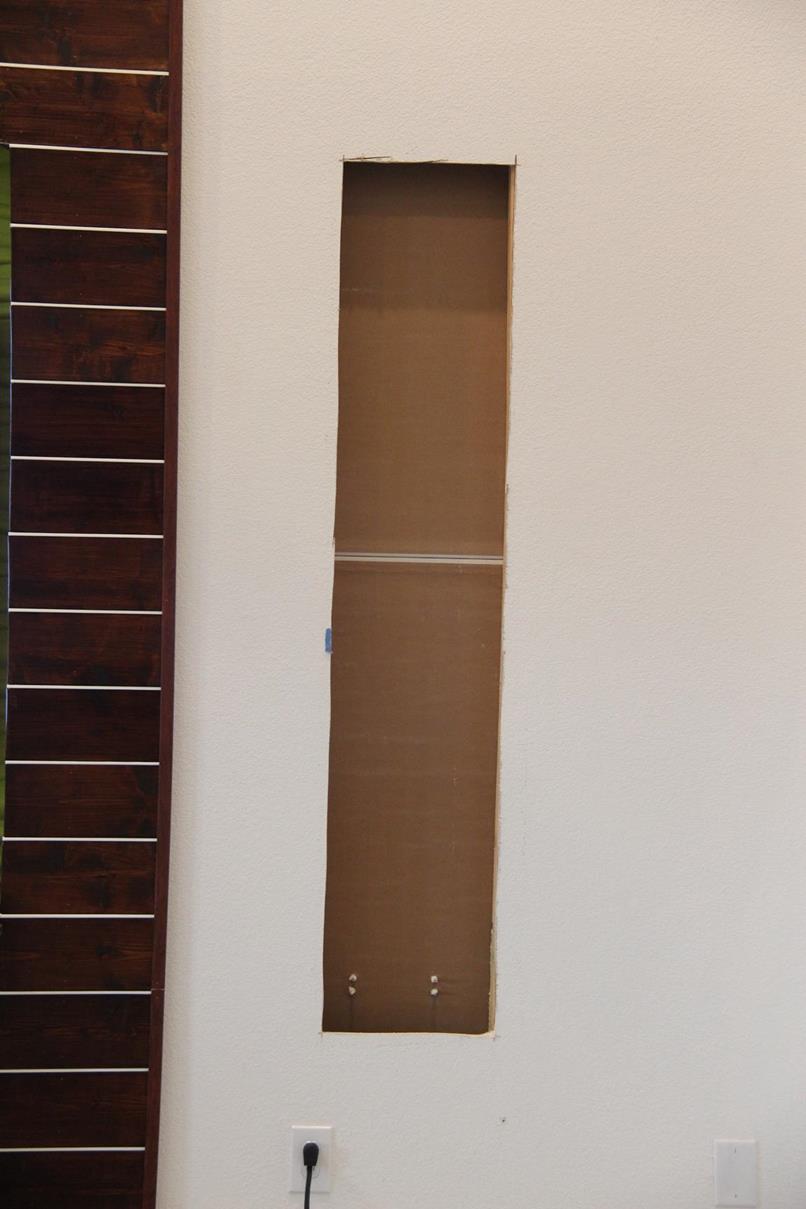
Step 2: Score & Cut
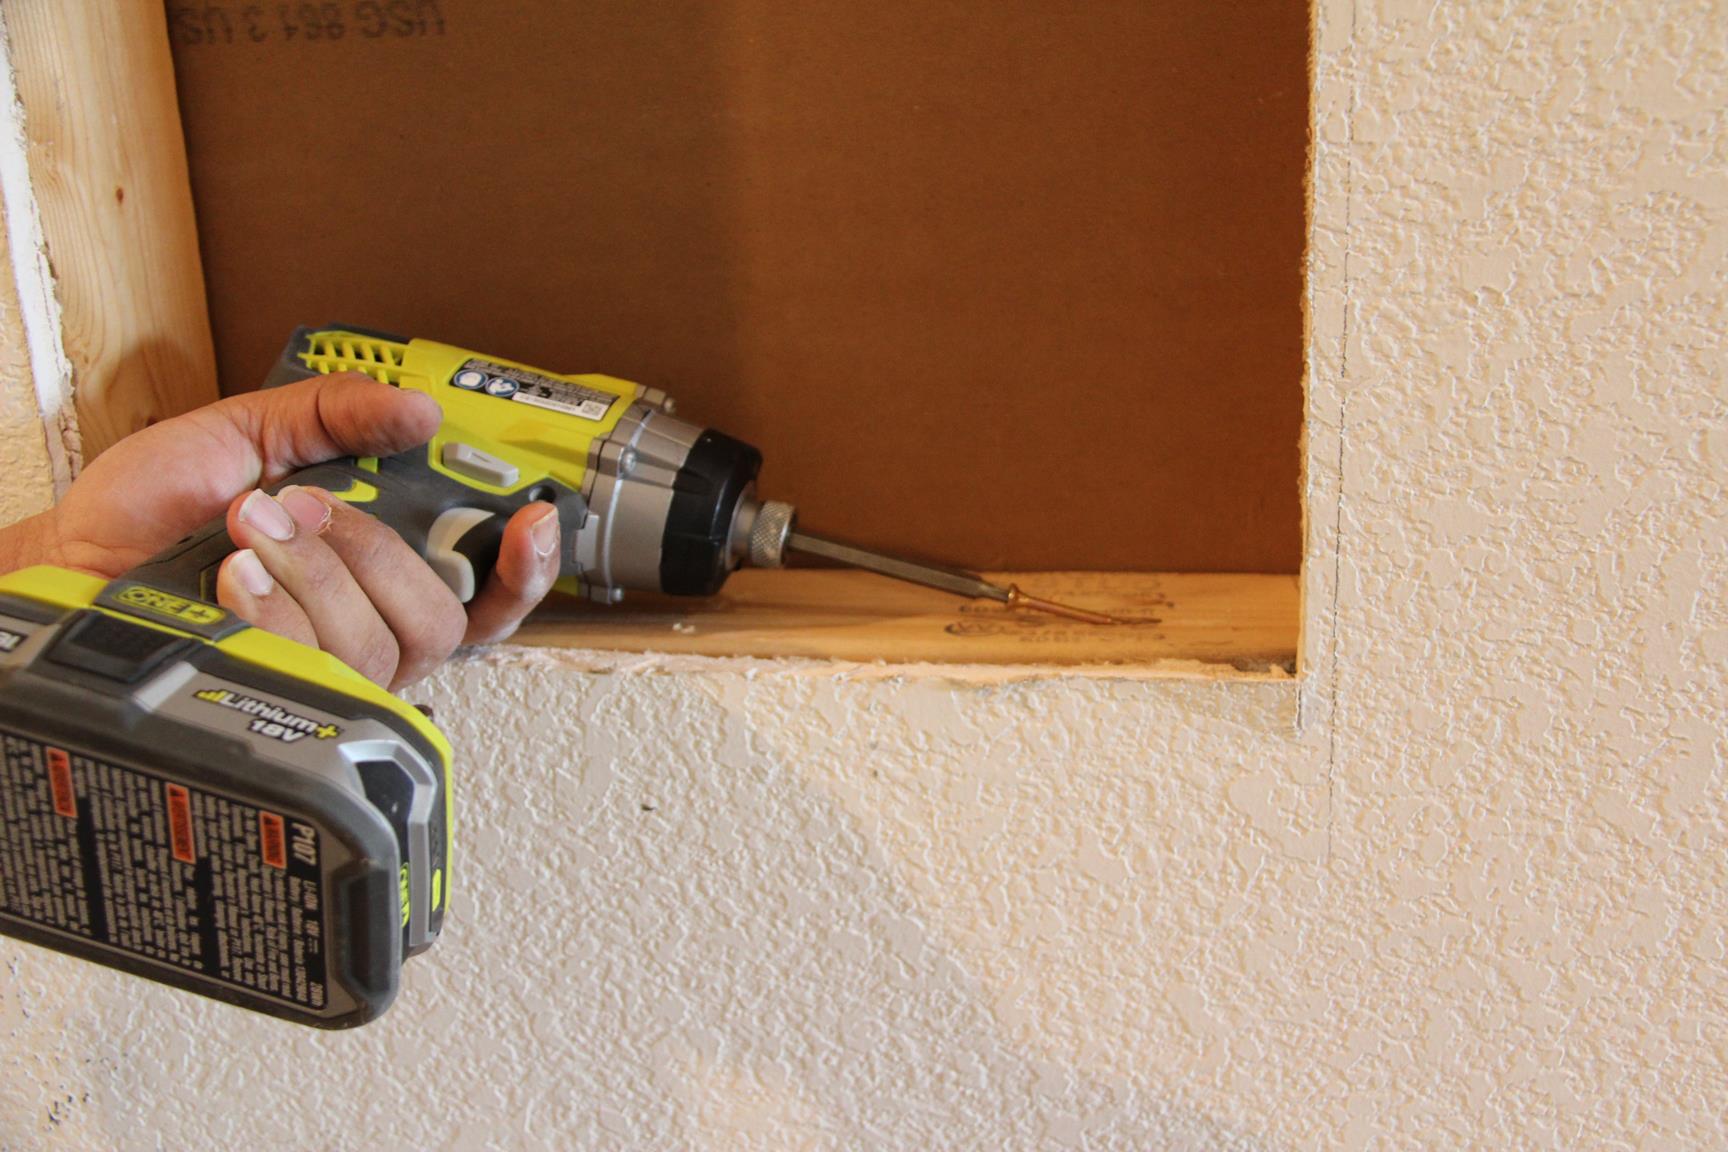
Step 3: Add the Anchors
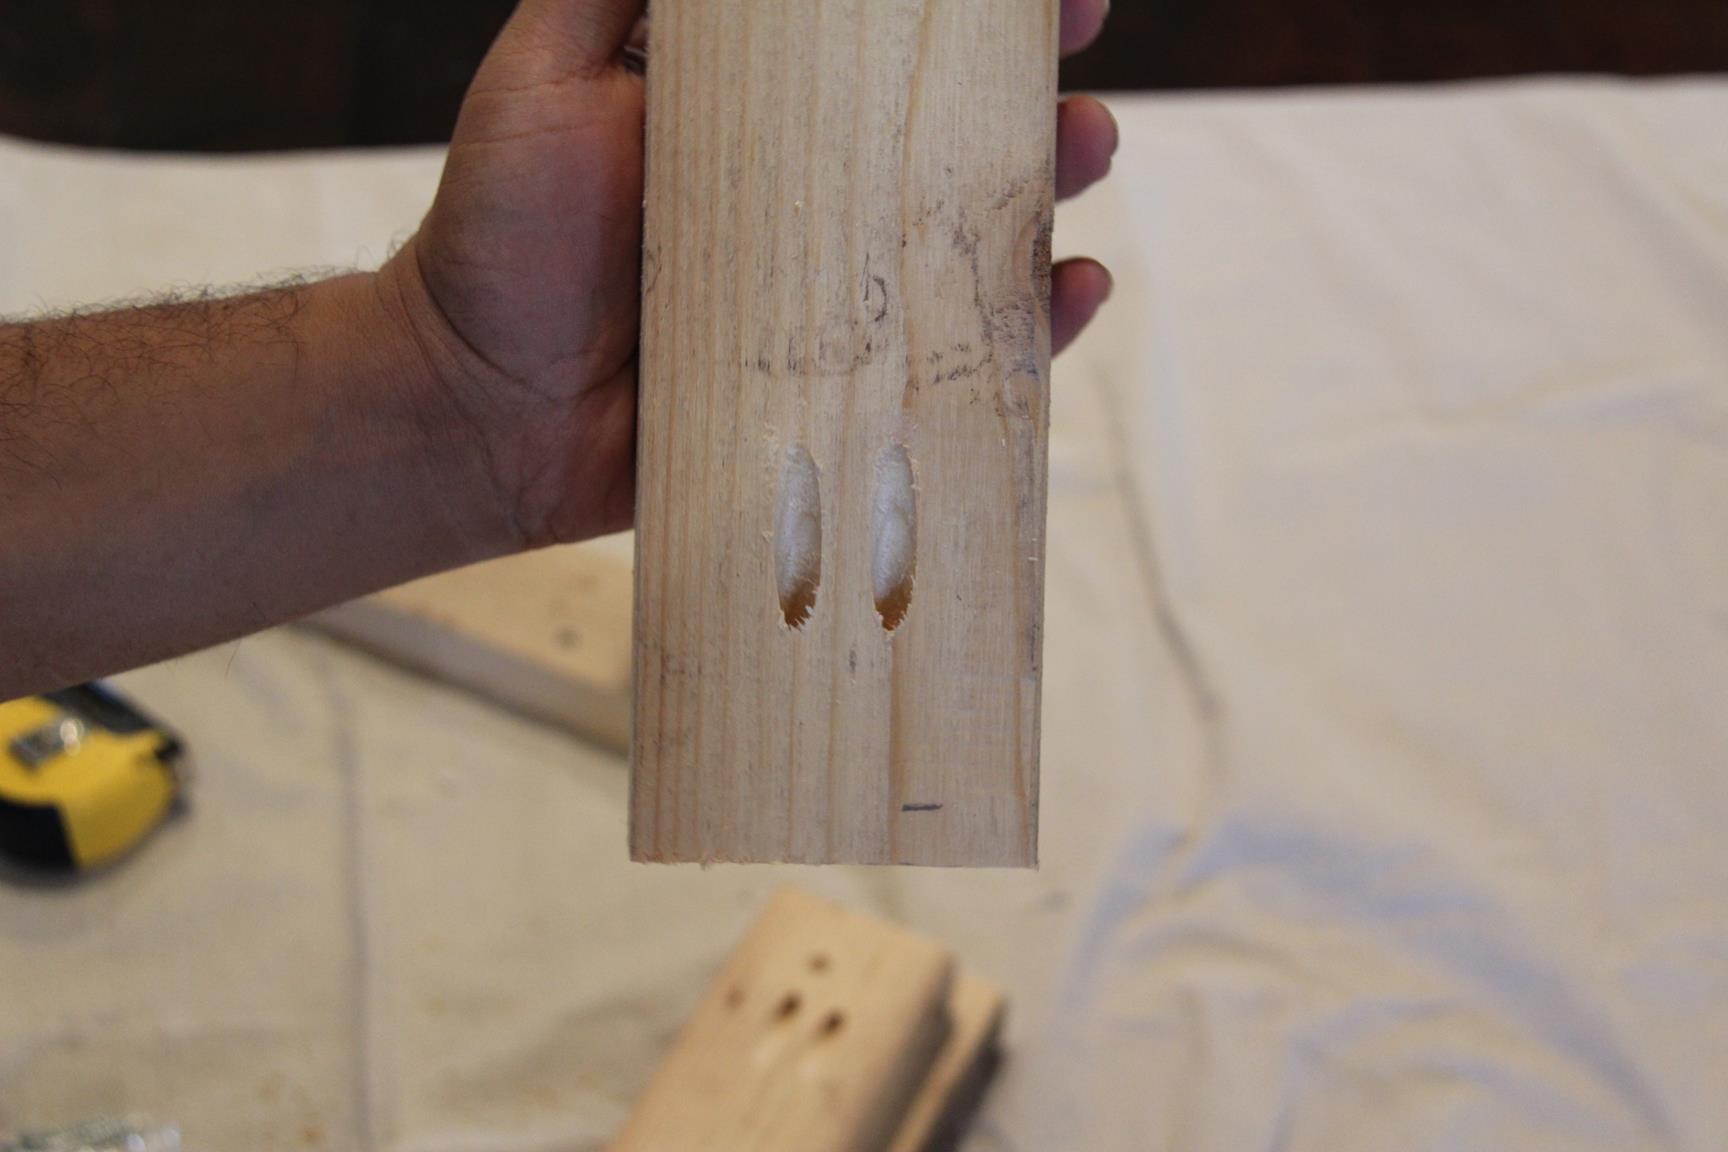
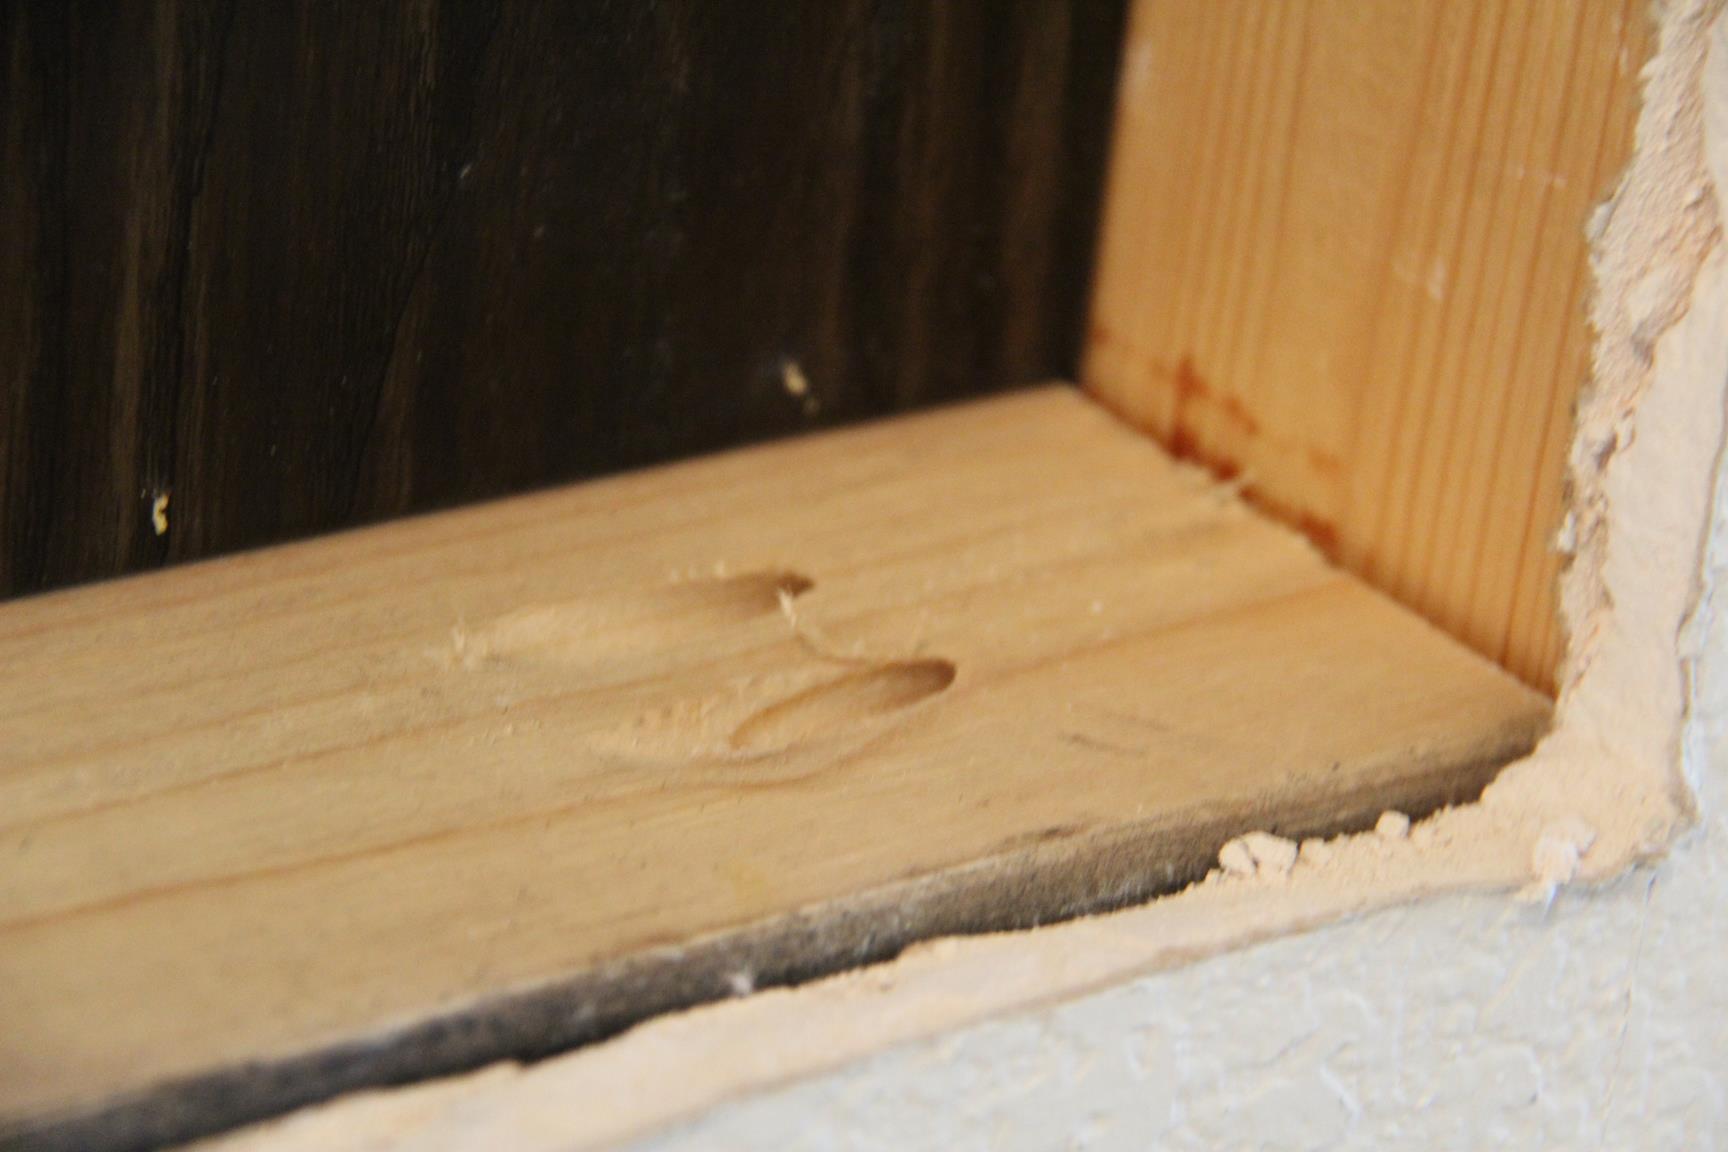
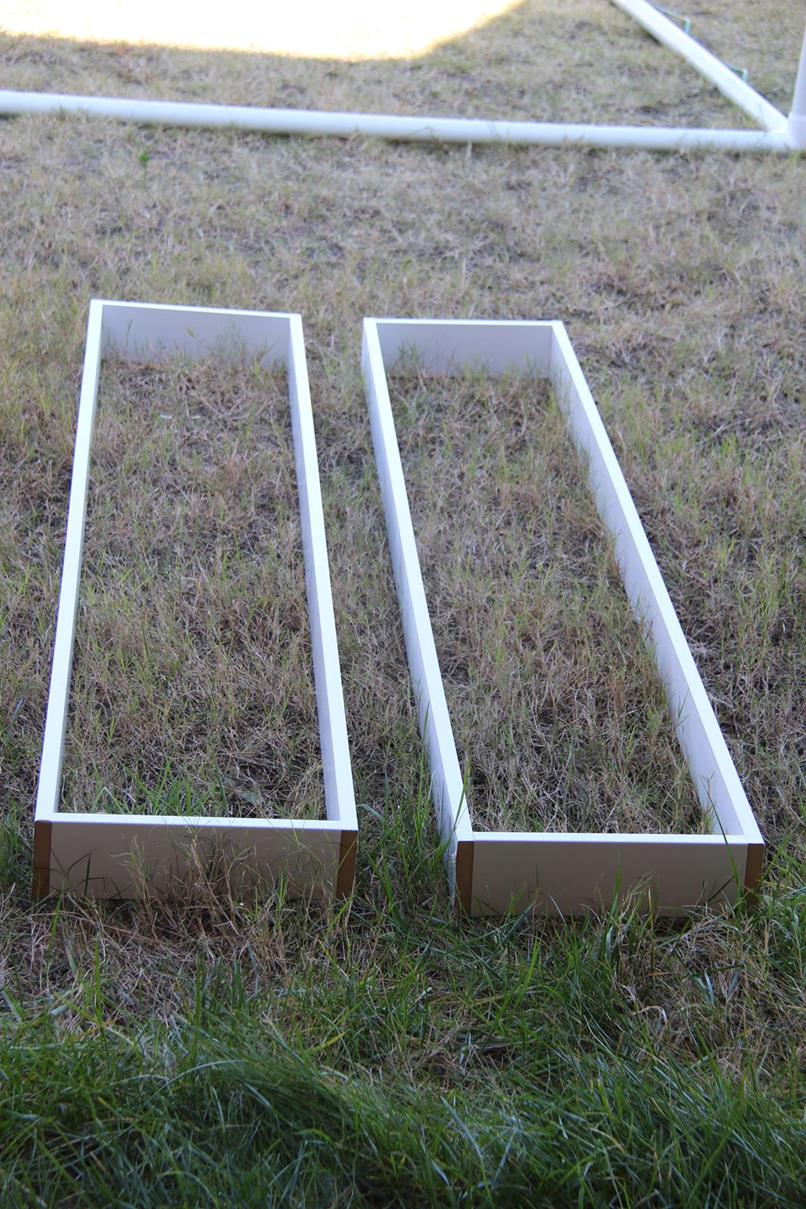
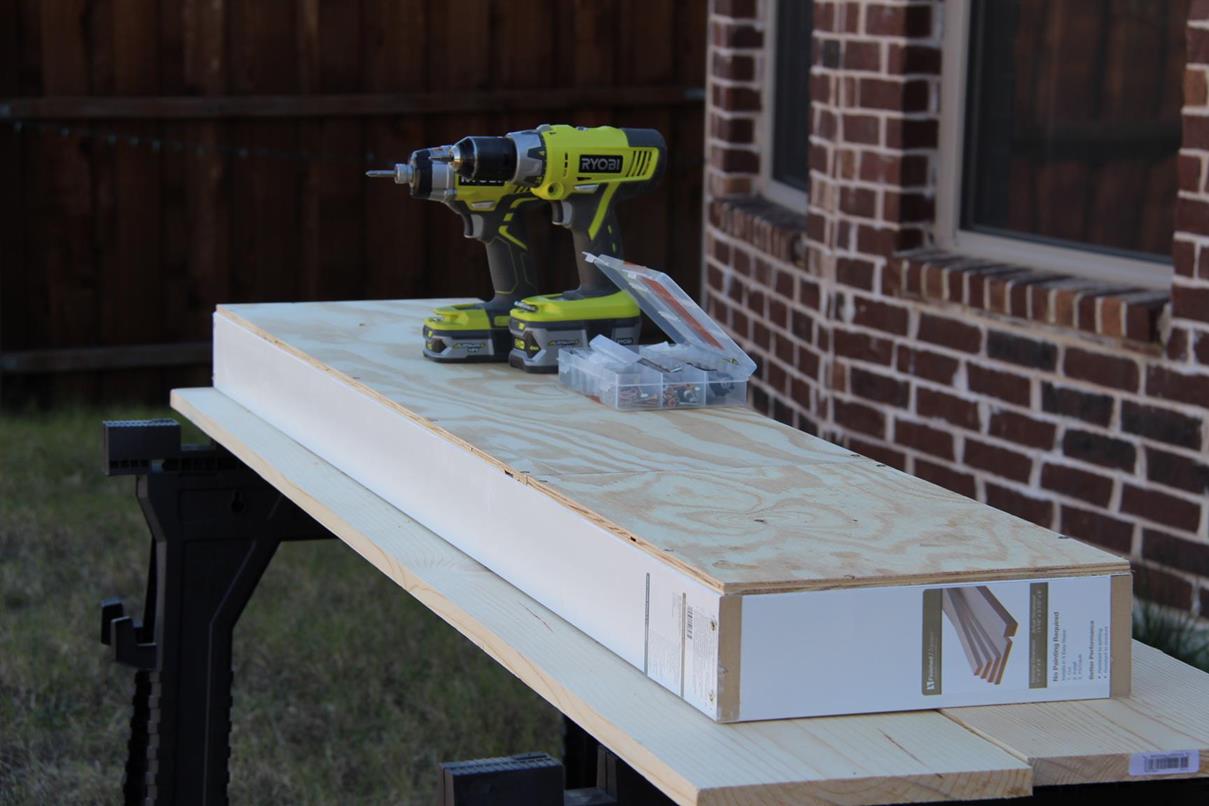
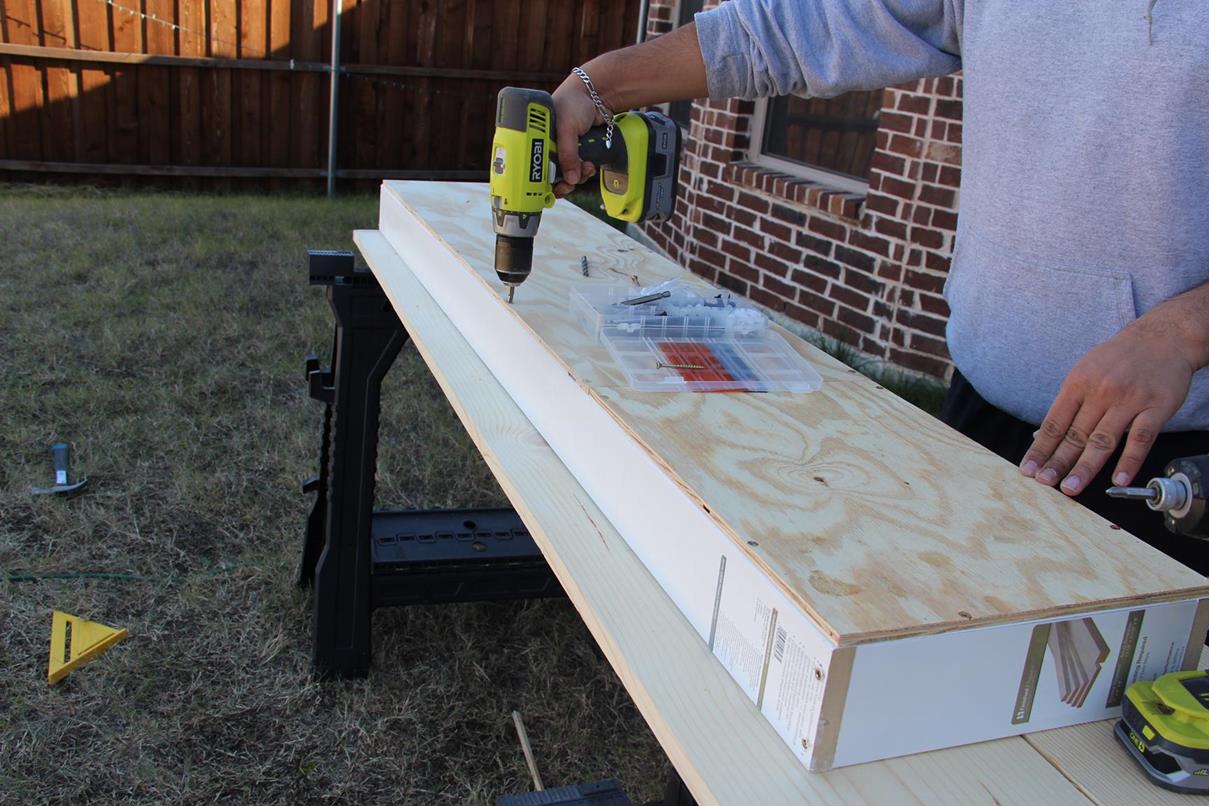
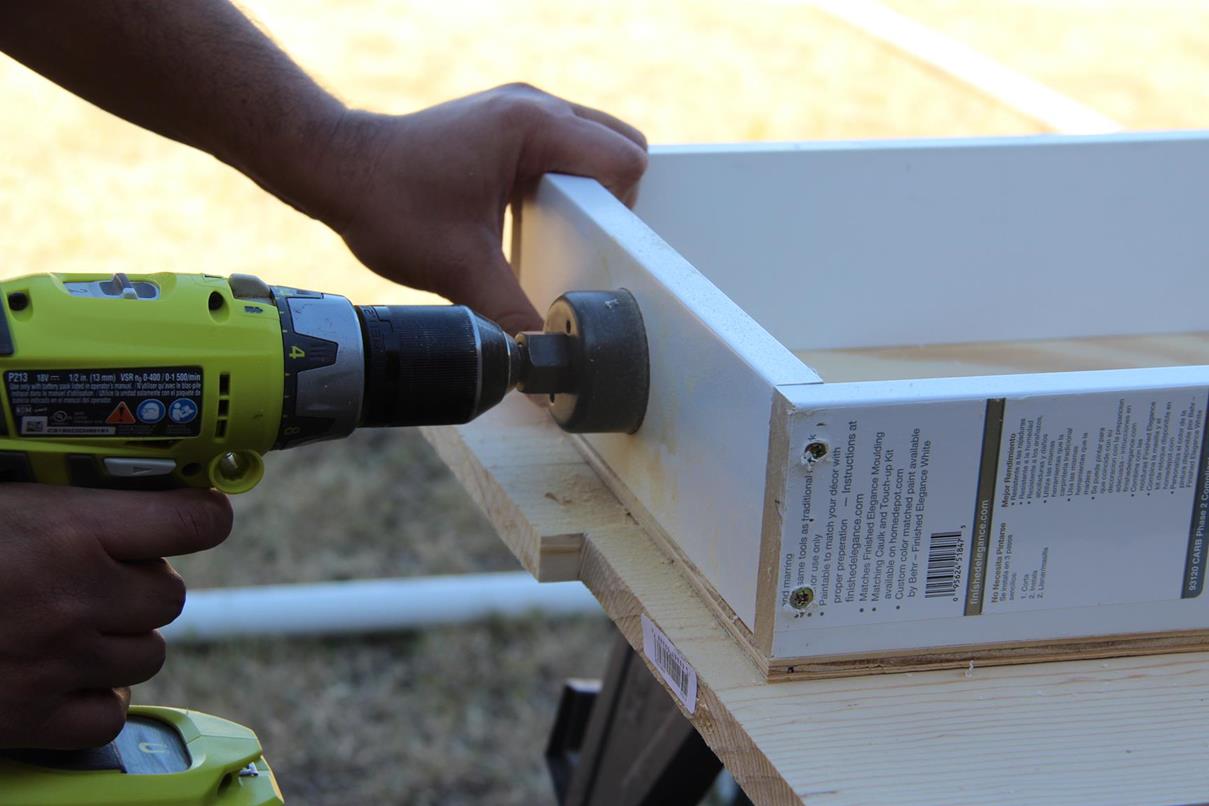
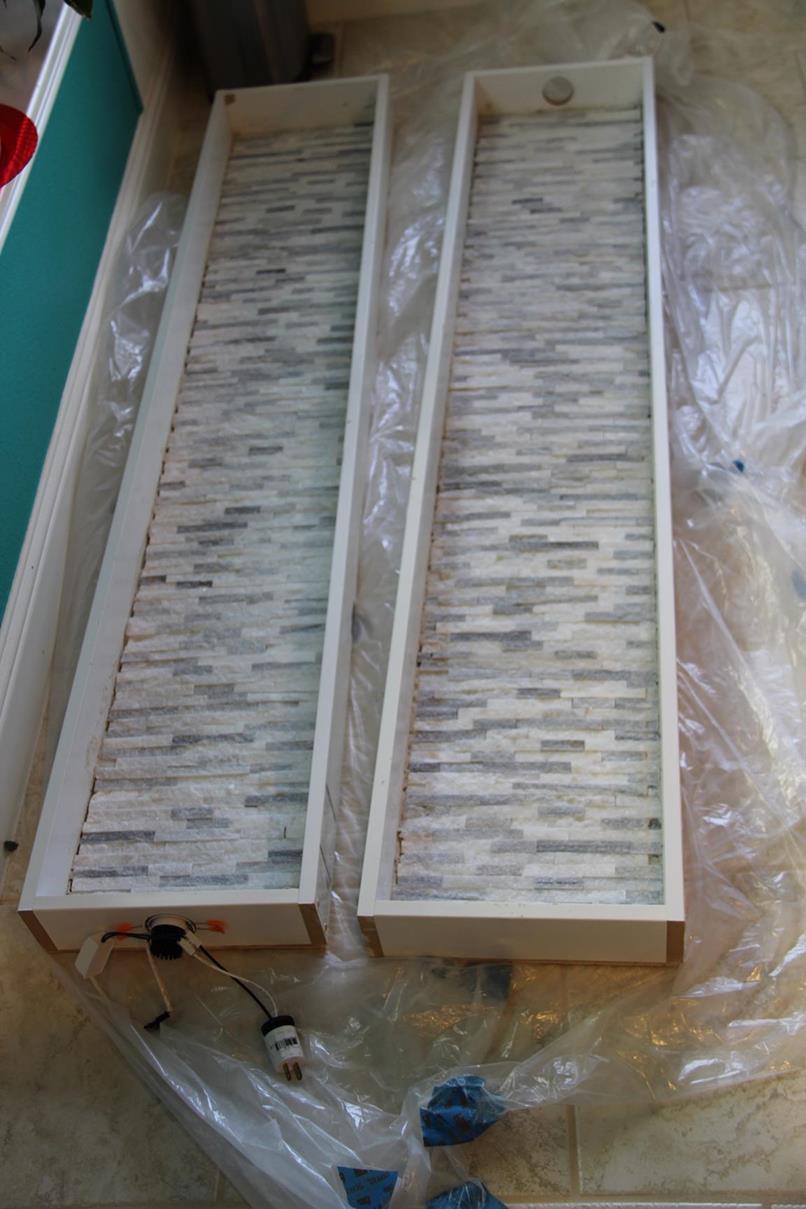
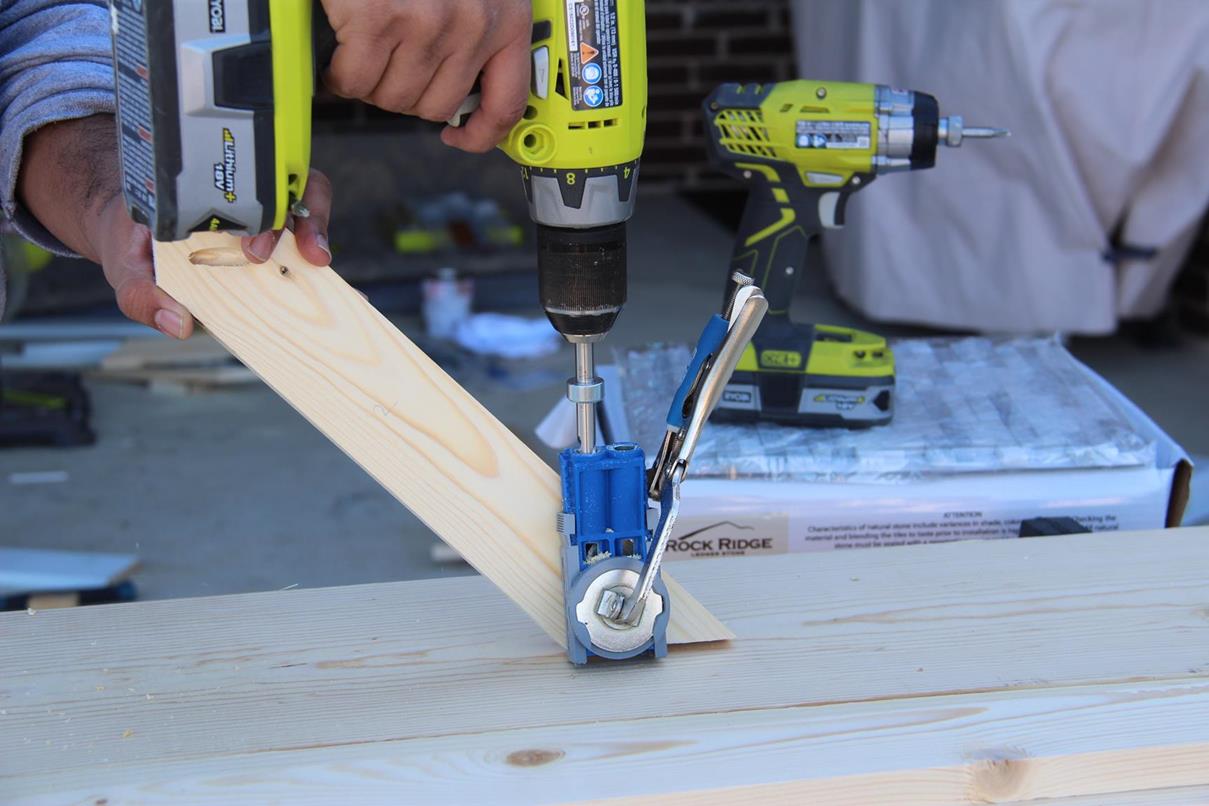
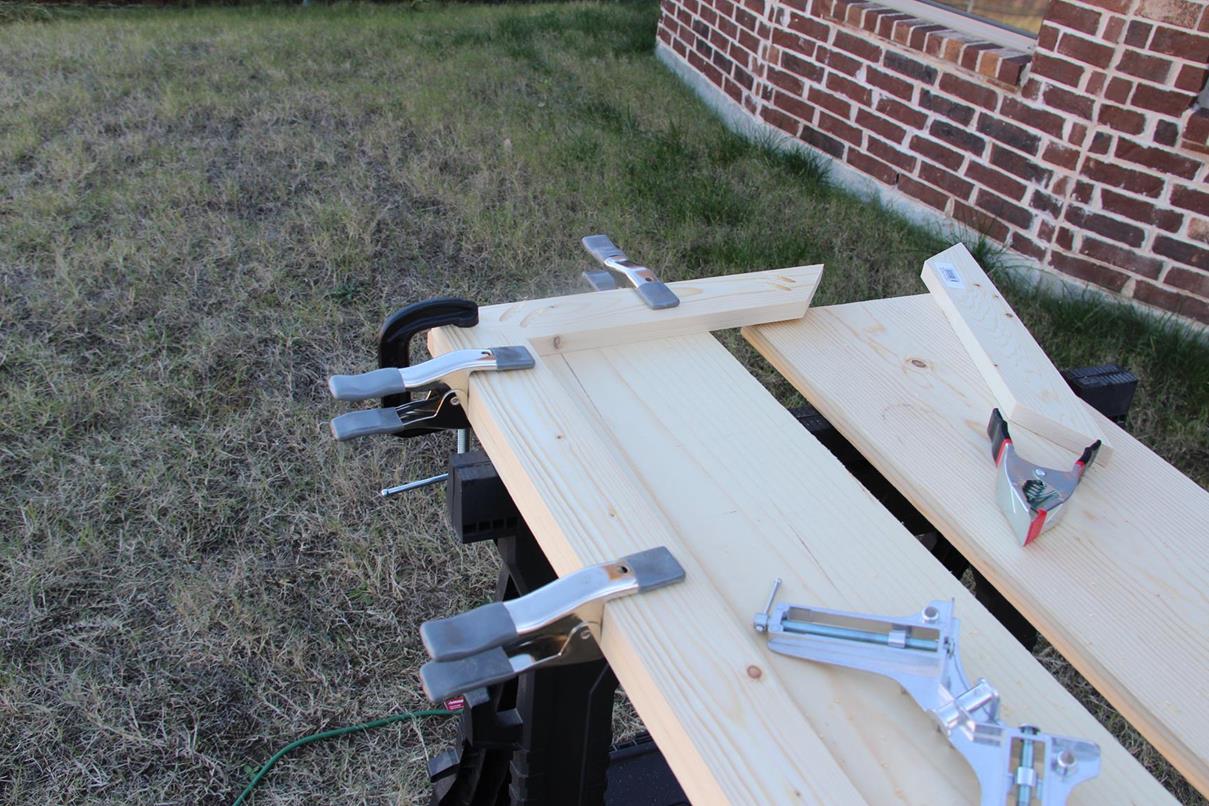
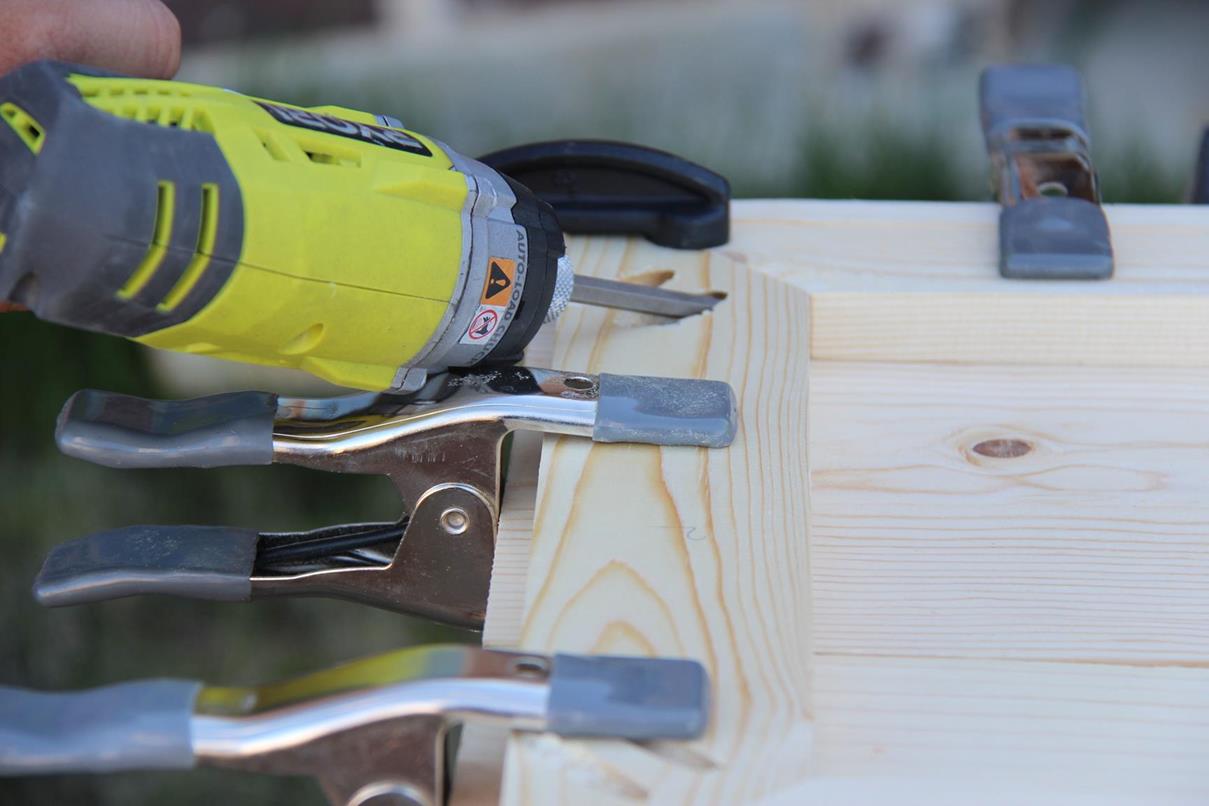
Step 4: Build Niche Box
Step 5: Add Marble Tiles
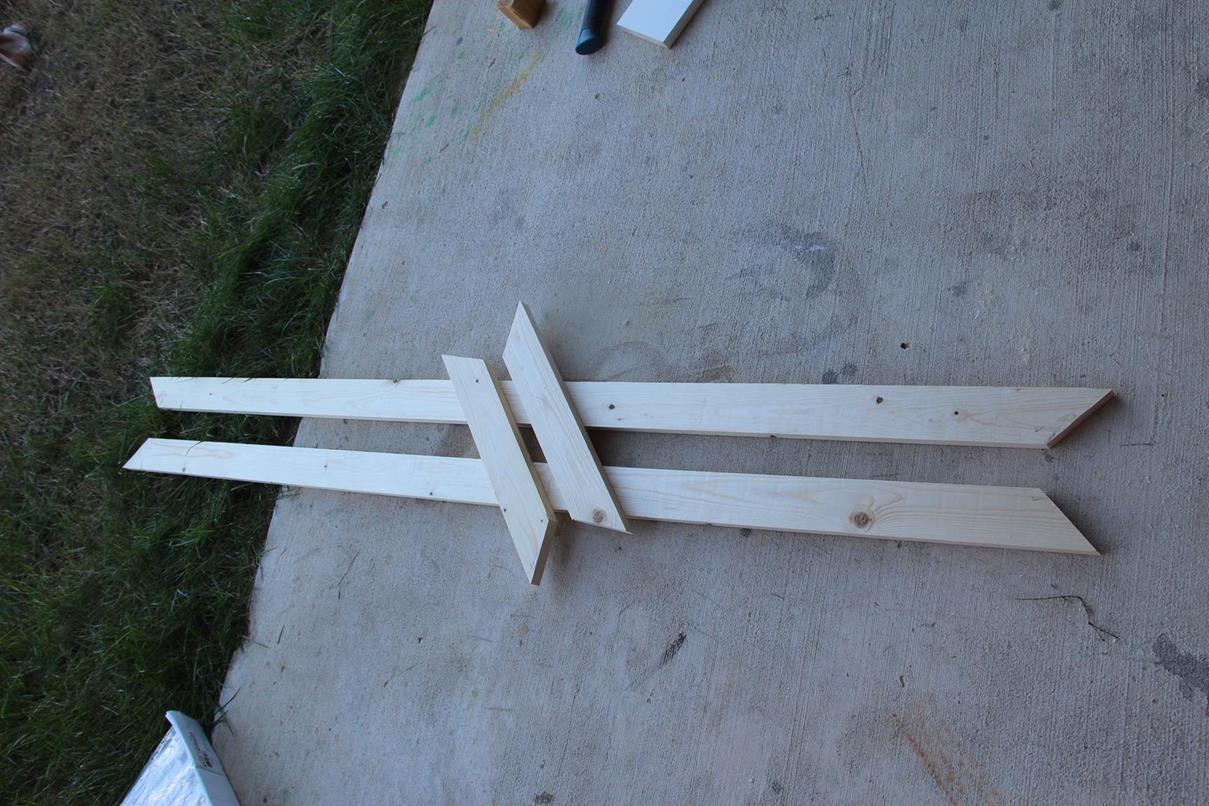
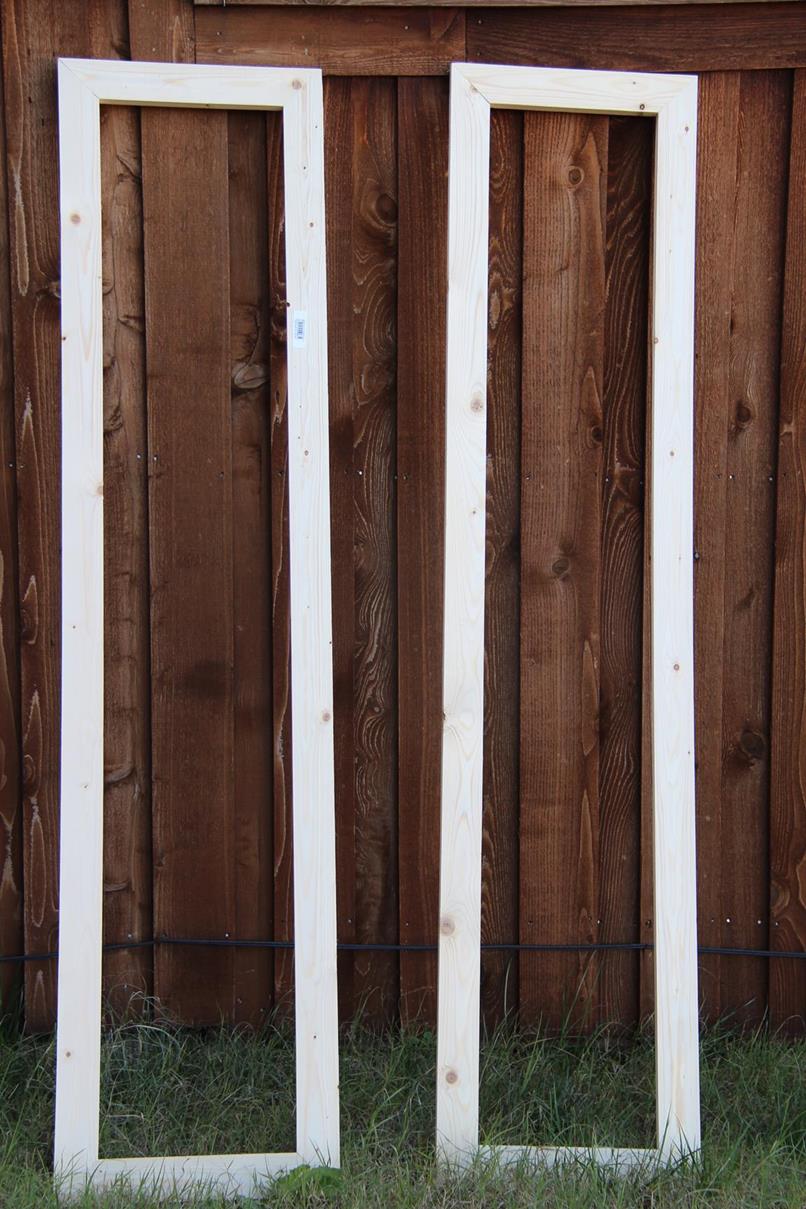
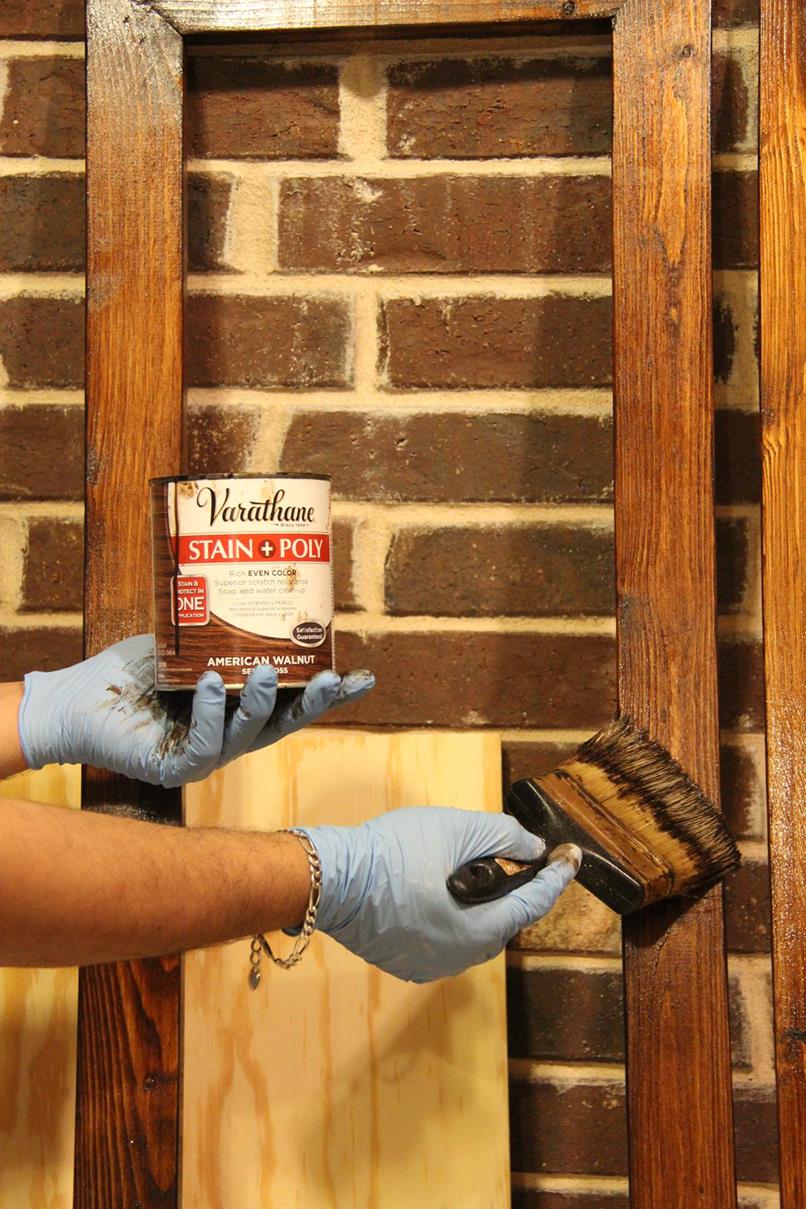
Step 6: Build Surround Trim & Stain
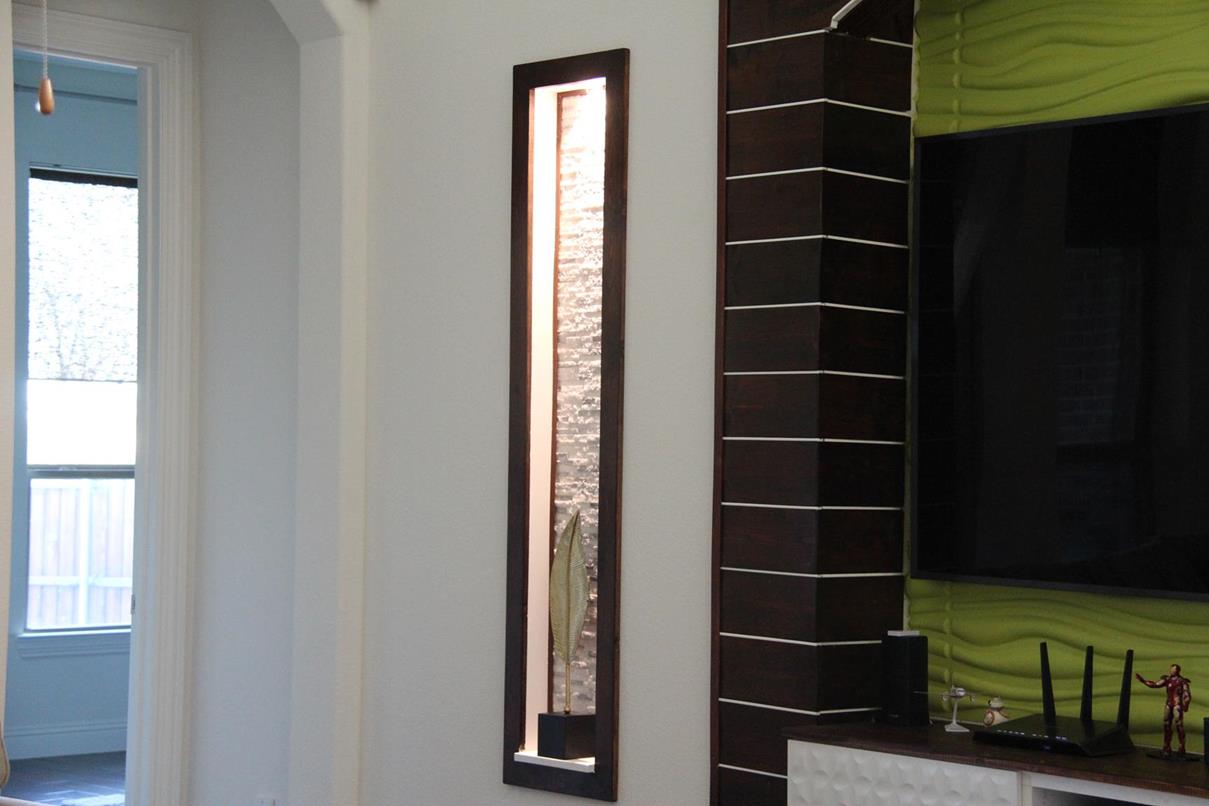
Final Product !!!

Awesome