Inspired by HGTV
So to do this project, we went through various option, like getting pre-cut
The
Continue to read this post to see what we did and how we did it.
DIY Skill Level Needed:

Materials
- Wood: 1/4 inch x 4ft x8ft Common Underlayment Plywood
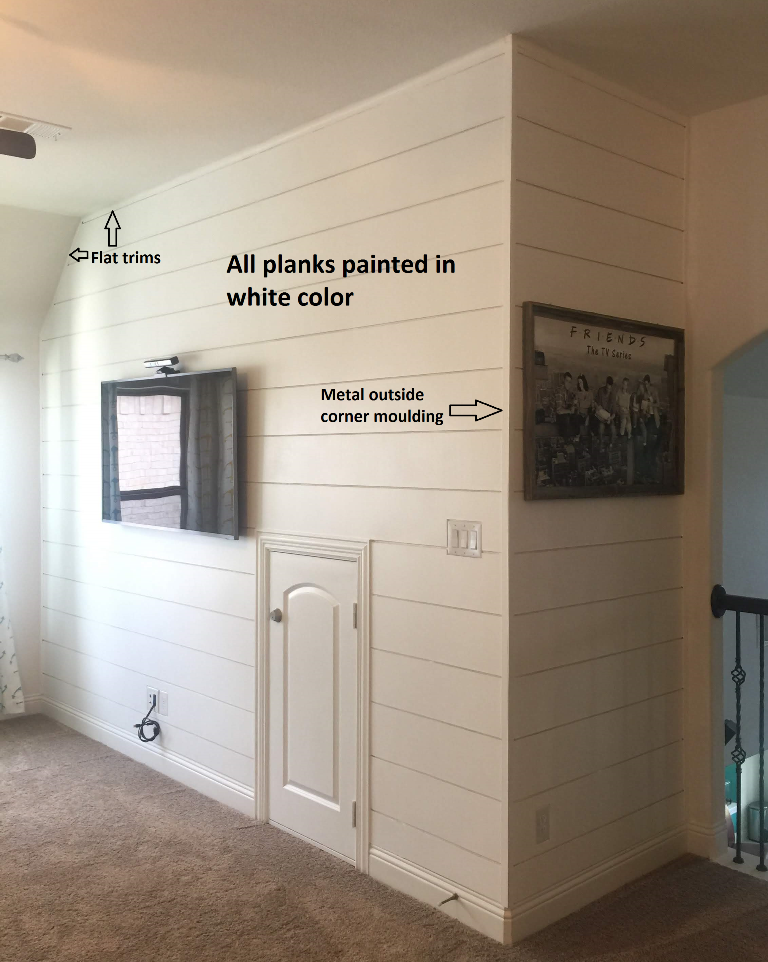
- Trim: Flat Trim Chair Rail, Outside cover metal Trim
- Nails: 2″ Finishing 18-Guage Brad Nails
- Sand Paper: 100 Grit, 200 grit
- Paint: Bher Decor White, Satin Sheen
- Old time wooden yardstick
Here is the picture of the wall before decor.


Day 1: Shopping!!! Lot of wood cuts!!! Installing Planks on Wall
Started with shopping at home depot for plywood. Found 1/4 inch x 4 ft x 8 ft common underlayment plywood to cut to 8″ X 8ft. We could get around five 8″ X 8ft planks created in each plywood board.

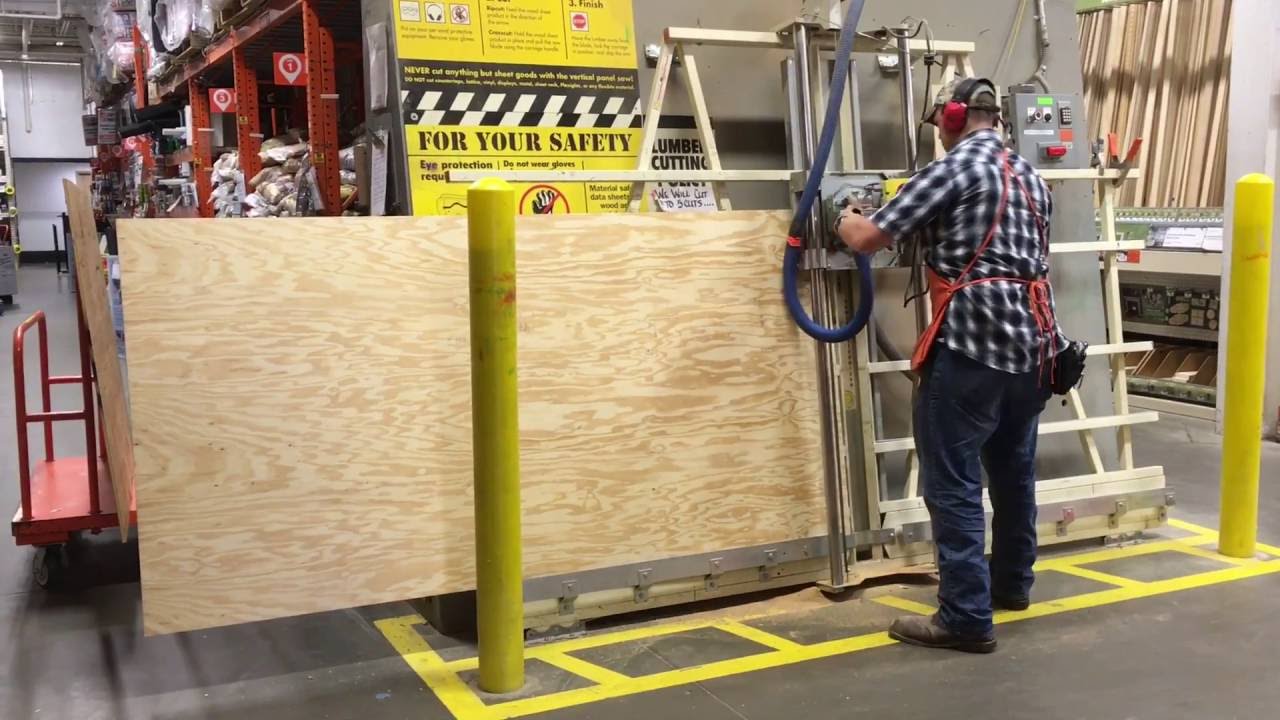
We have 2 walls: 1st with 12 ft X 12 ft, 2nd with 12 ft X 3 ft. So we required 6 plywood board to get 48 pieces of 8 inch X 8 Ft. Each plank costs $13. So for 6 plywood boards, it was total of $78.. woohooo. That’s way below our budget to cover 12 ft X 15 ft wall area!!!! Done with wood shopping at homedepot.
Back to home. All shiplap planks are now pre-cut for us :). All that we required to do was to install them on wall. Before we start installing, we sanded the cut edges to get smooth edges. We began with marking the stud placements on the wall. As you can see in above picture, there is a small attic door on the wall. We started with placing the first plank on the top of the door and remaining planks were installed around that. Wall 1 is 12 ft wide. So as and when necessary, we cut the 8 ft planks to fit the remaining length on each row.
All planks were nailed to studs with 2″ finishing nails using Ryobi Finishing Nailgun.
Used the thickness of long wooden yardstick (available in home depot) for creating the even distance between planks The thickness of the yardstick is 1/4 inch, which is perfect for the space between planks. Yardstick comes in 36 inches and are only 98 cents. So we used 3 yardstick for placing along all width of the wall.

Day 2: Painting!!!
First covered all nail marks and plank joints with wood putty. Let it dry for 2 hours. Then started with painting. Painted 2 coats of décor white color
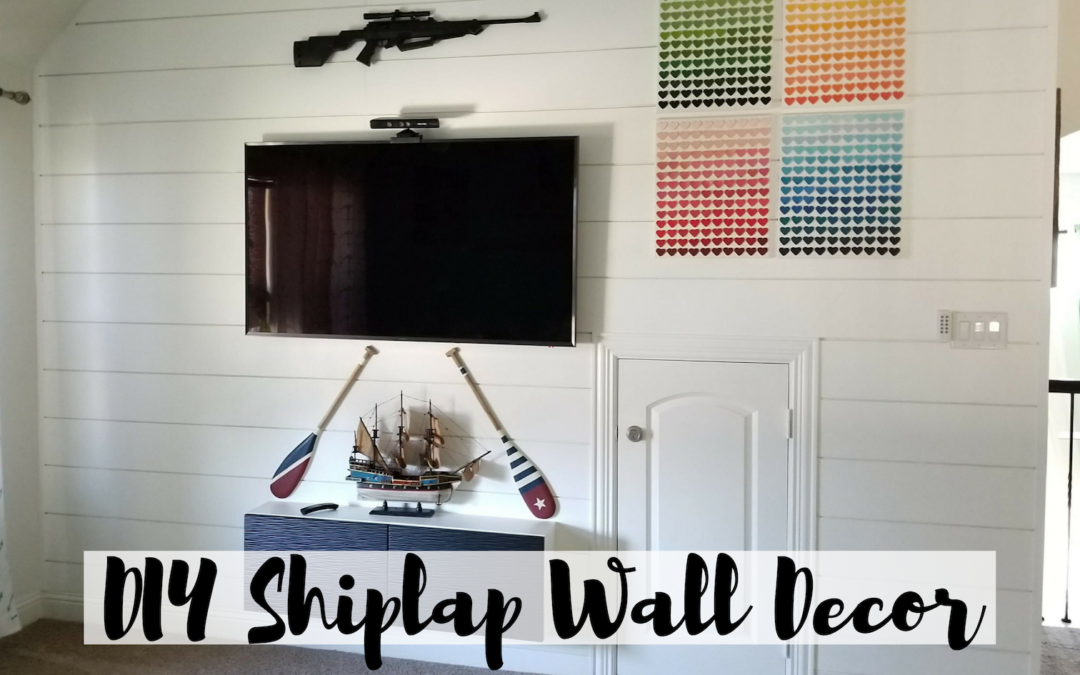
Vola!!! Shiplap wall Reveal!!!!


For Décor on walls:
Small wall: FRIEND’S Poster. Our Favourite sitcom 🙂
Big Wall: Multicolored Hearts Canvas Boards – Prepared them with paper paint palette and heart lever punch
Added the ikea cabinets for storage.
Found the vintage tall ship sailing boat at Home Goods that fits Nautical décor in the room
Rowing oar found them in hobby lobby complete the décor on the wall.
Thank you for reading our post. Comments are welcome. Please like and share on Facebook, Instagram, Twitter. In case of any questions, please contact us.