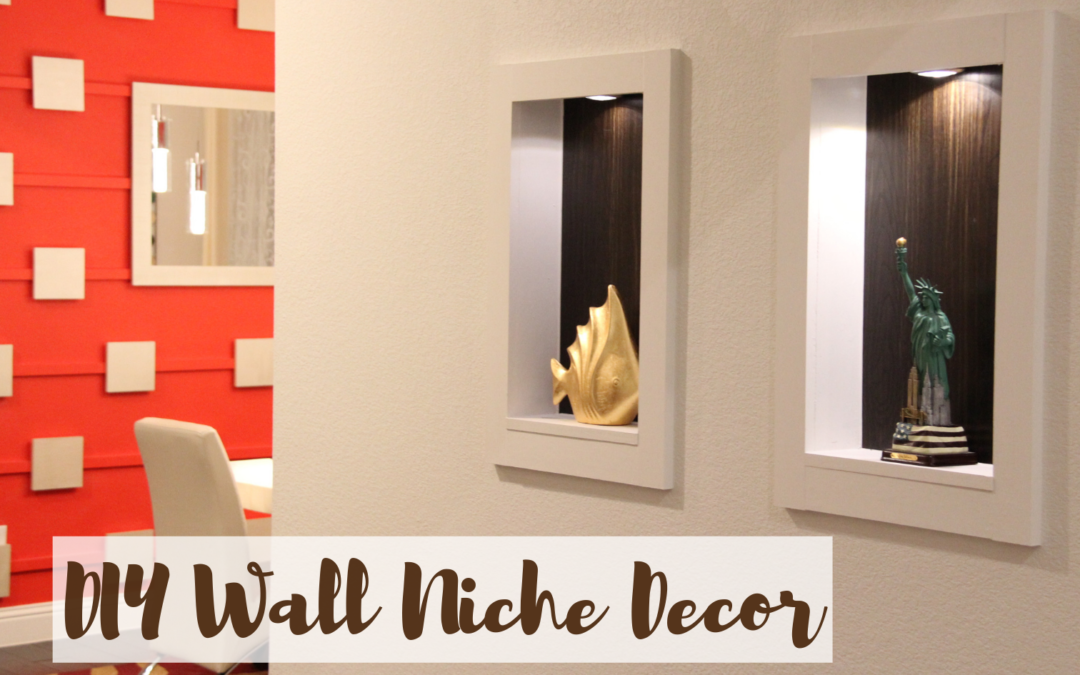
We love discovering new ways of adding design to our home and recently came across wall niches. Wall niche are great ways to decorate a plain-looking wall, adding pictures, photos, art pieces, and my
This was an easy DIY build as we had all of the right tools and materials. Please continue reading to see how we built our first wall niche on a lazy Sunday afternoon.
This post contains some affiliate links for your convenience. Click here to read our full disclosure policy.
Materials Needed:
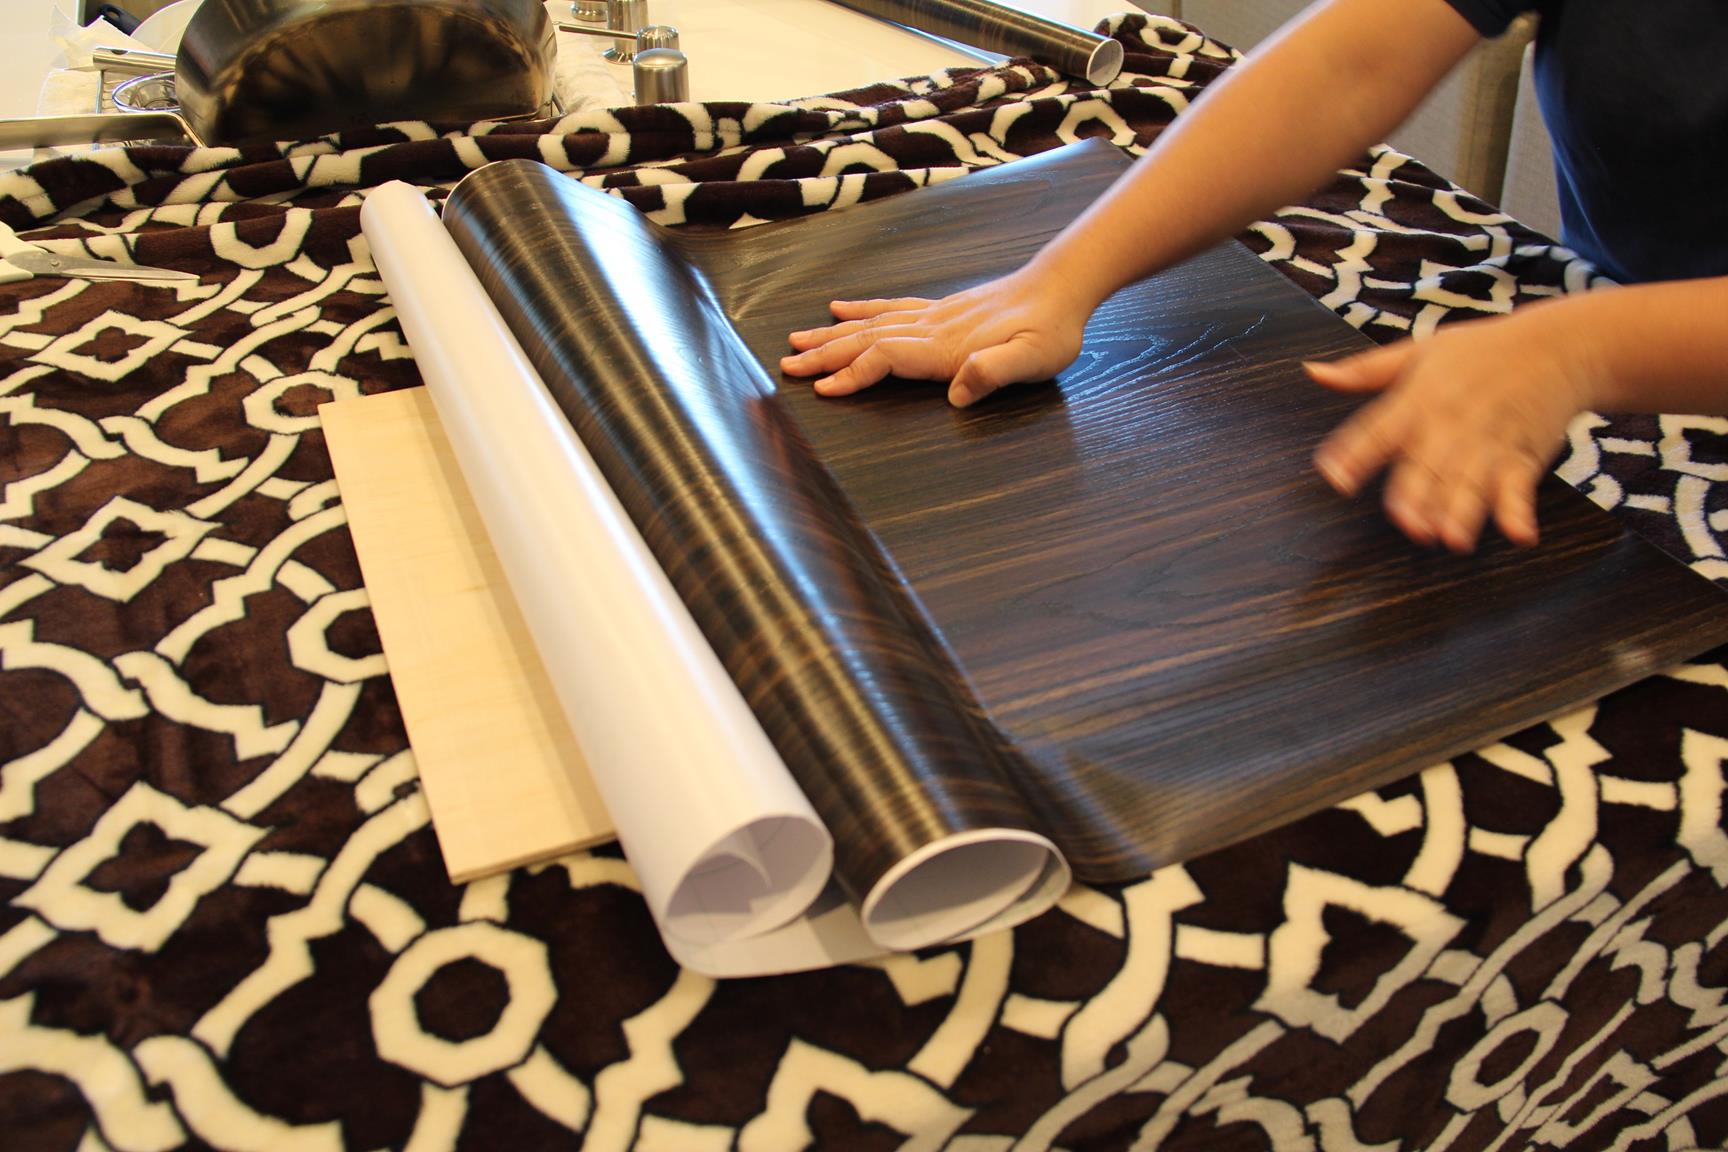
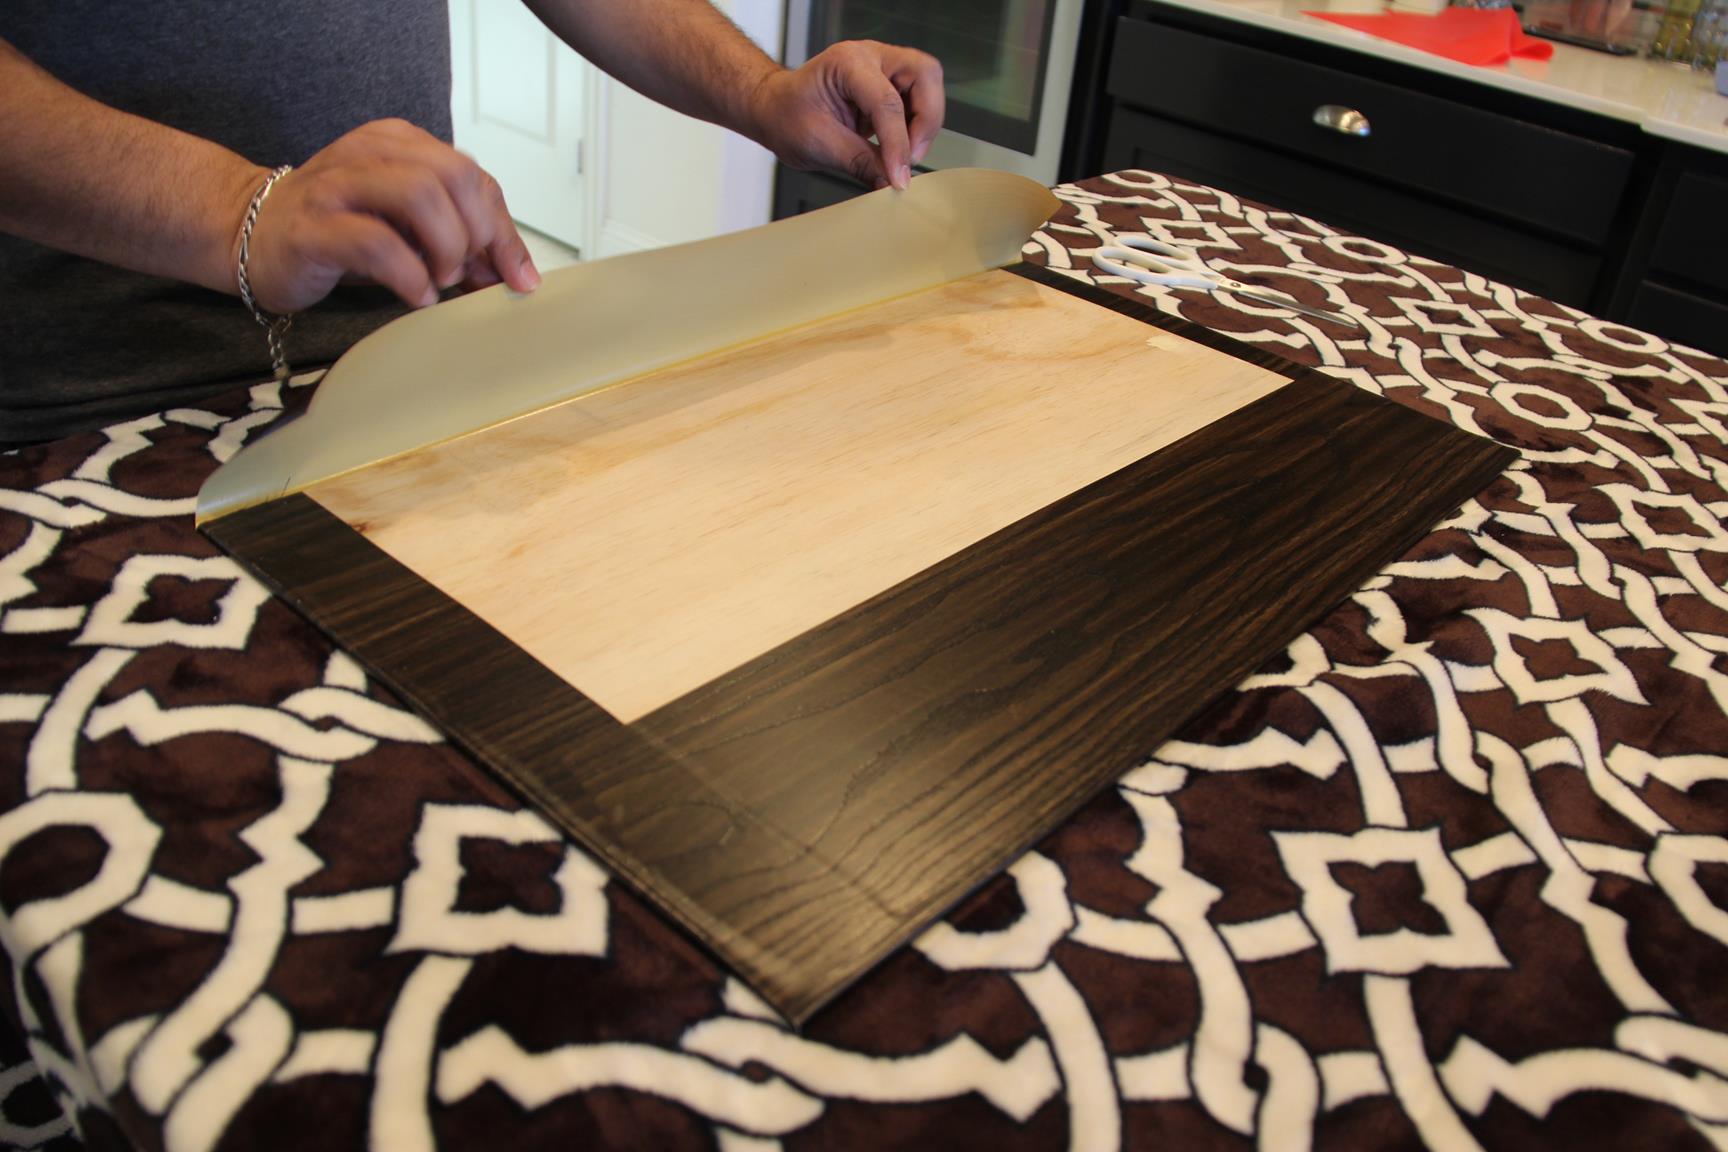
1) Faux Wood Grain Contact Paper (See Amazon Link)
2) Rechargeable Puck Lights (See Amazon Link)

3) 1 in. x 4 in. x 8 ft. MDF Moulding Board (See HomeDepot Link)
4) Other basic woodworking tools like Saw, Screwdriver, Drill, Paintbrush, etc.
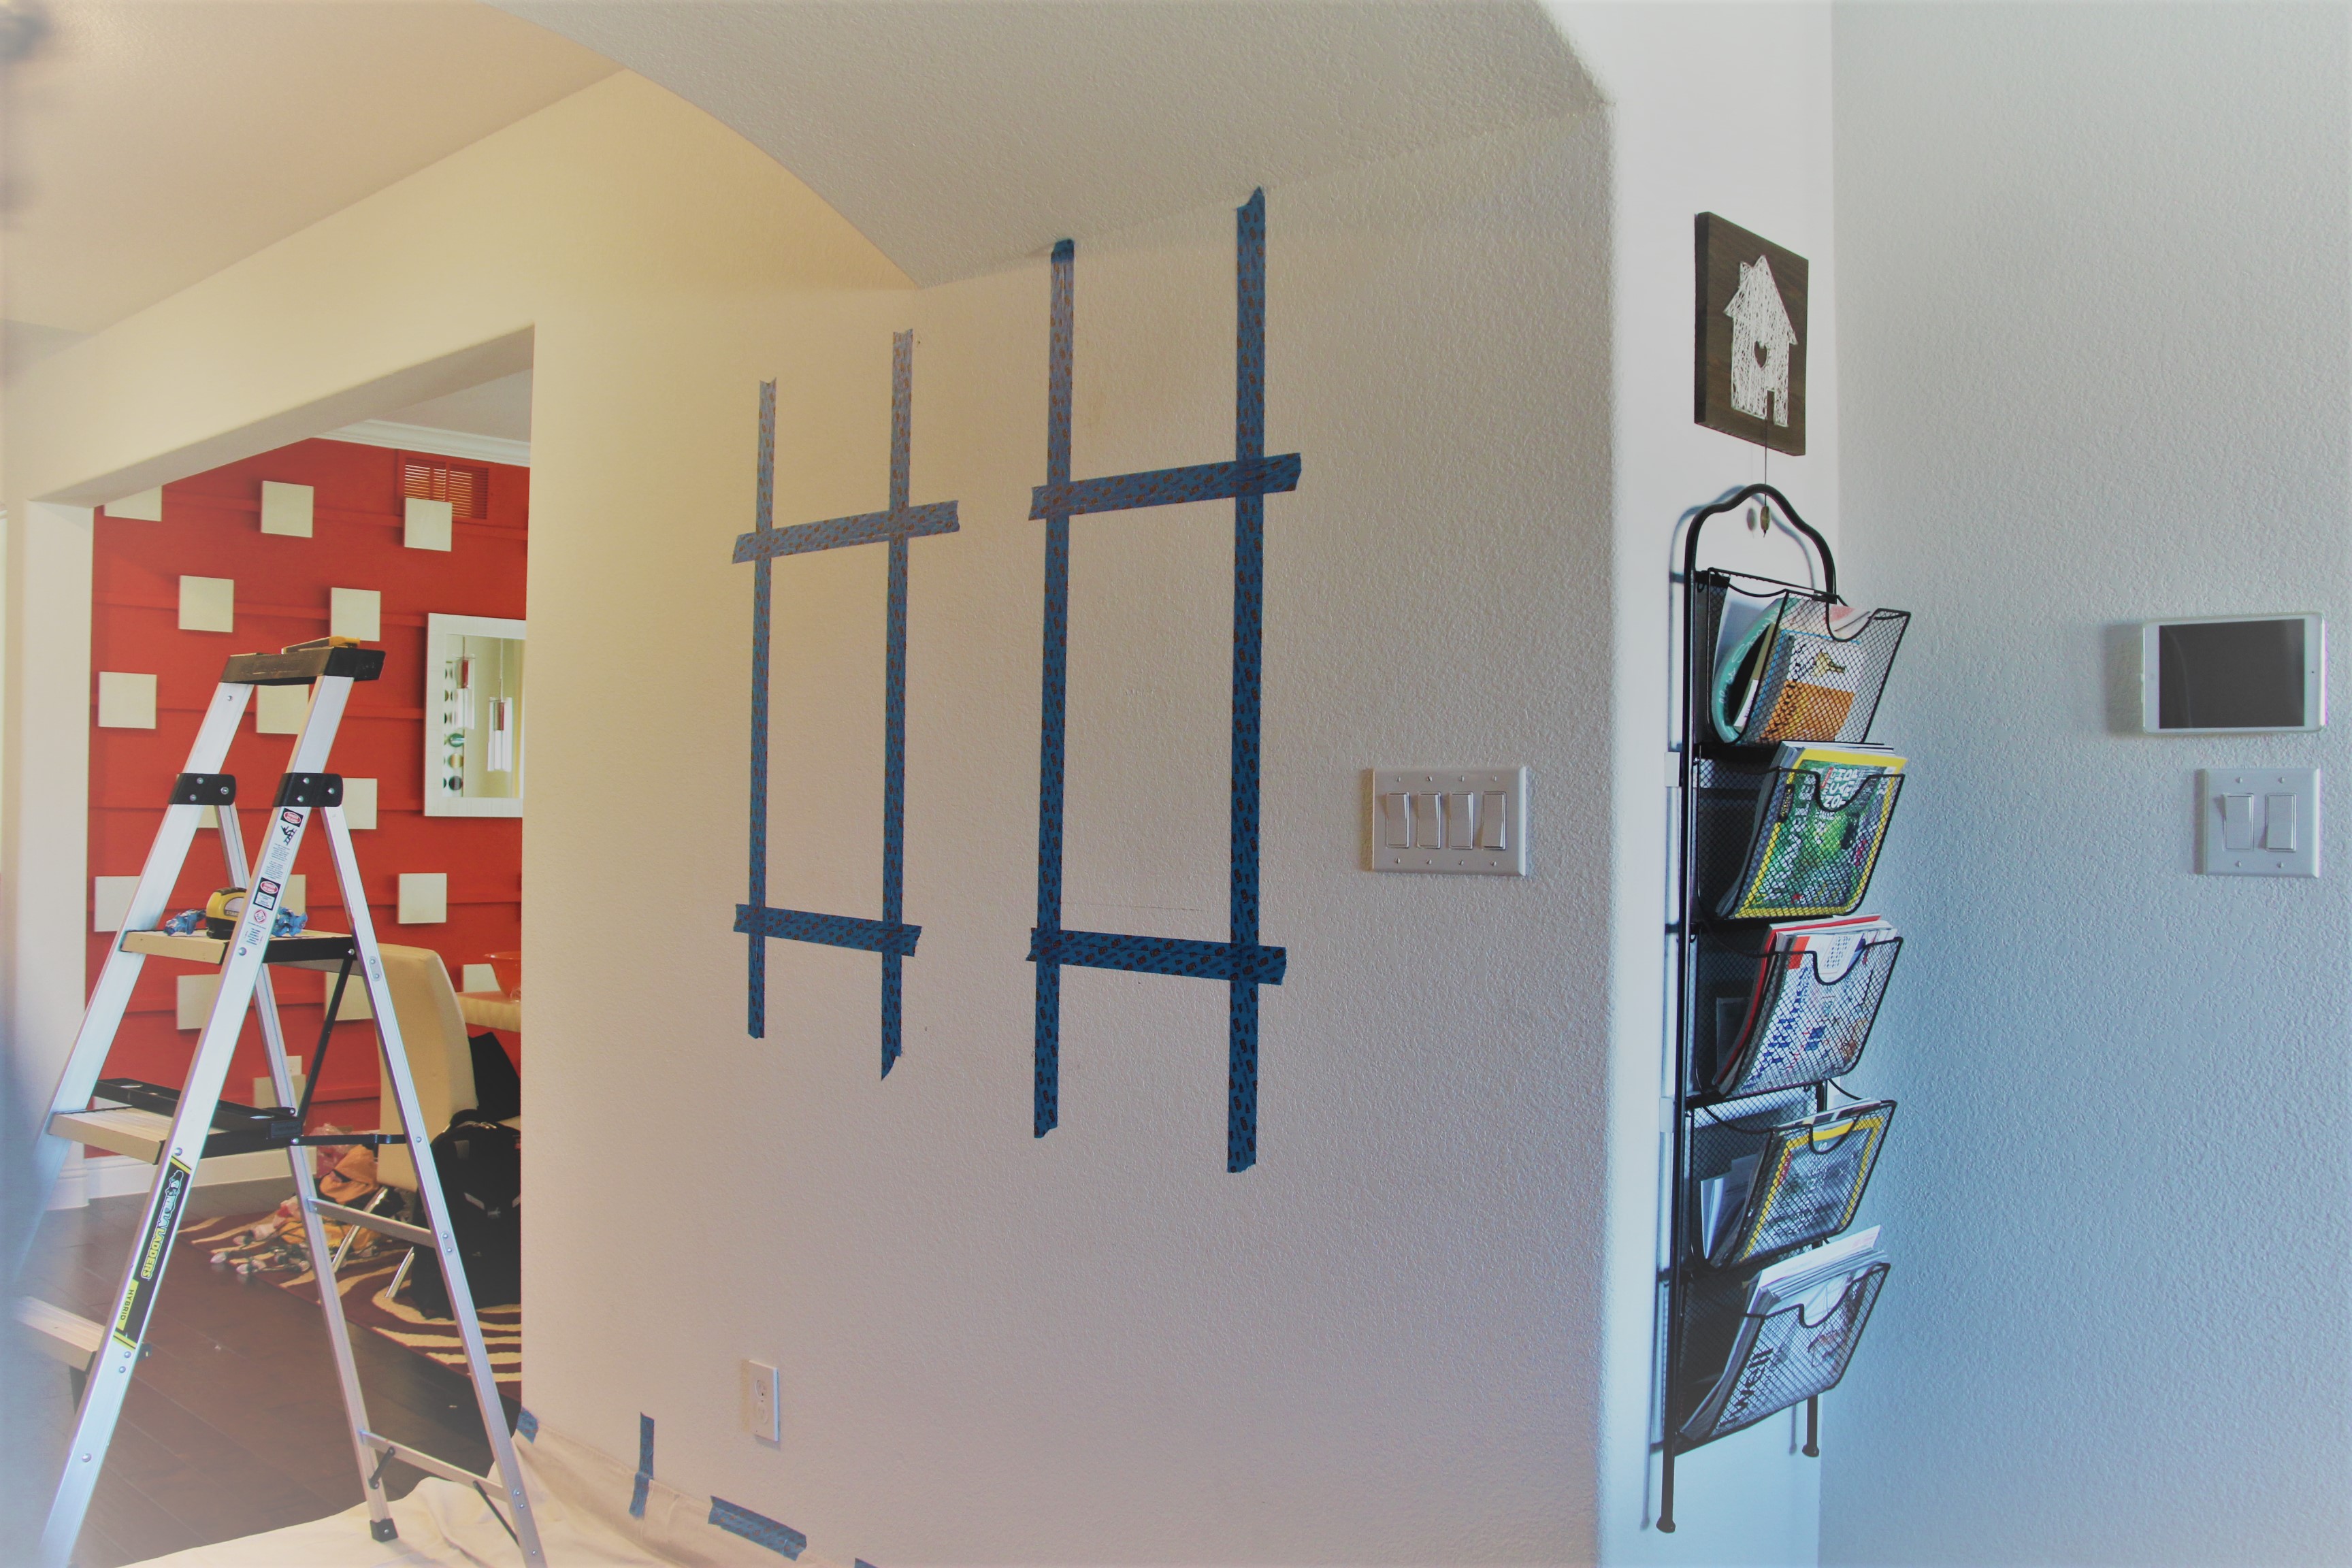
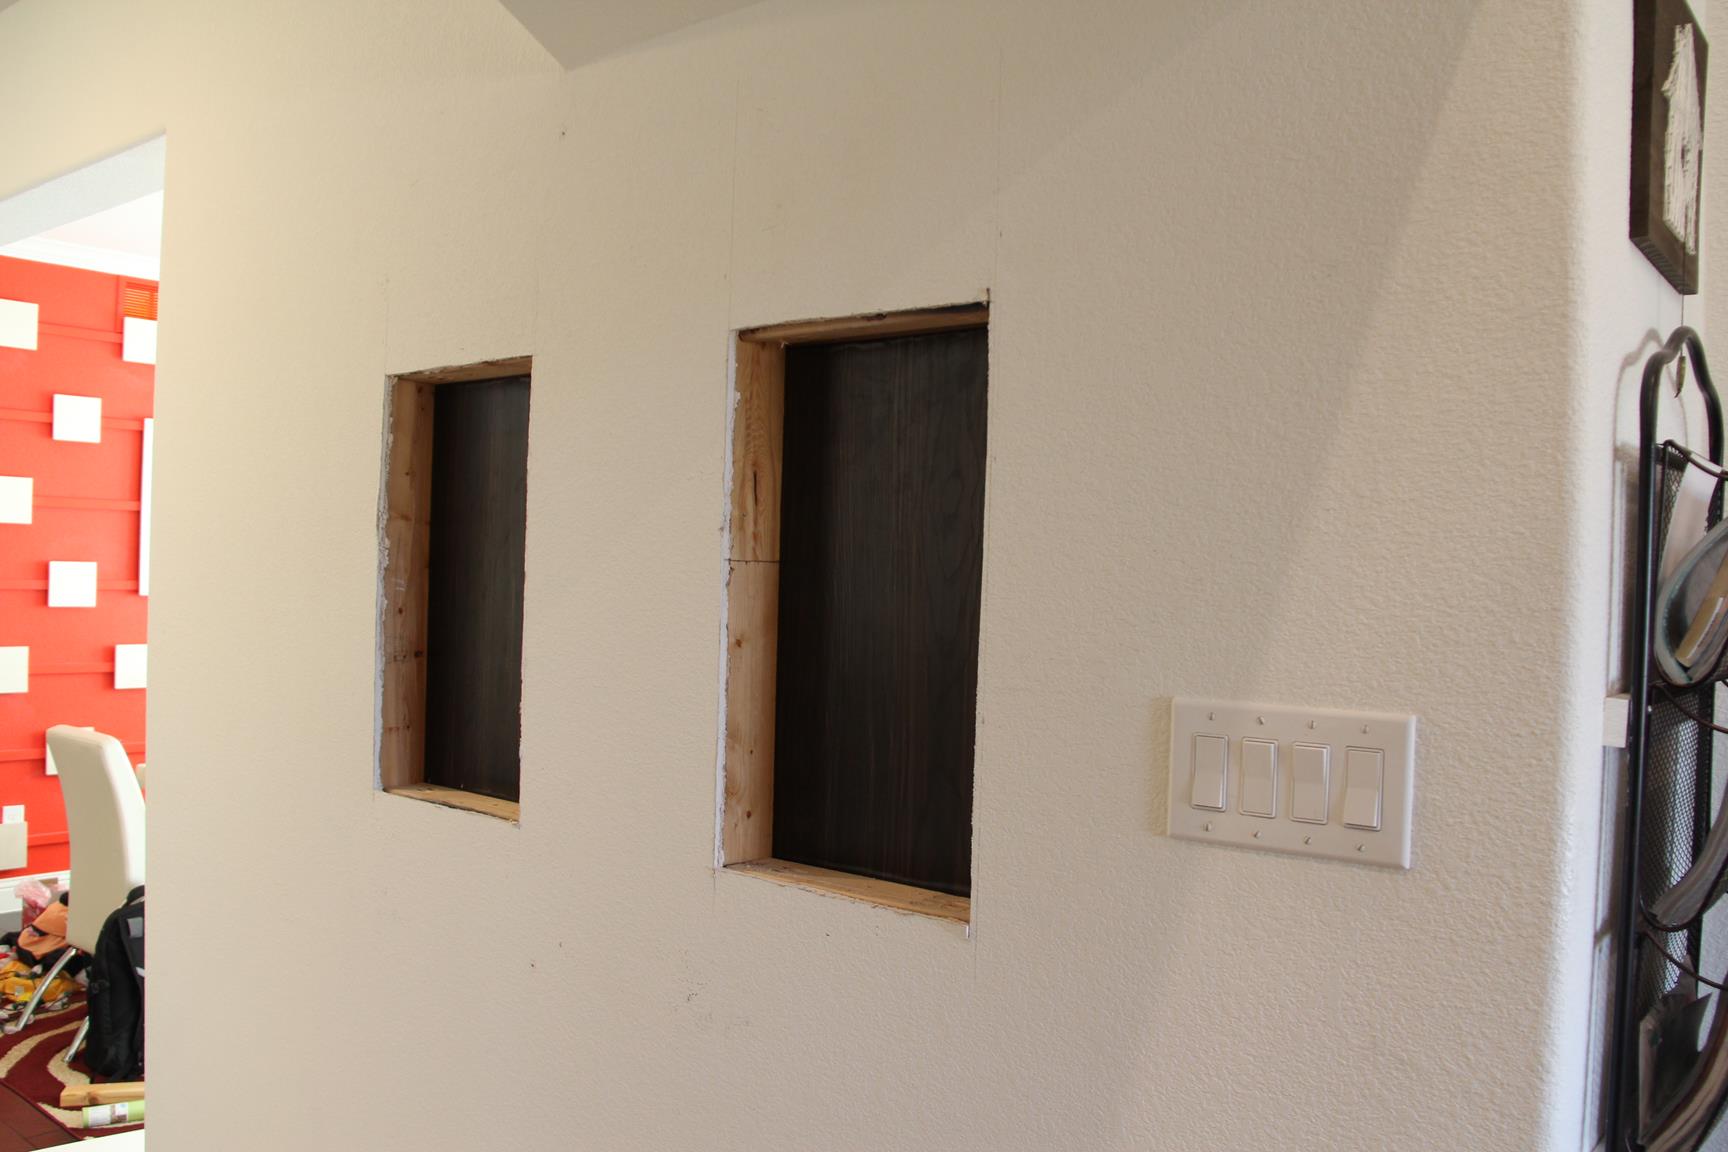
Step 1: Decide Location
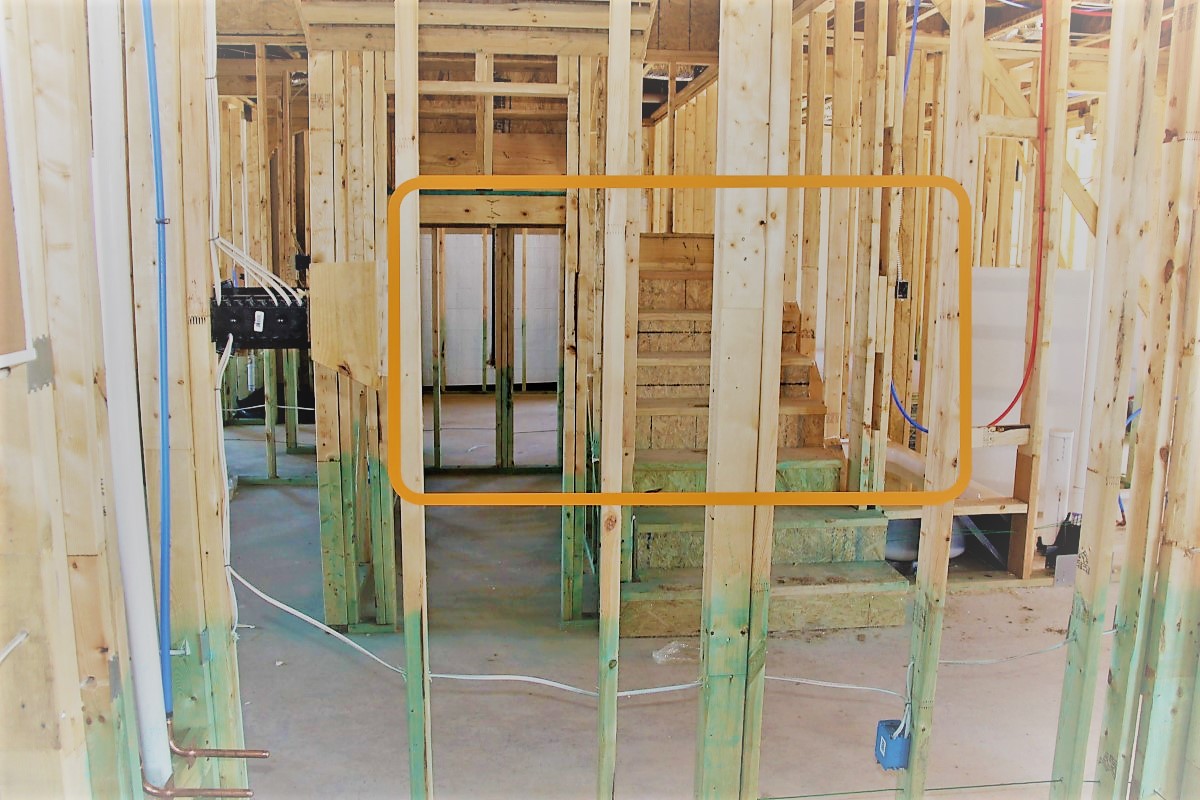
This step goes easier if you have the pre-drywall pictures of your home. Yes a studfinder can help with finding the stud locations but not the electrical wires or other things hidden behind the drywall.
We had the pre-drywall pictures of our house and this made it easier for us to finalise the location.
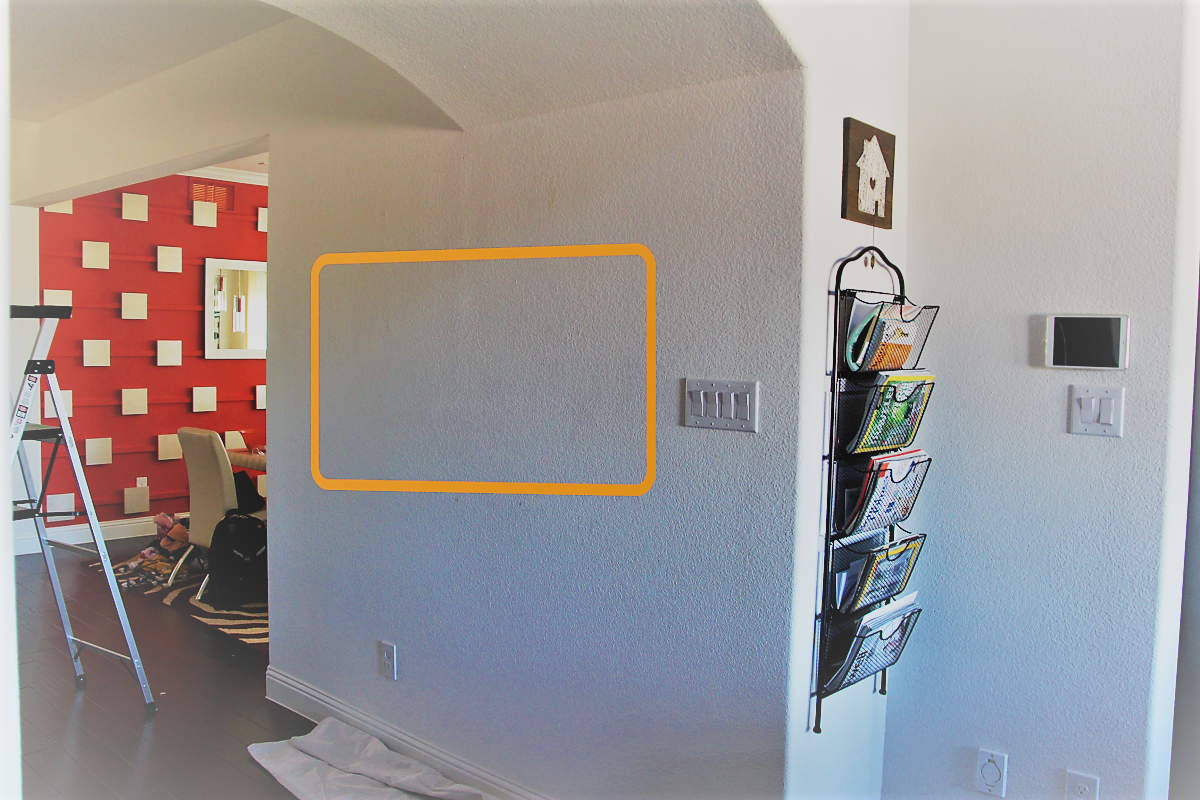
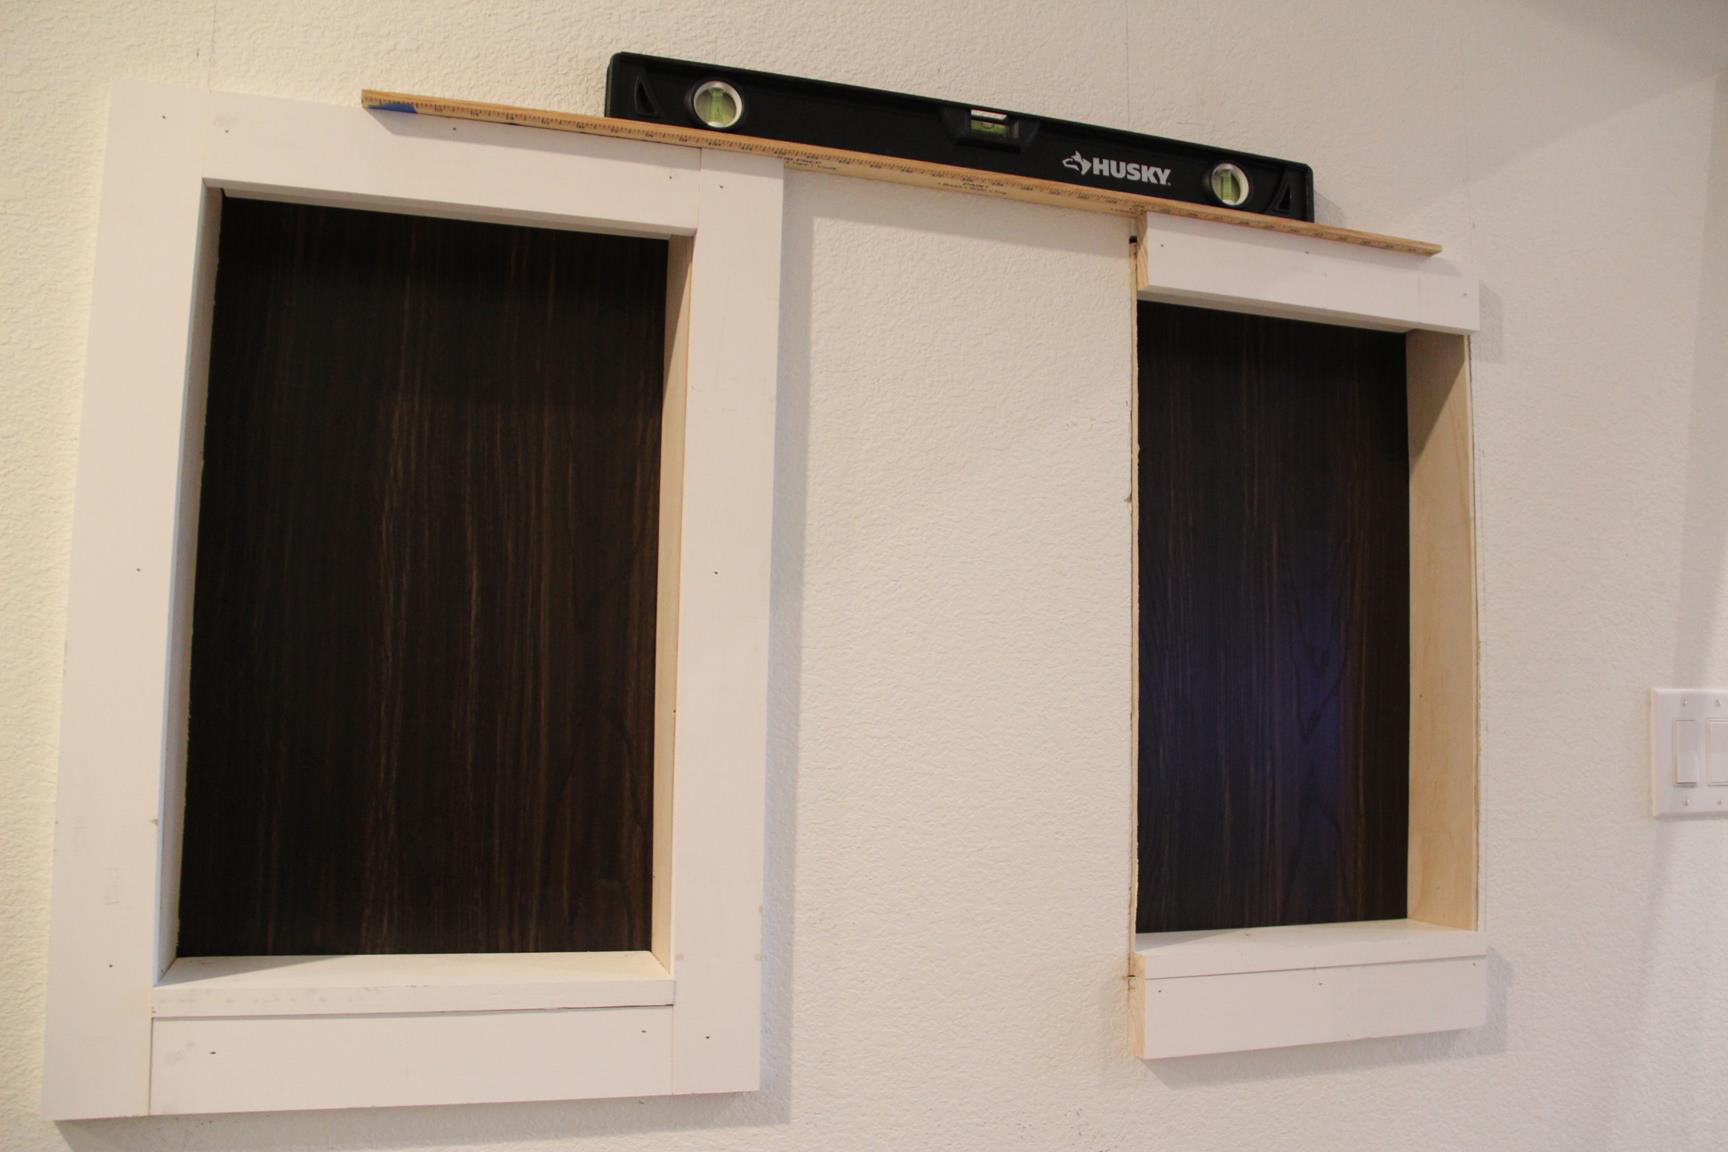
Step 2: Measure & Mark
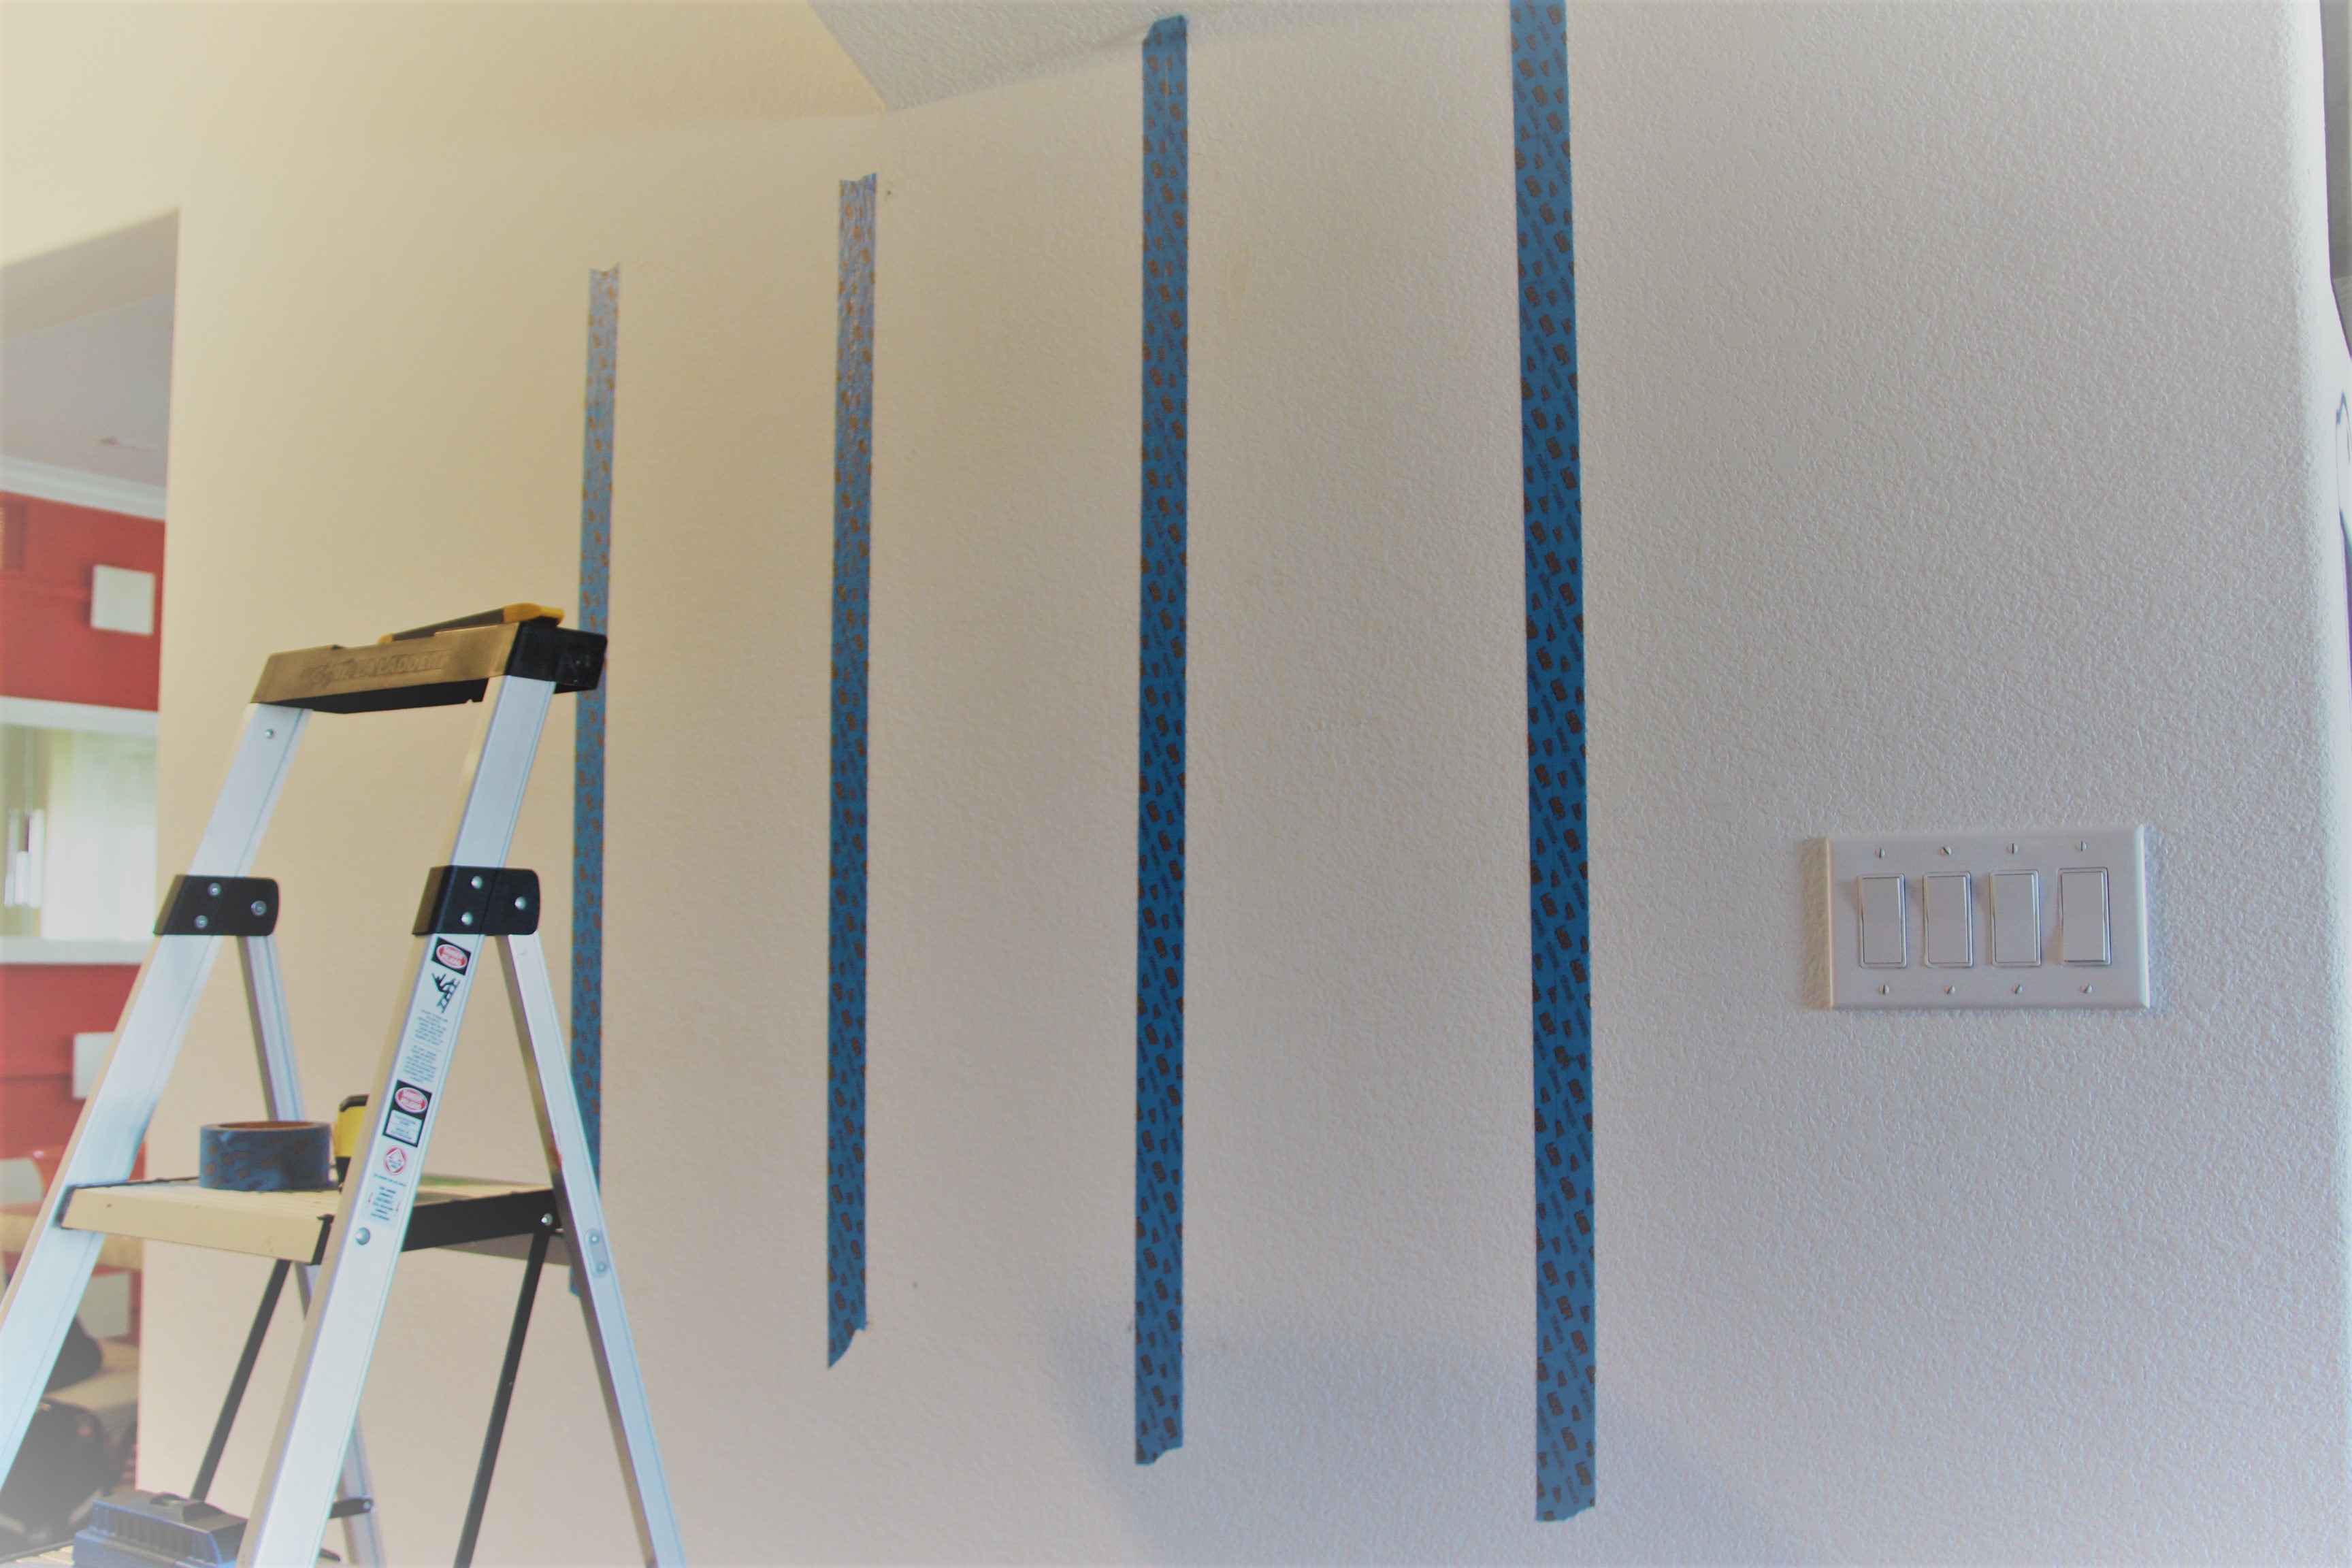
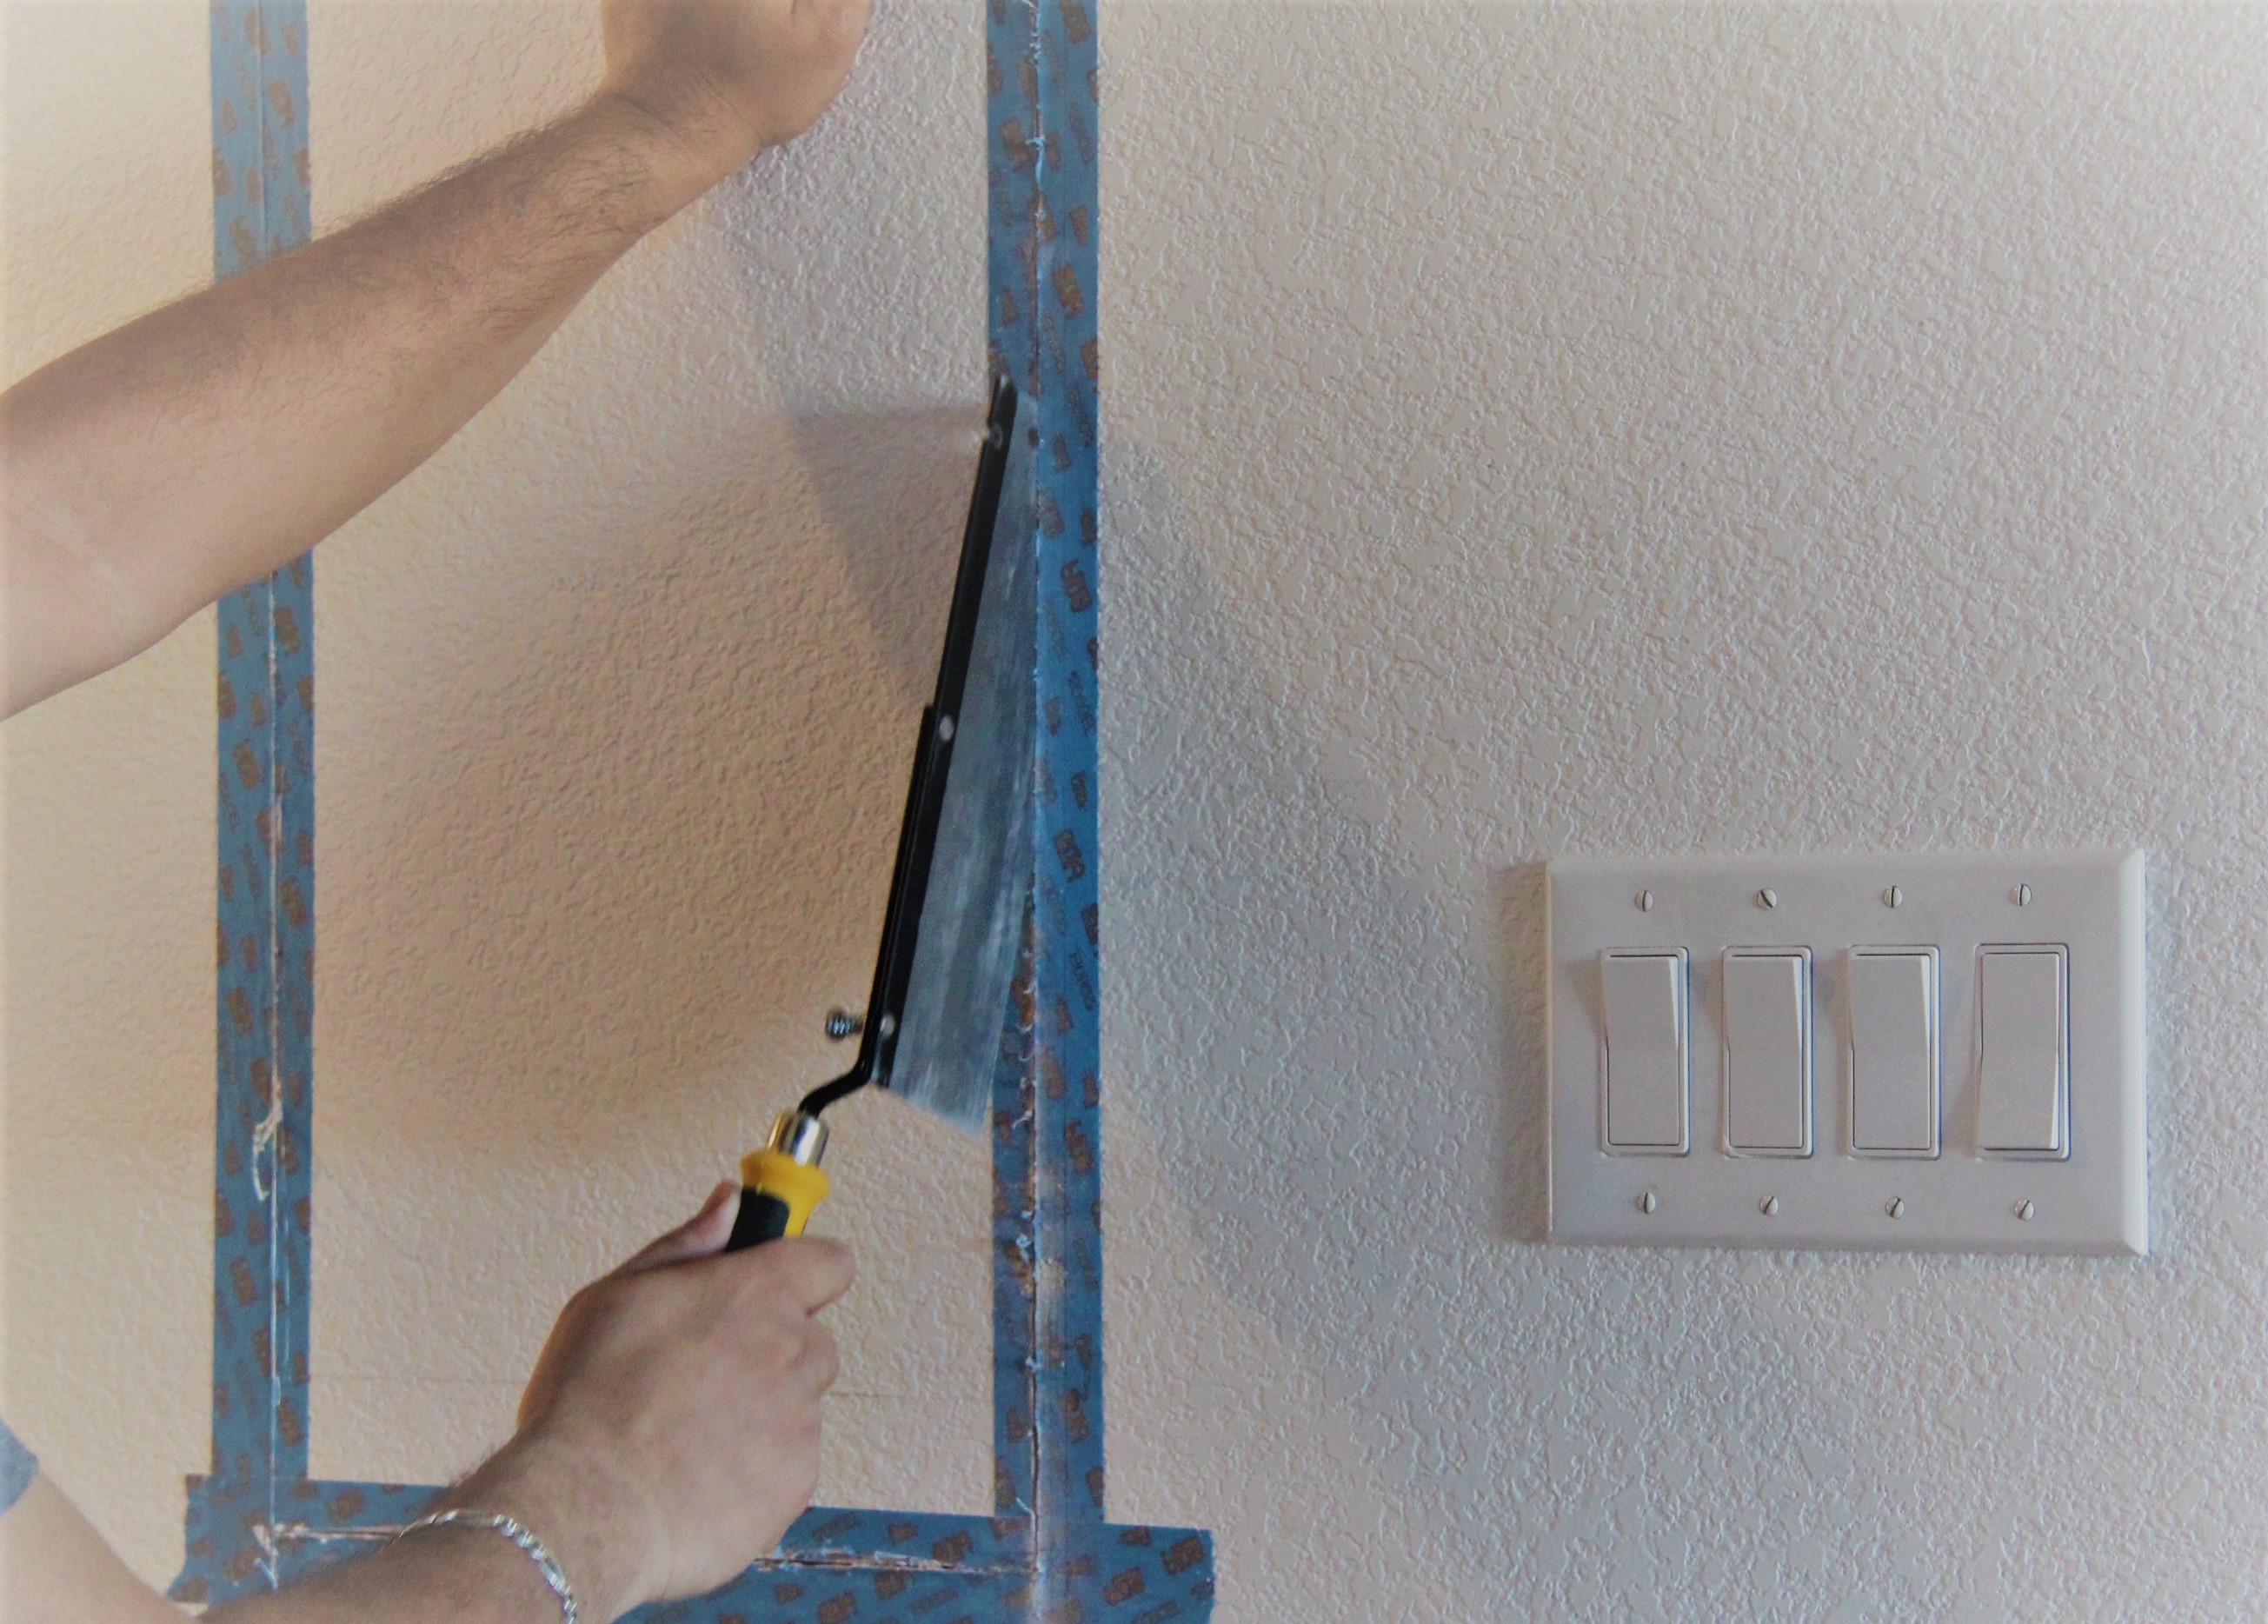
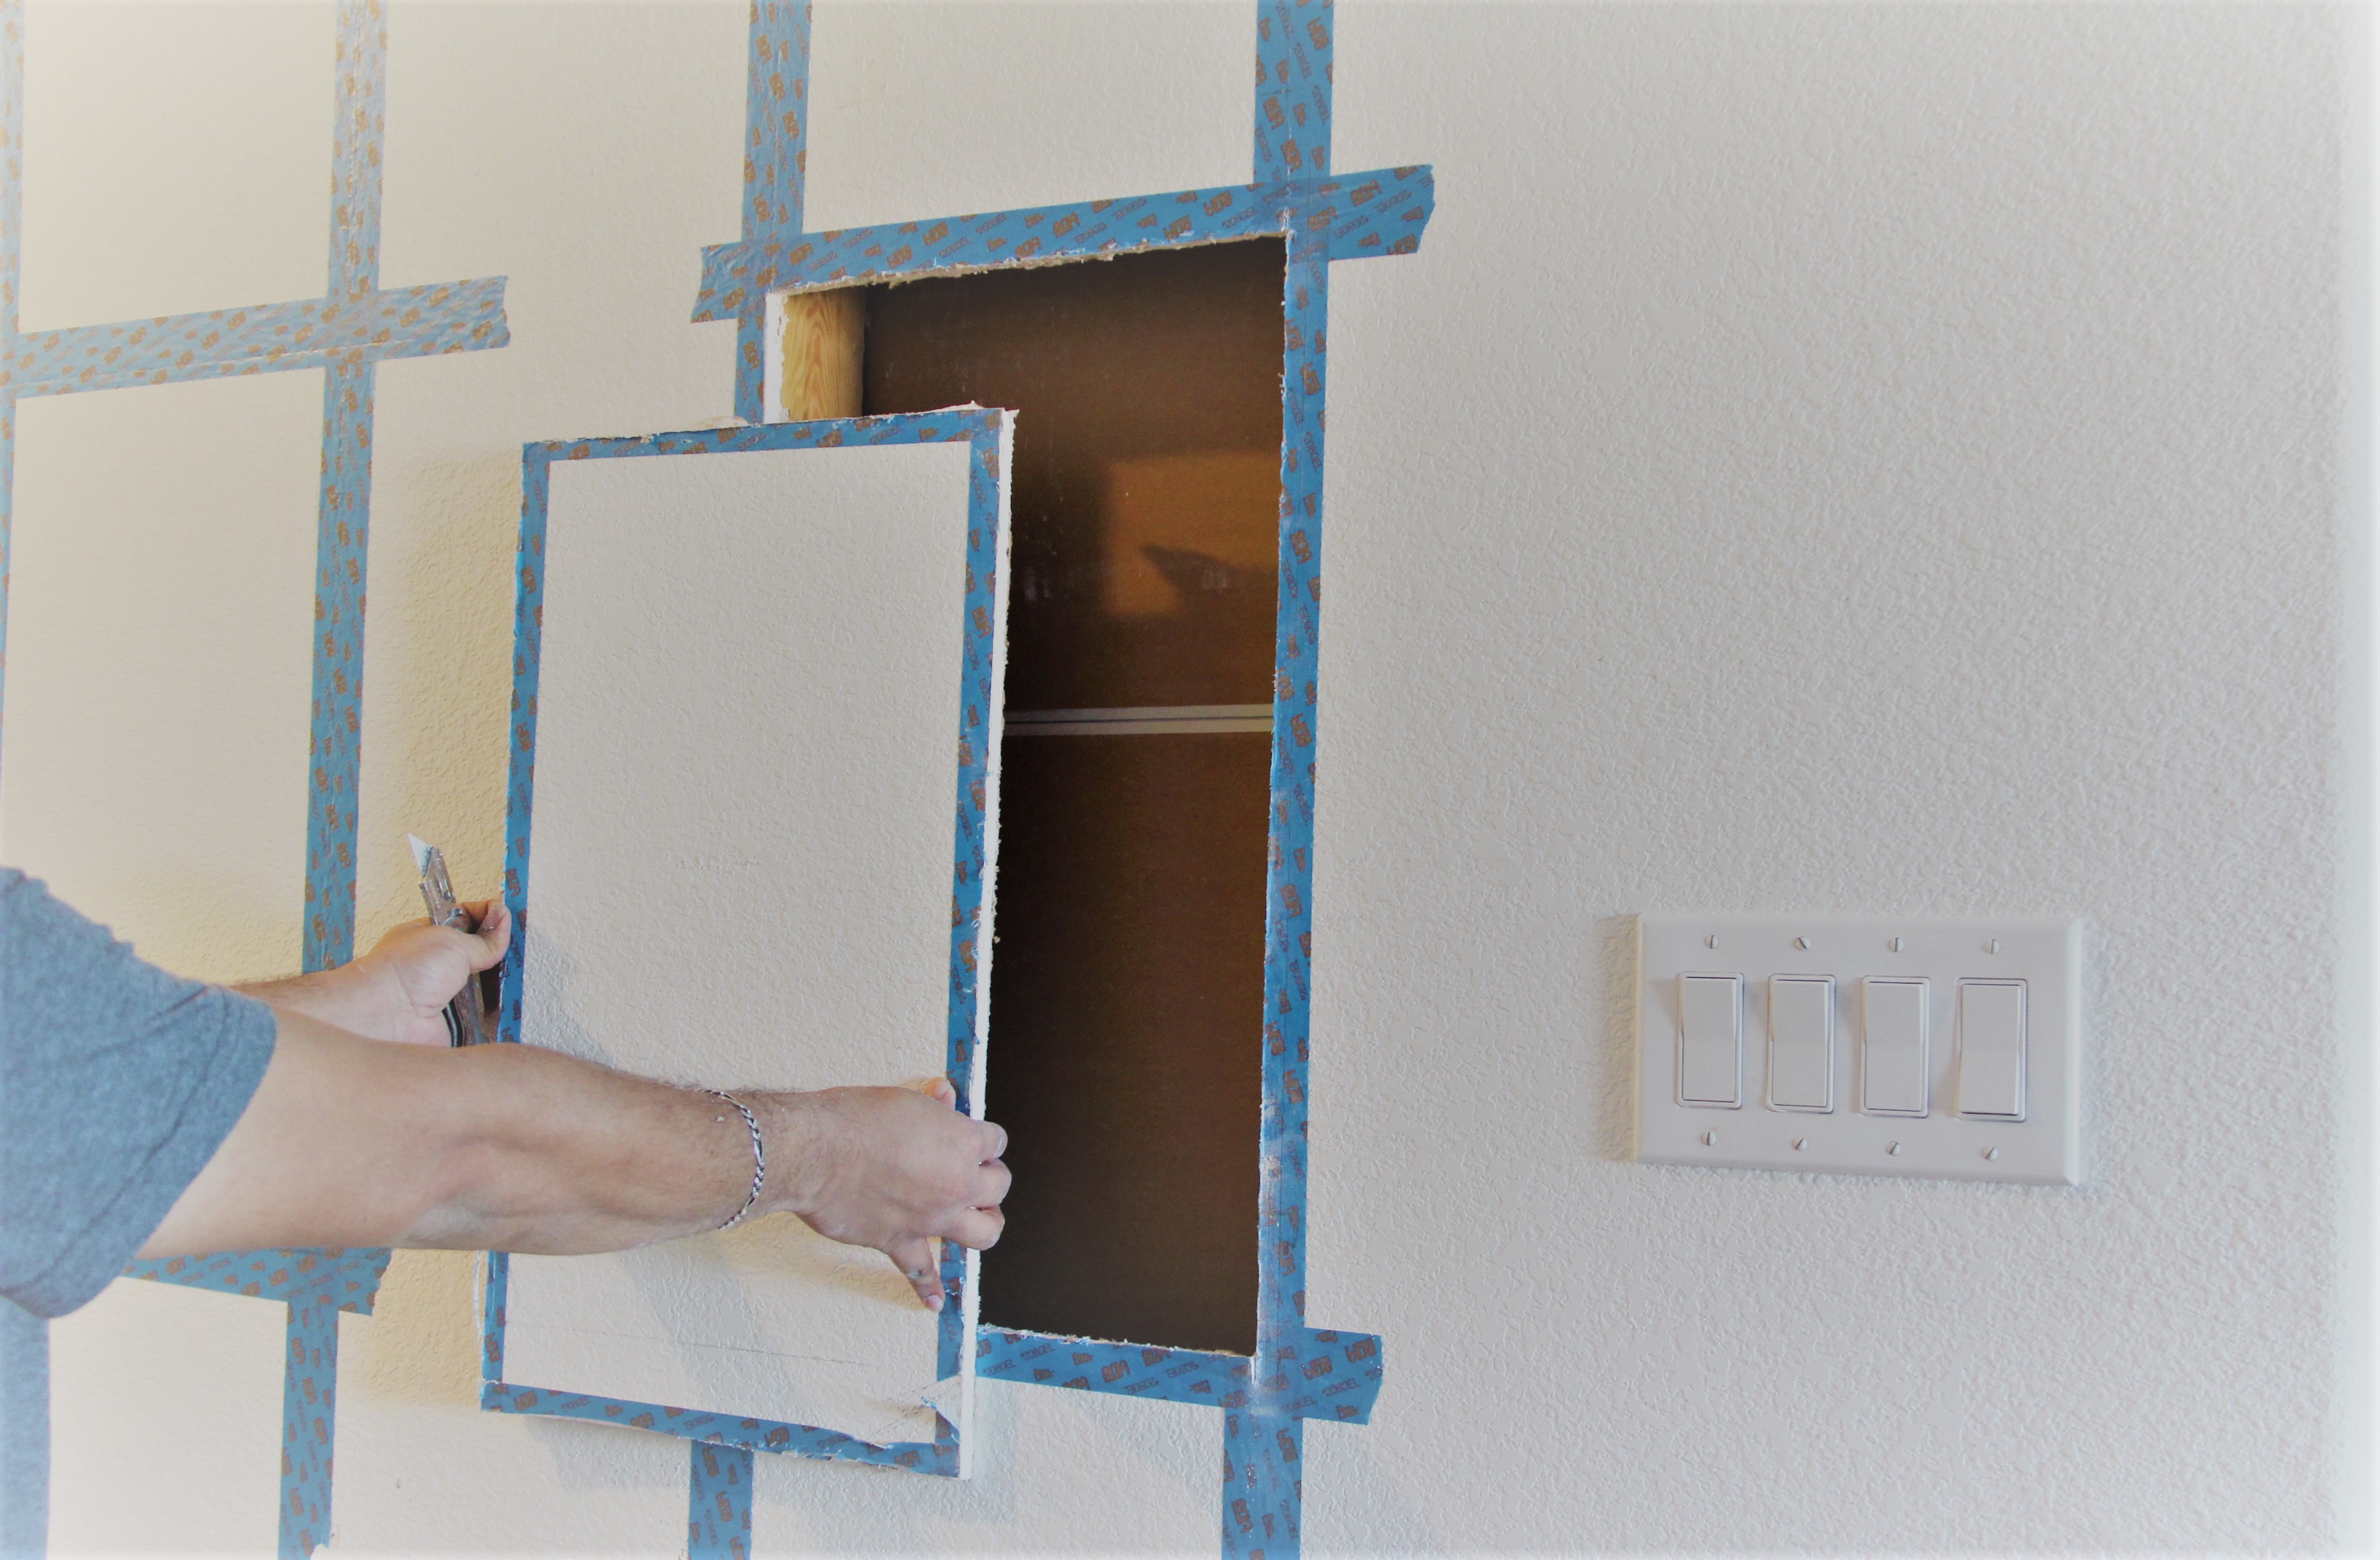
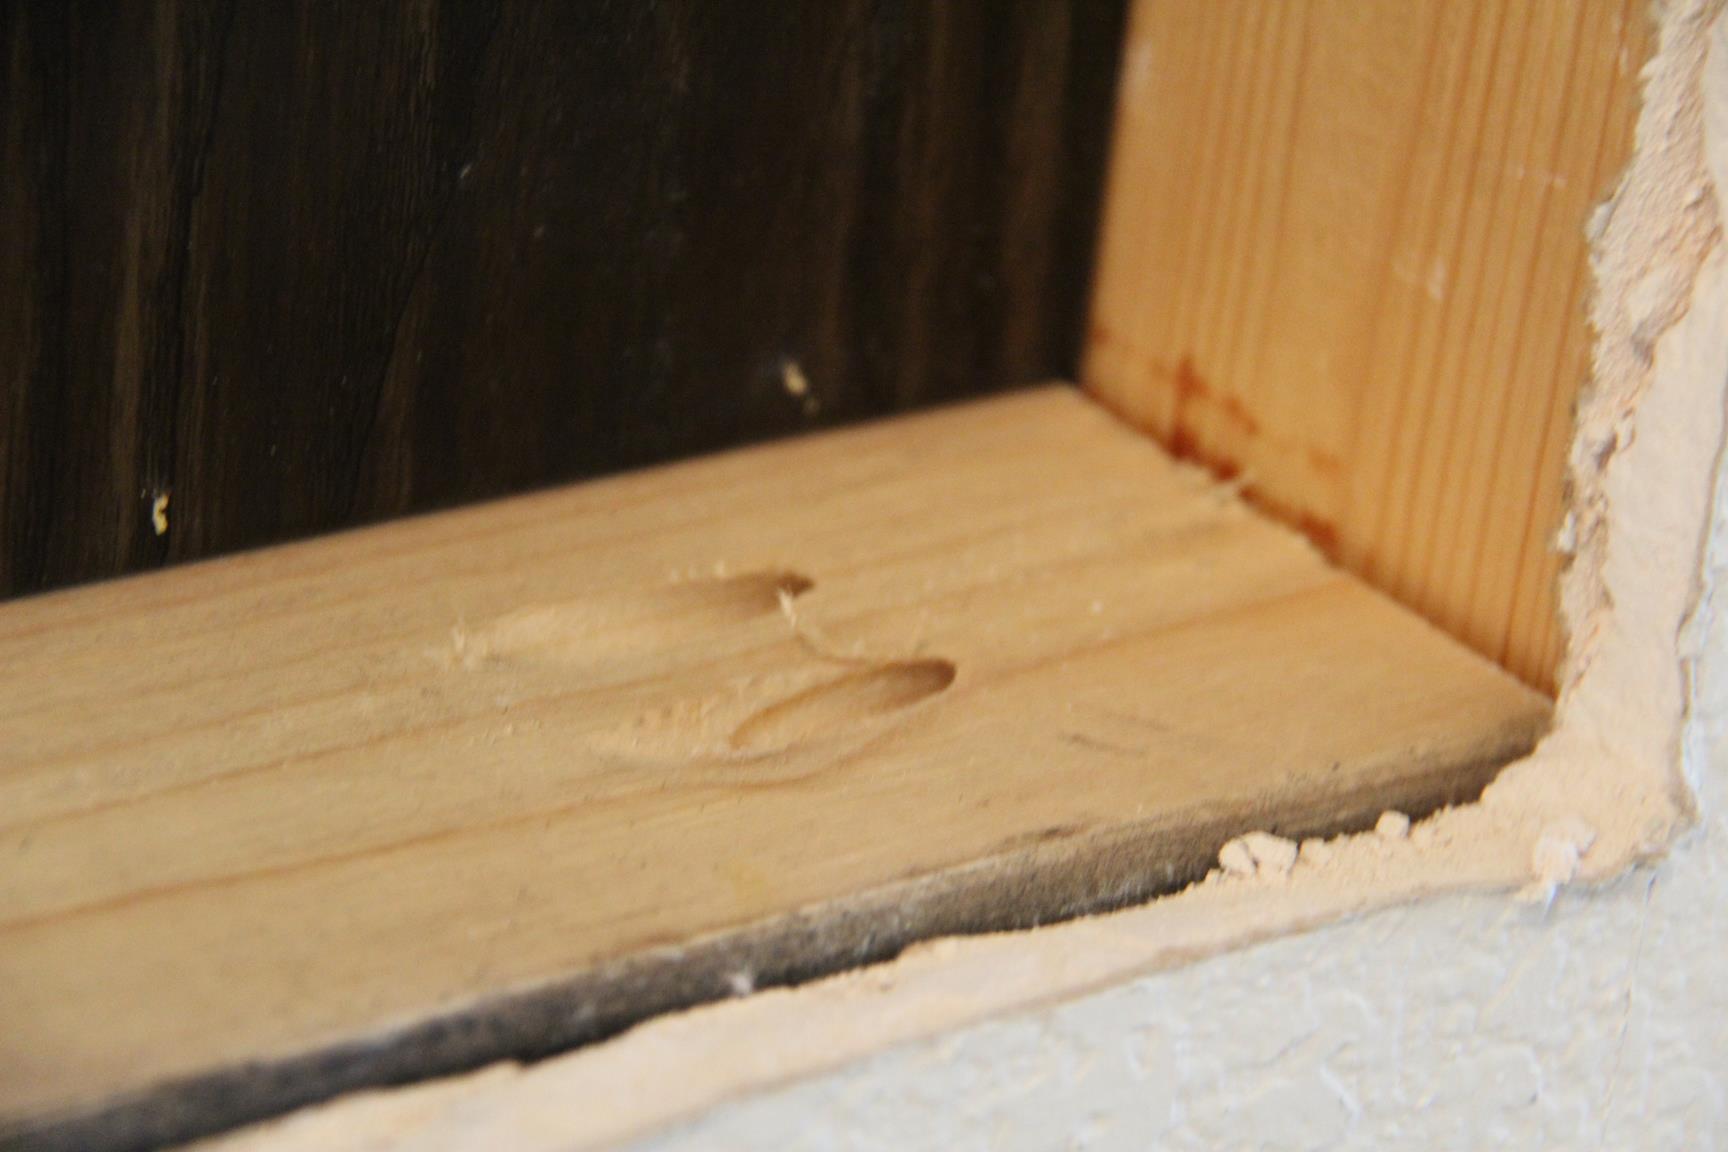
Step 3: Score & Cut

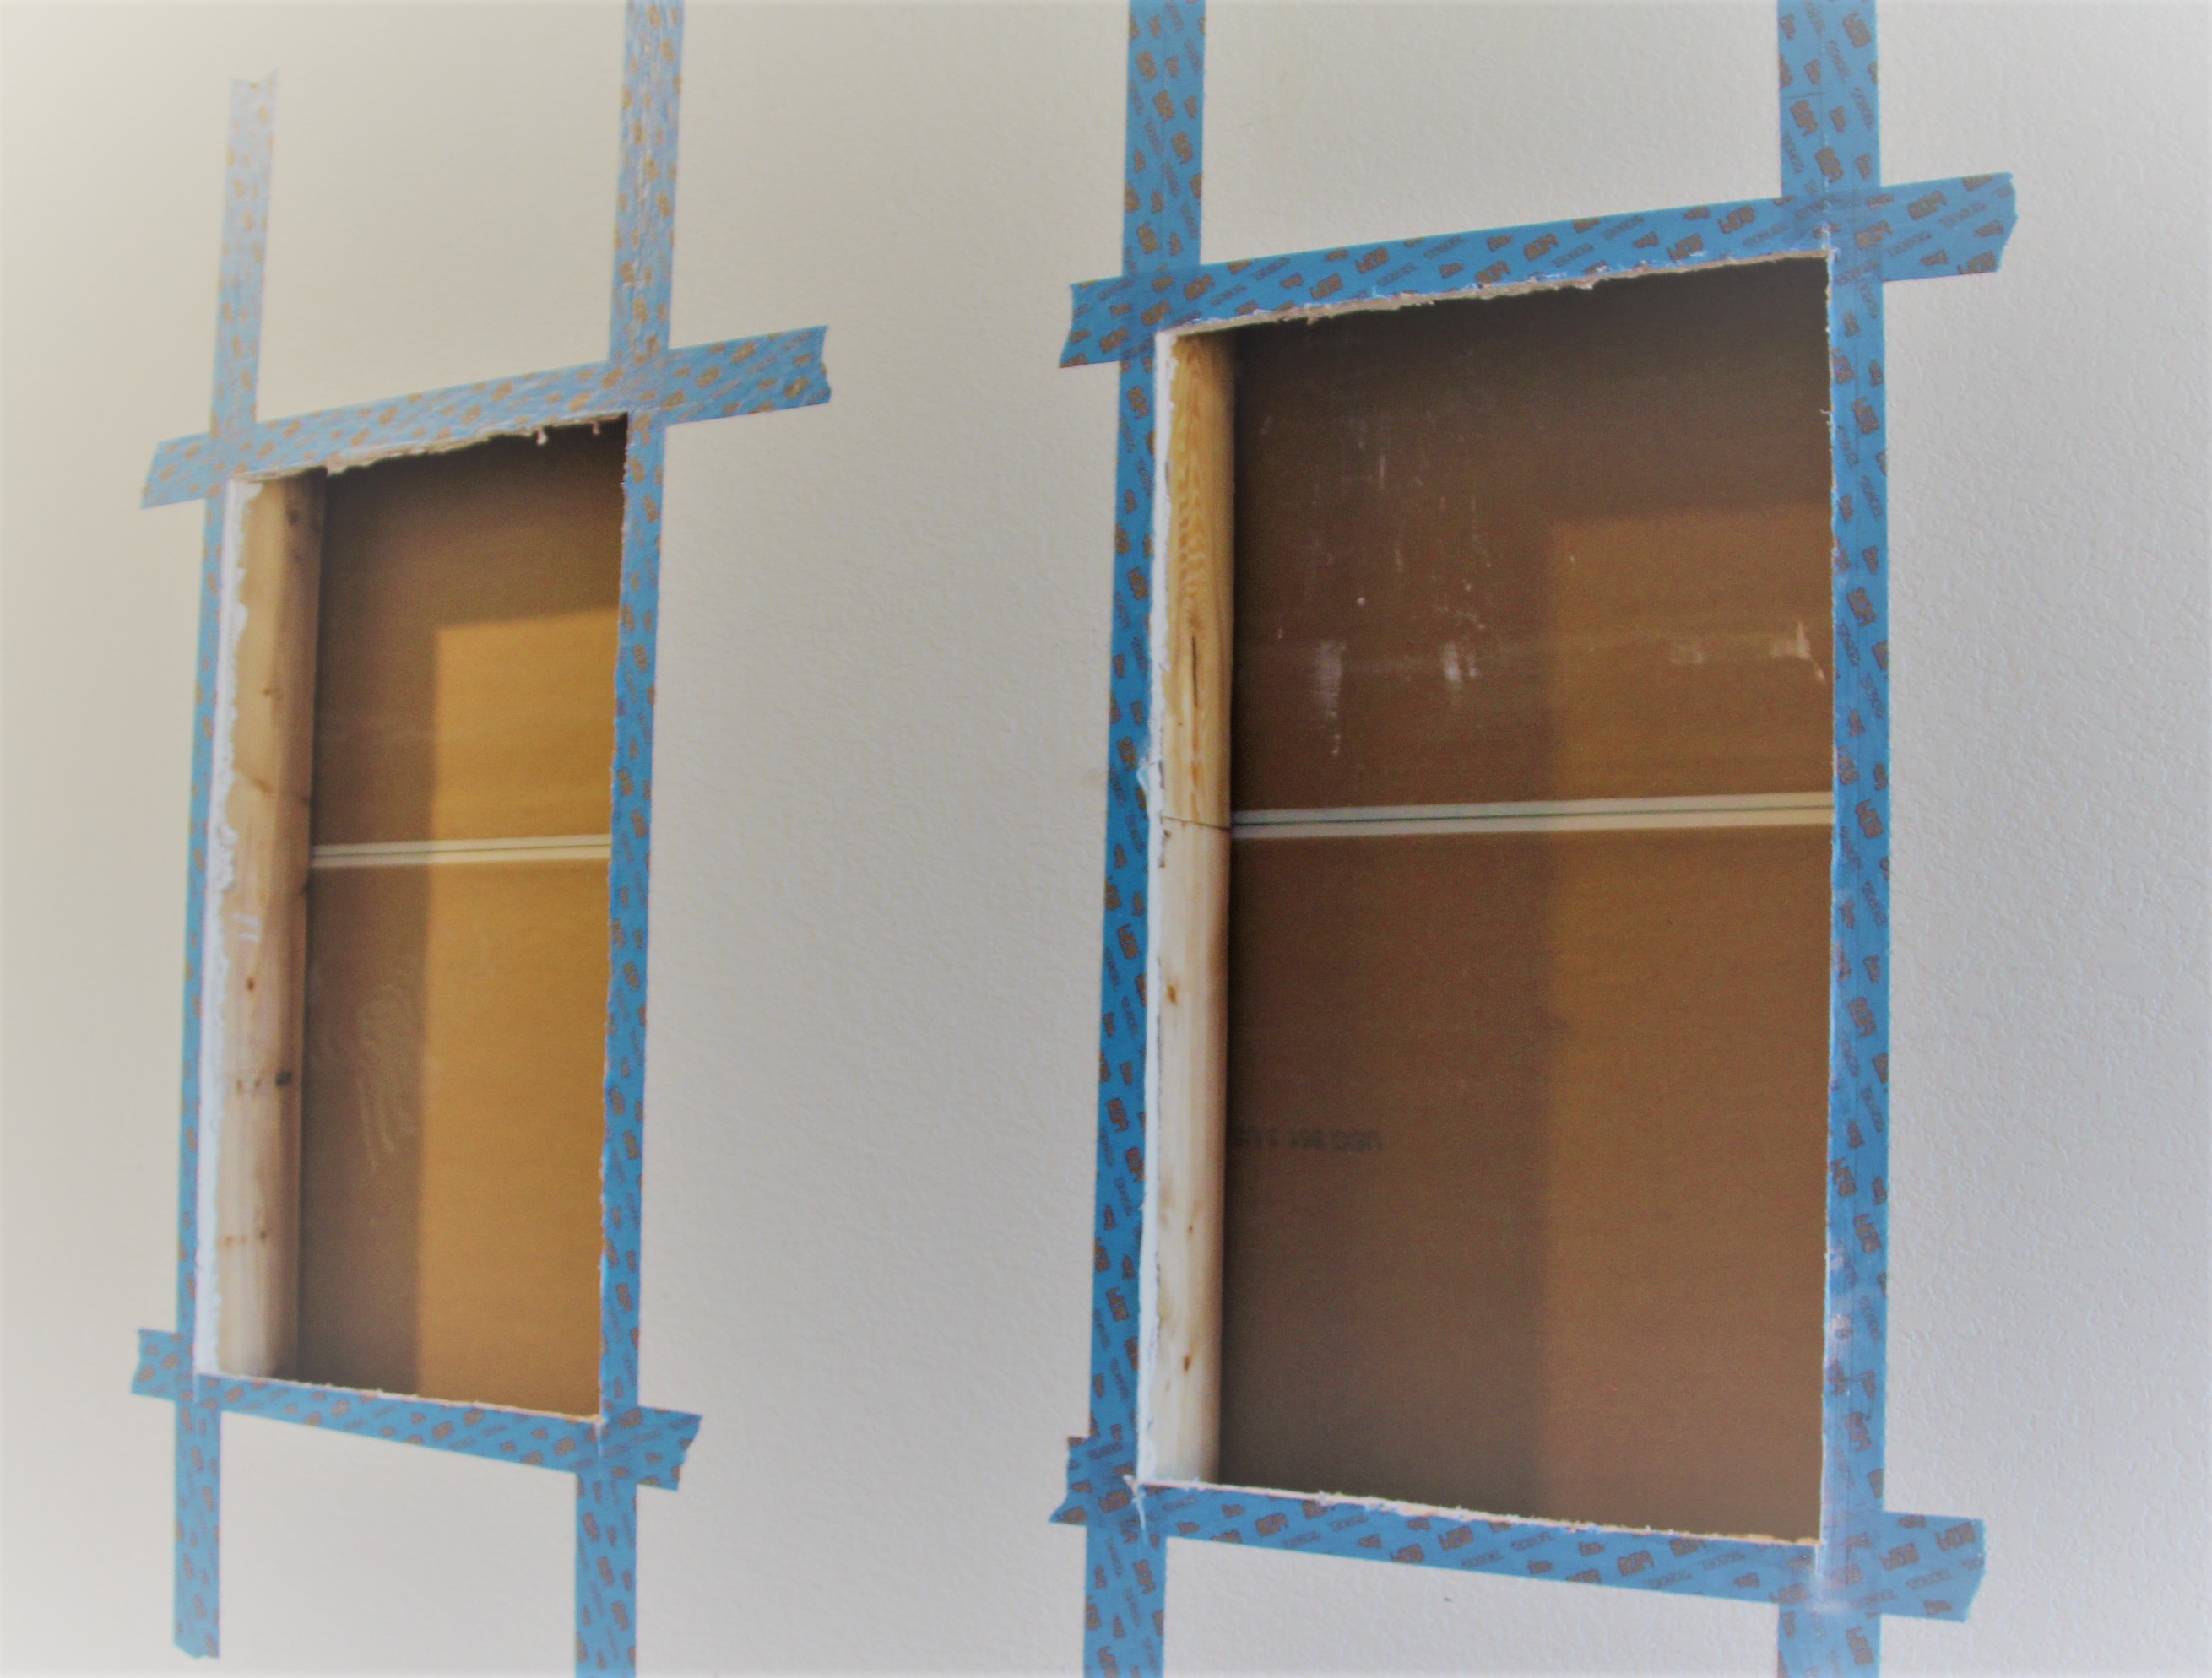
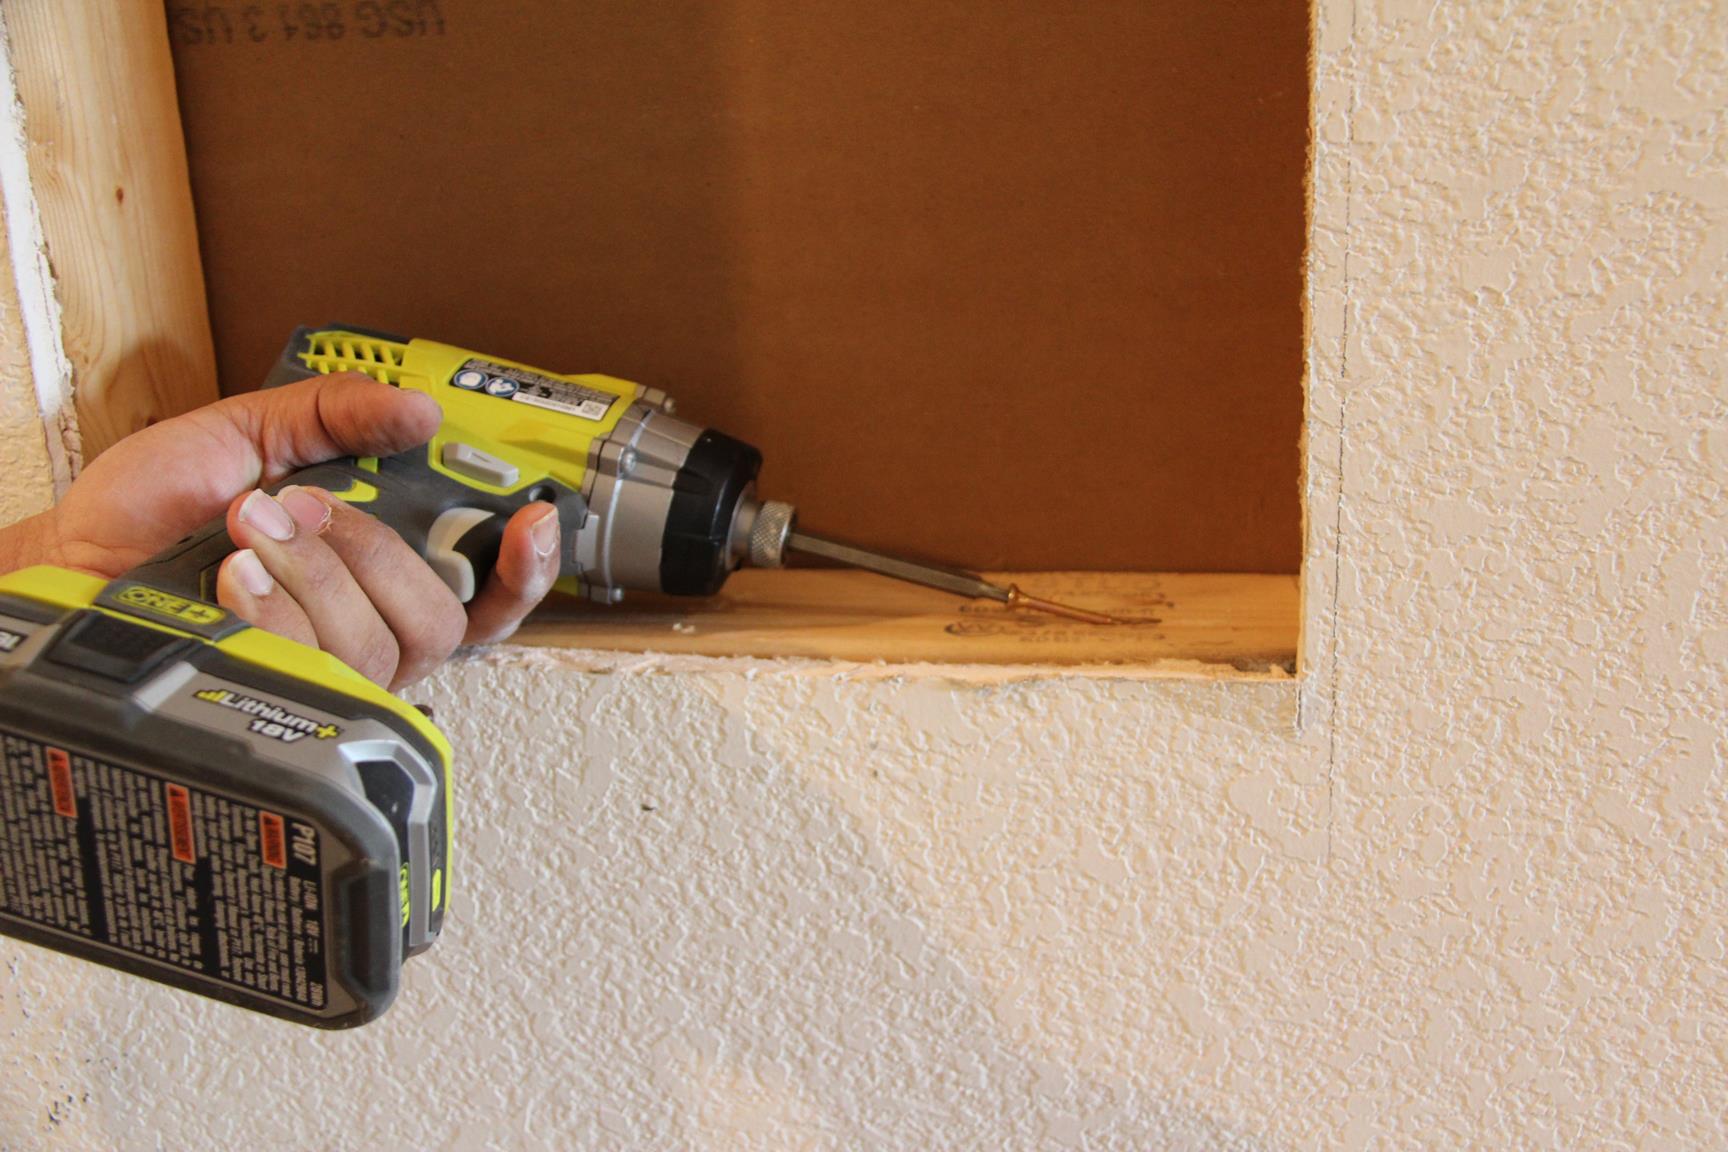
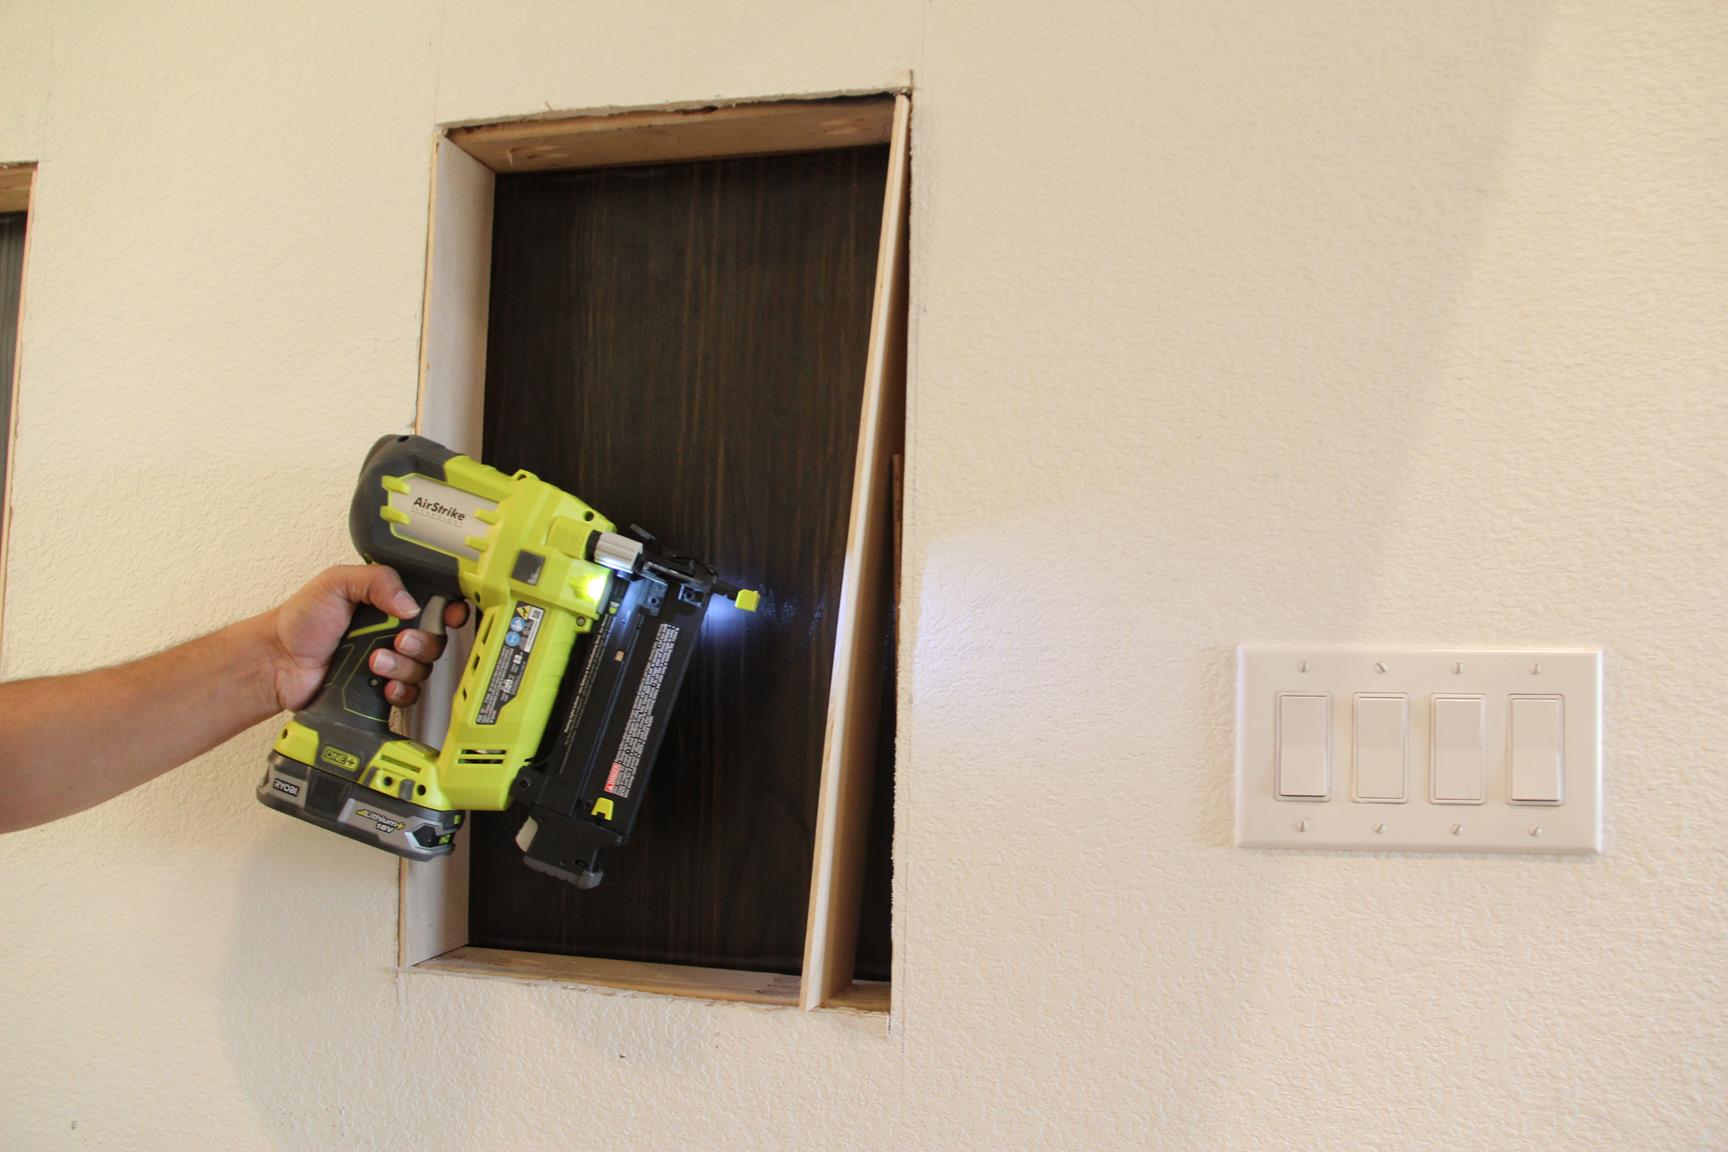
Step 4: Add the Anchors
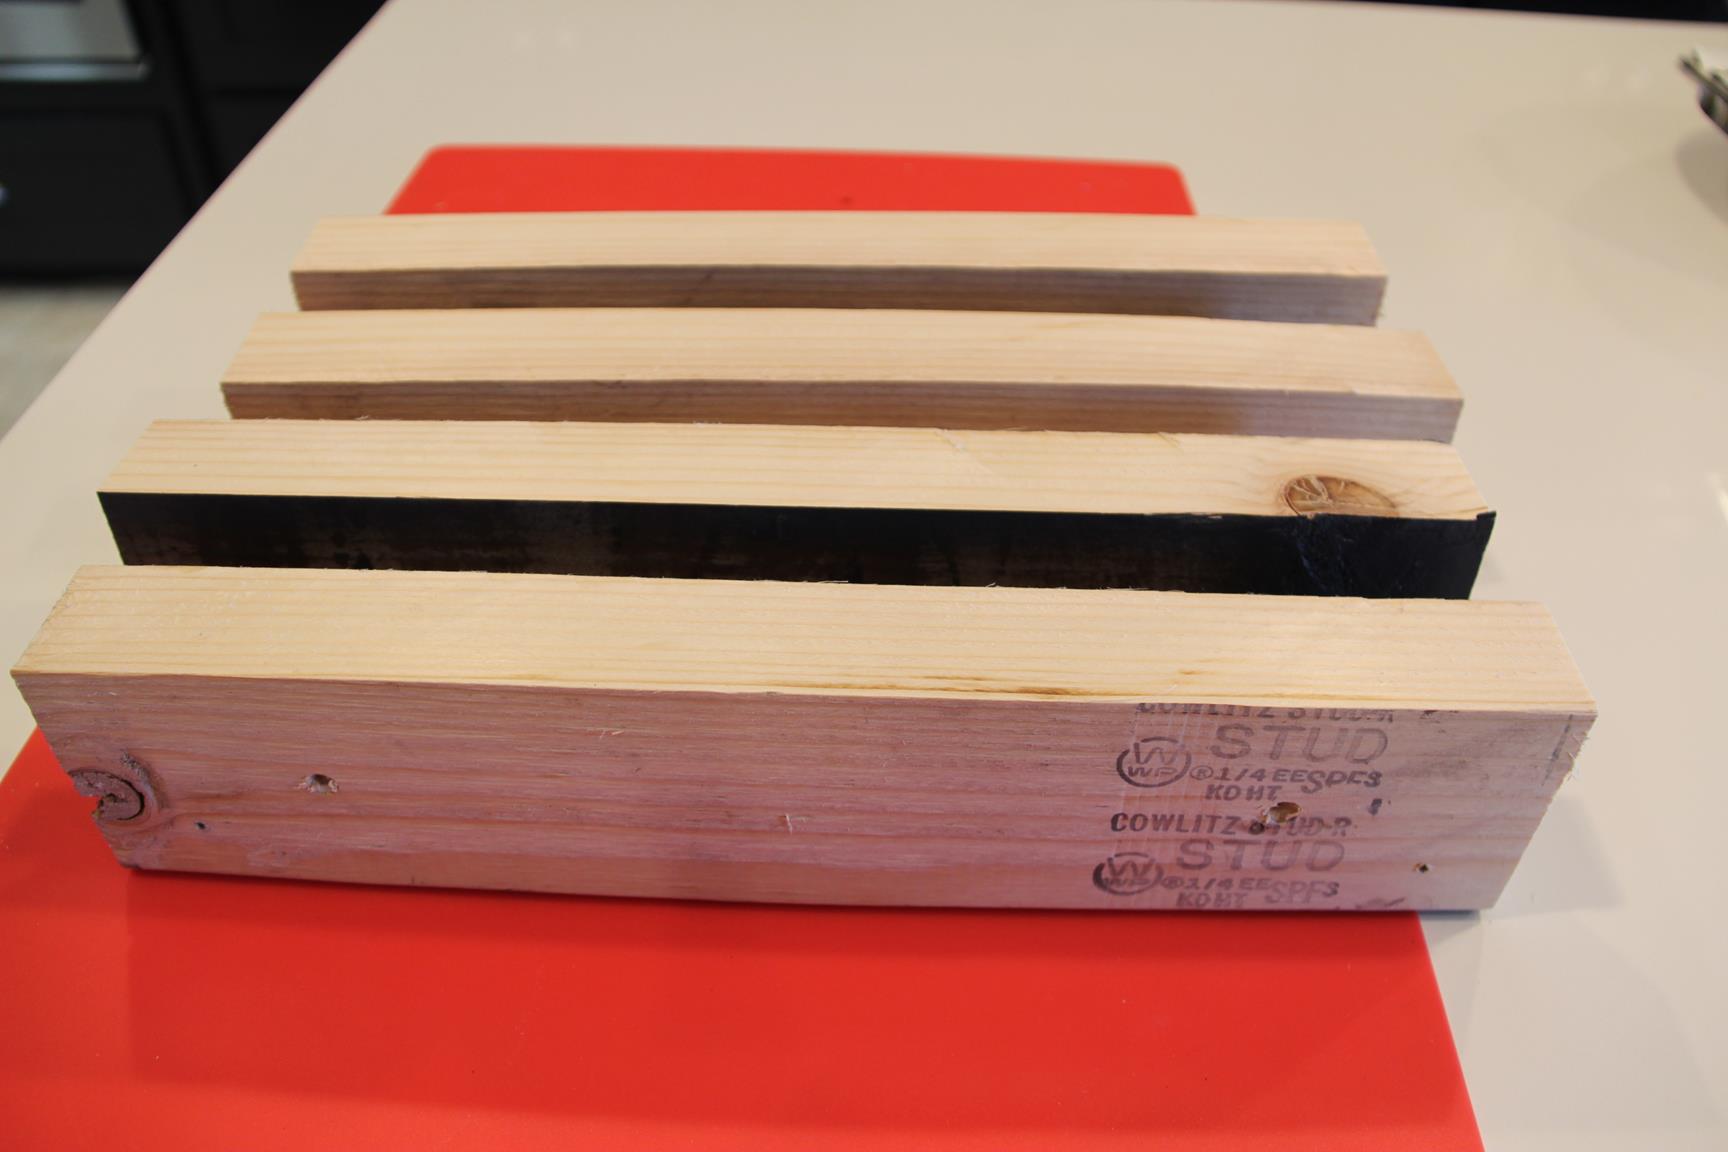
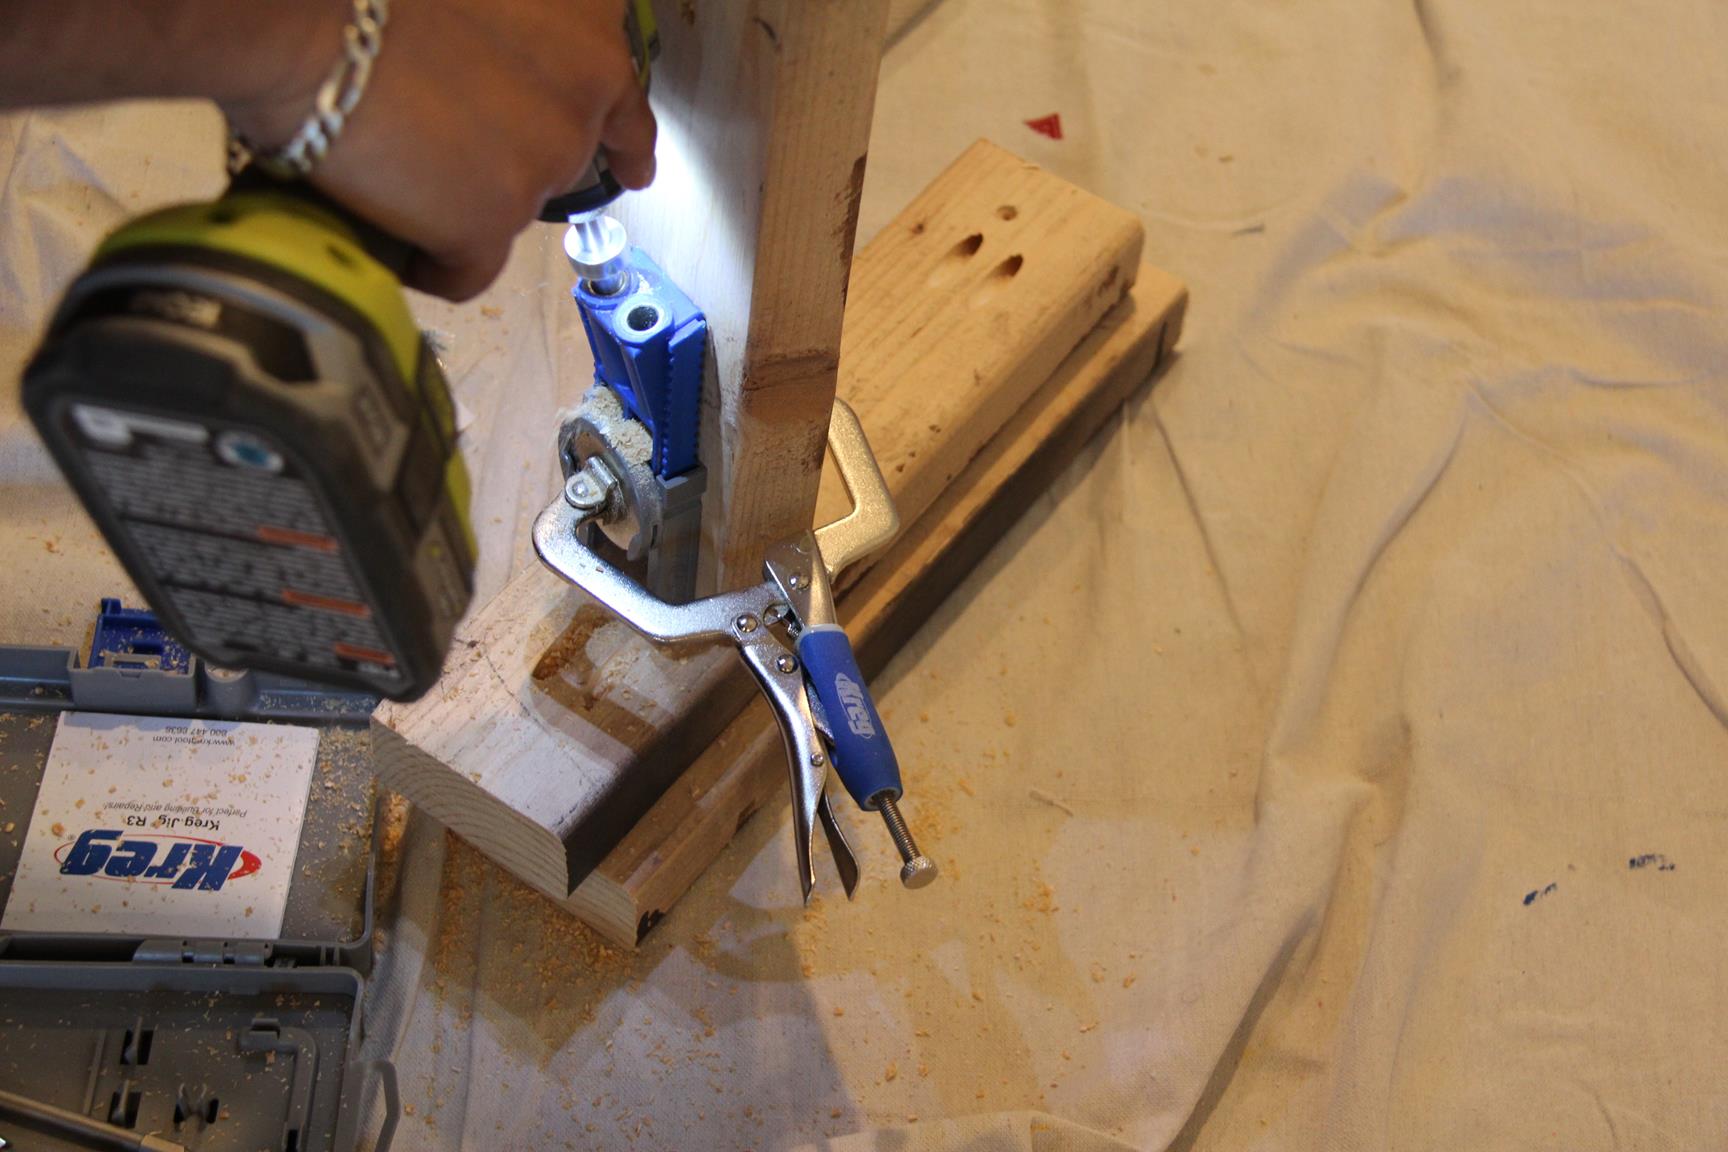
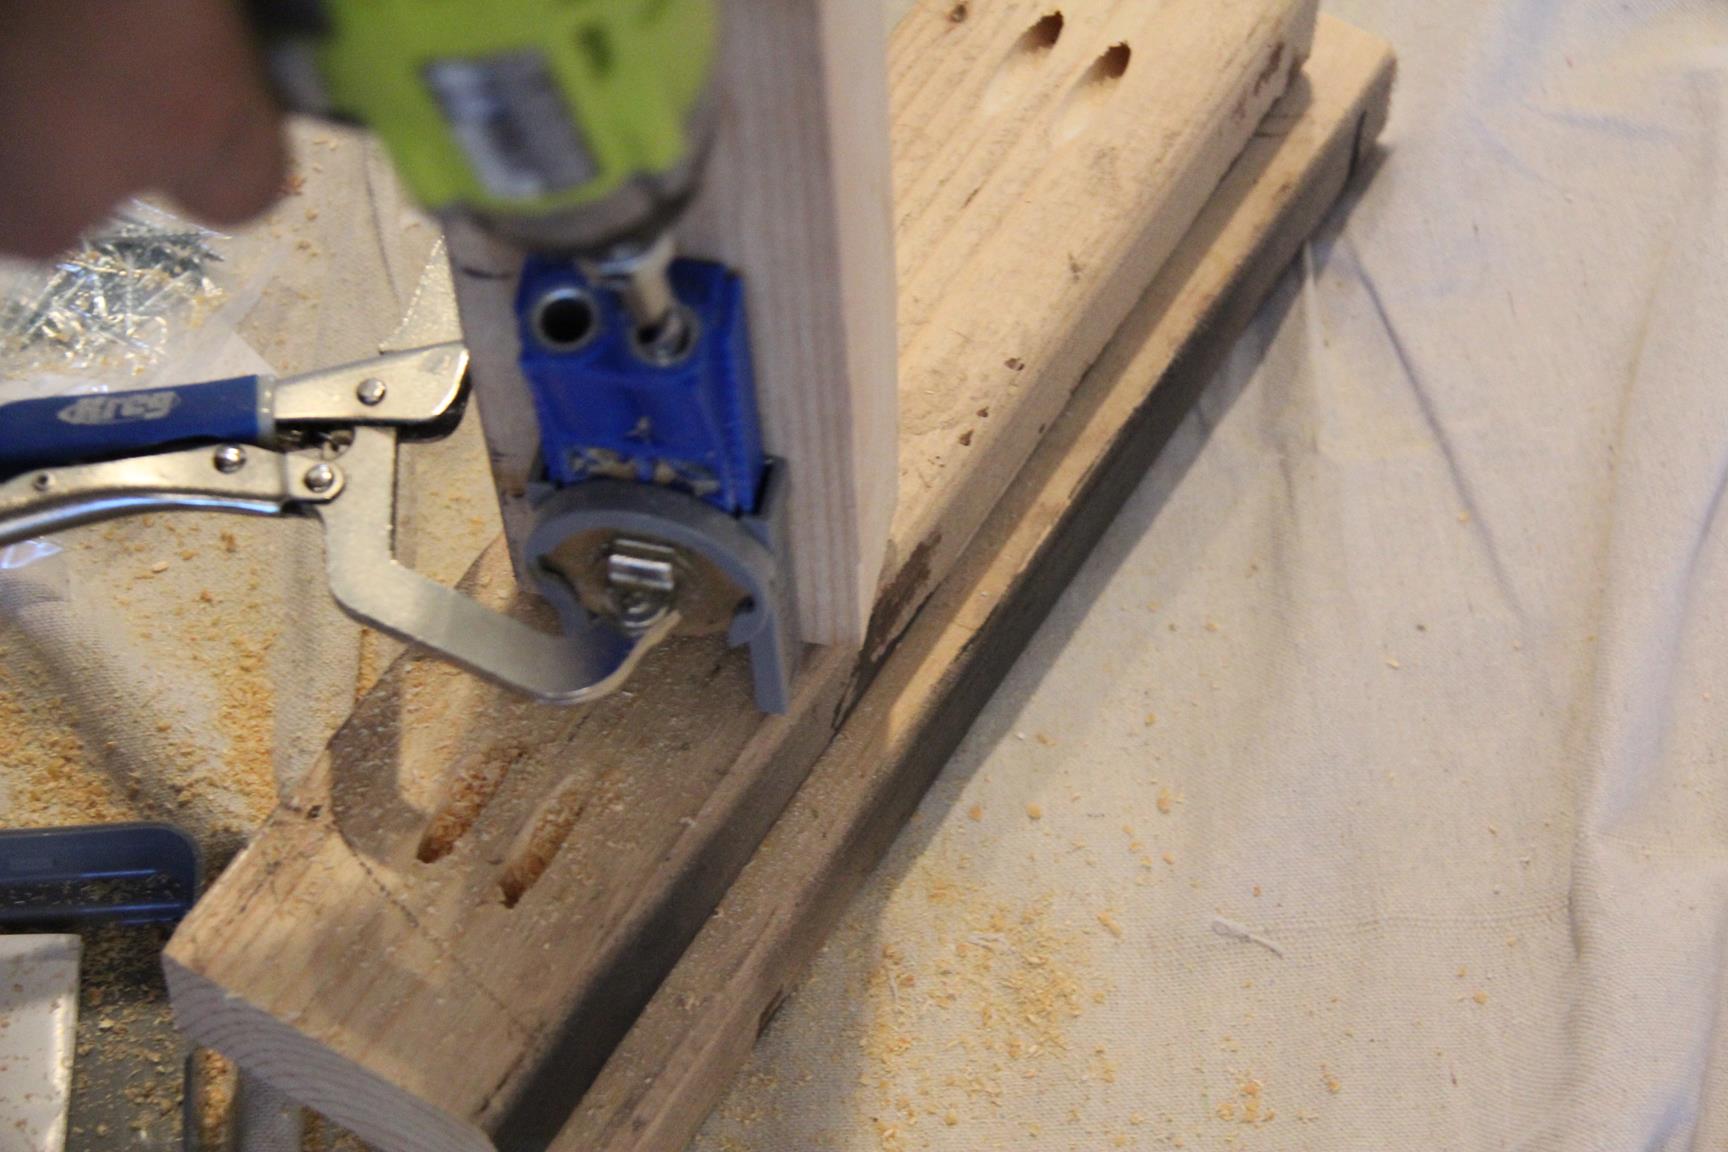
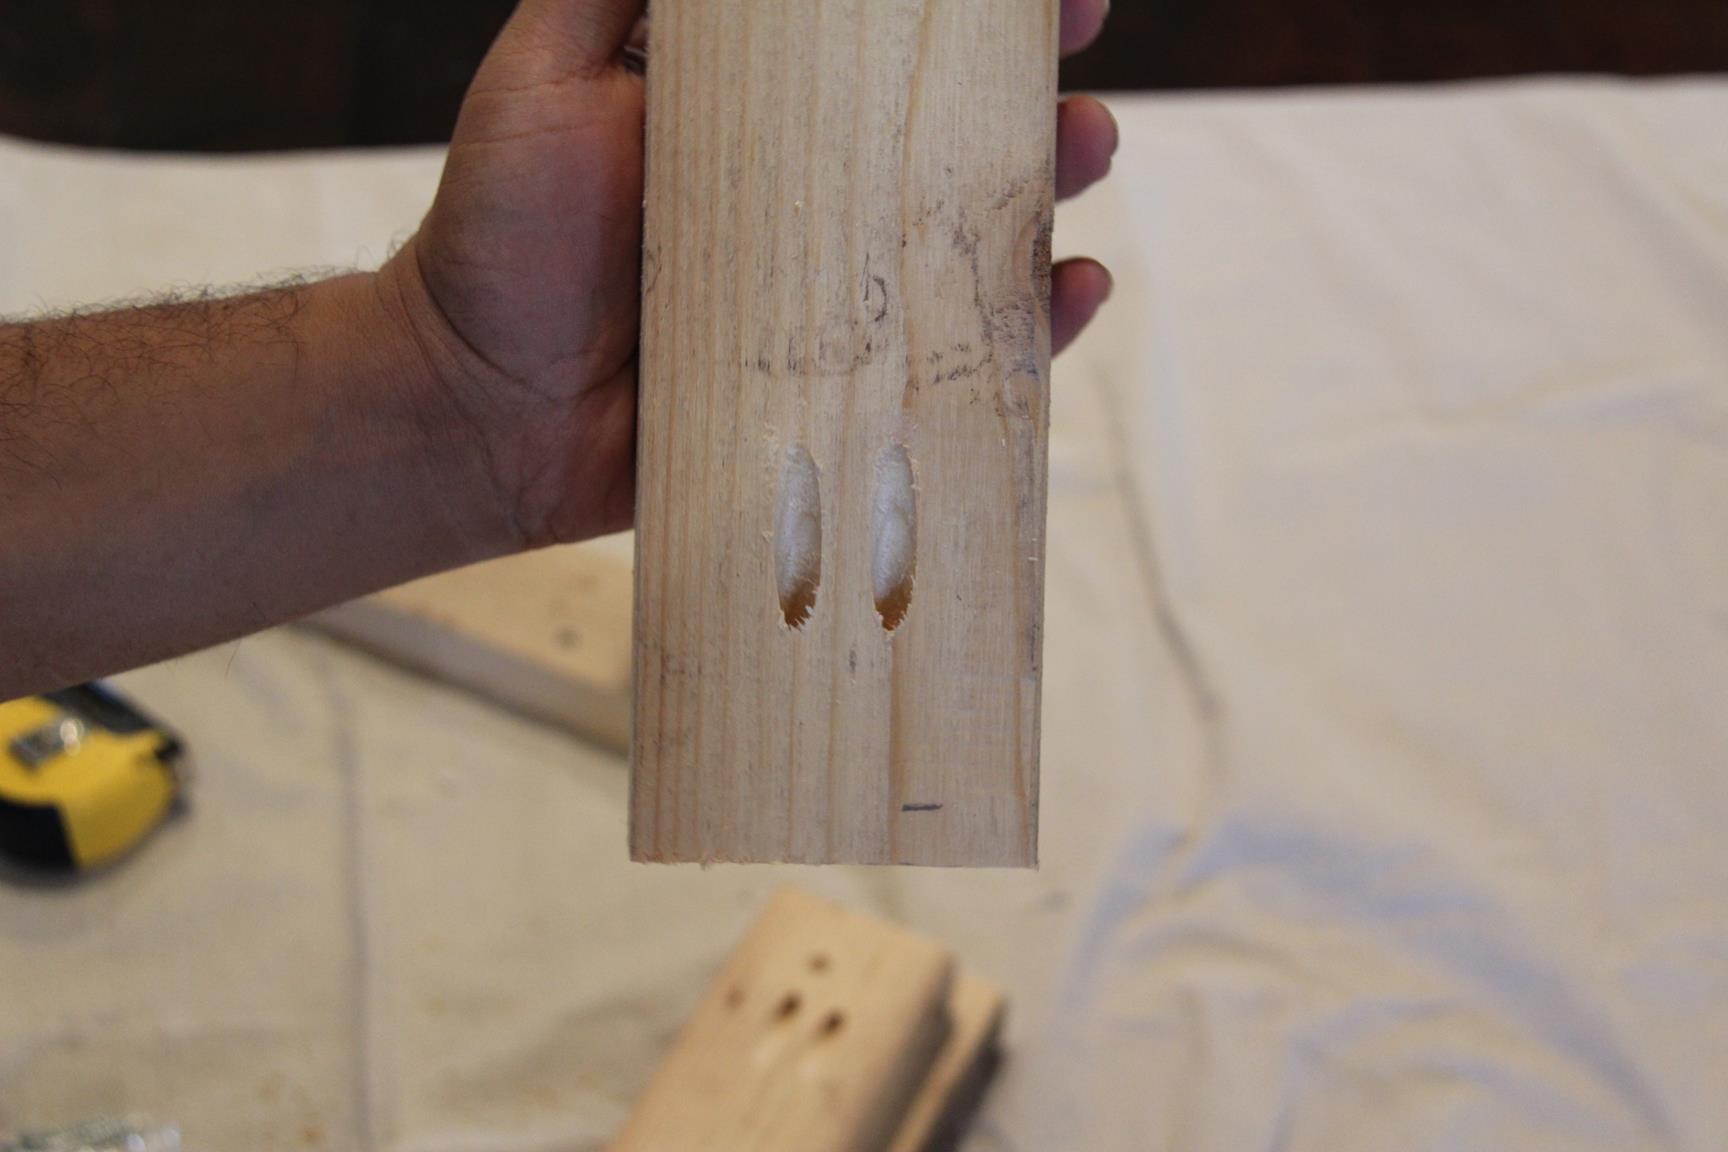
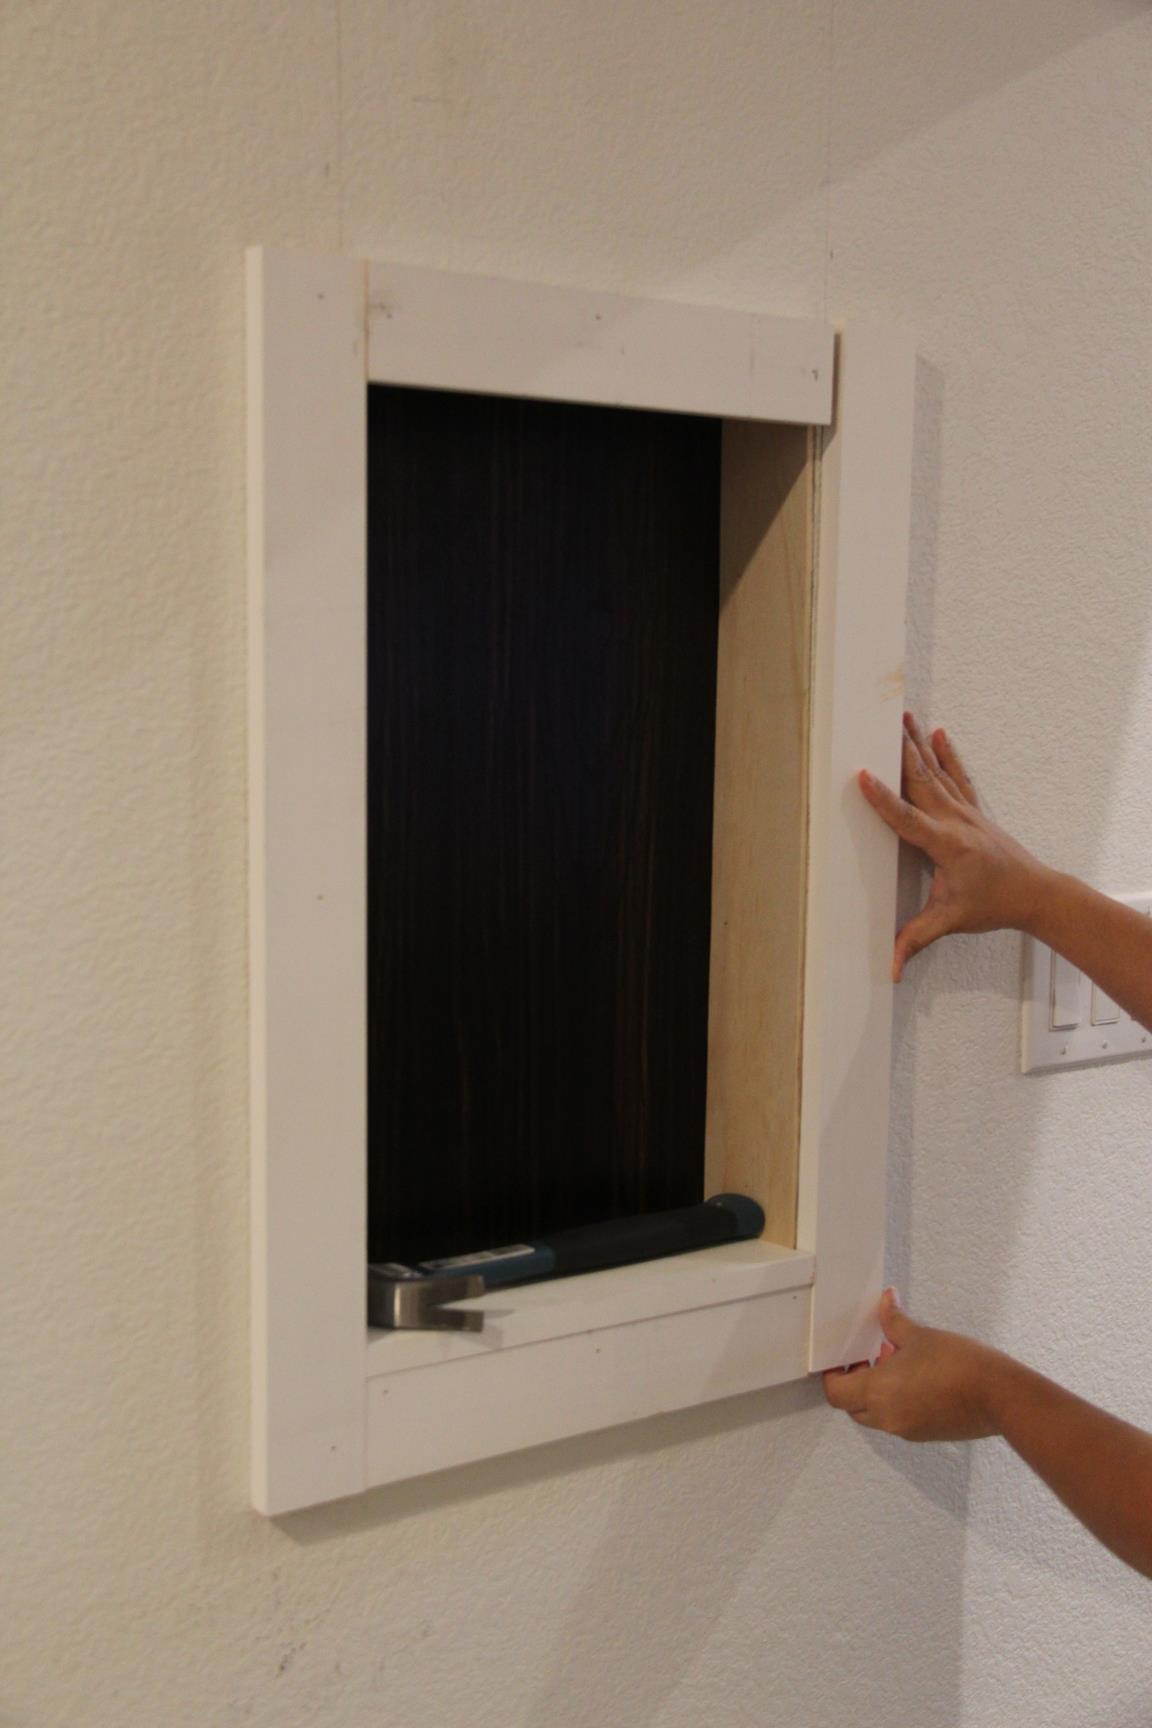
Step 5: Build a Box
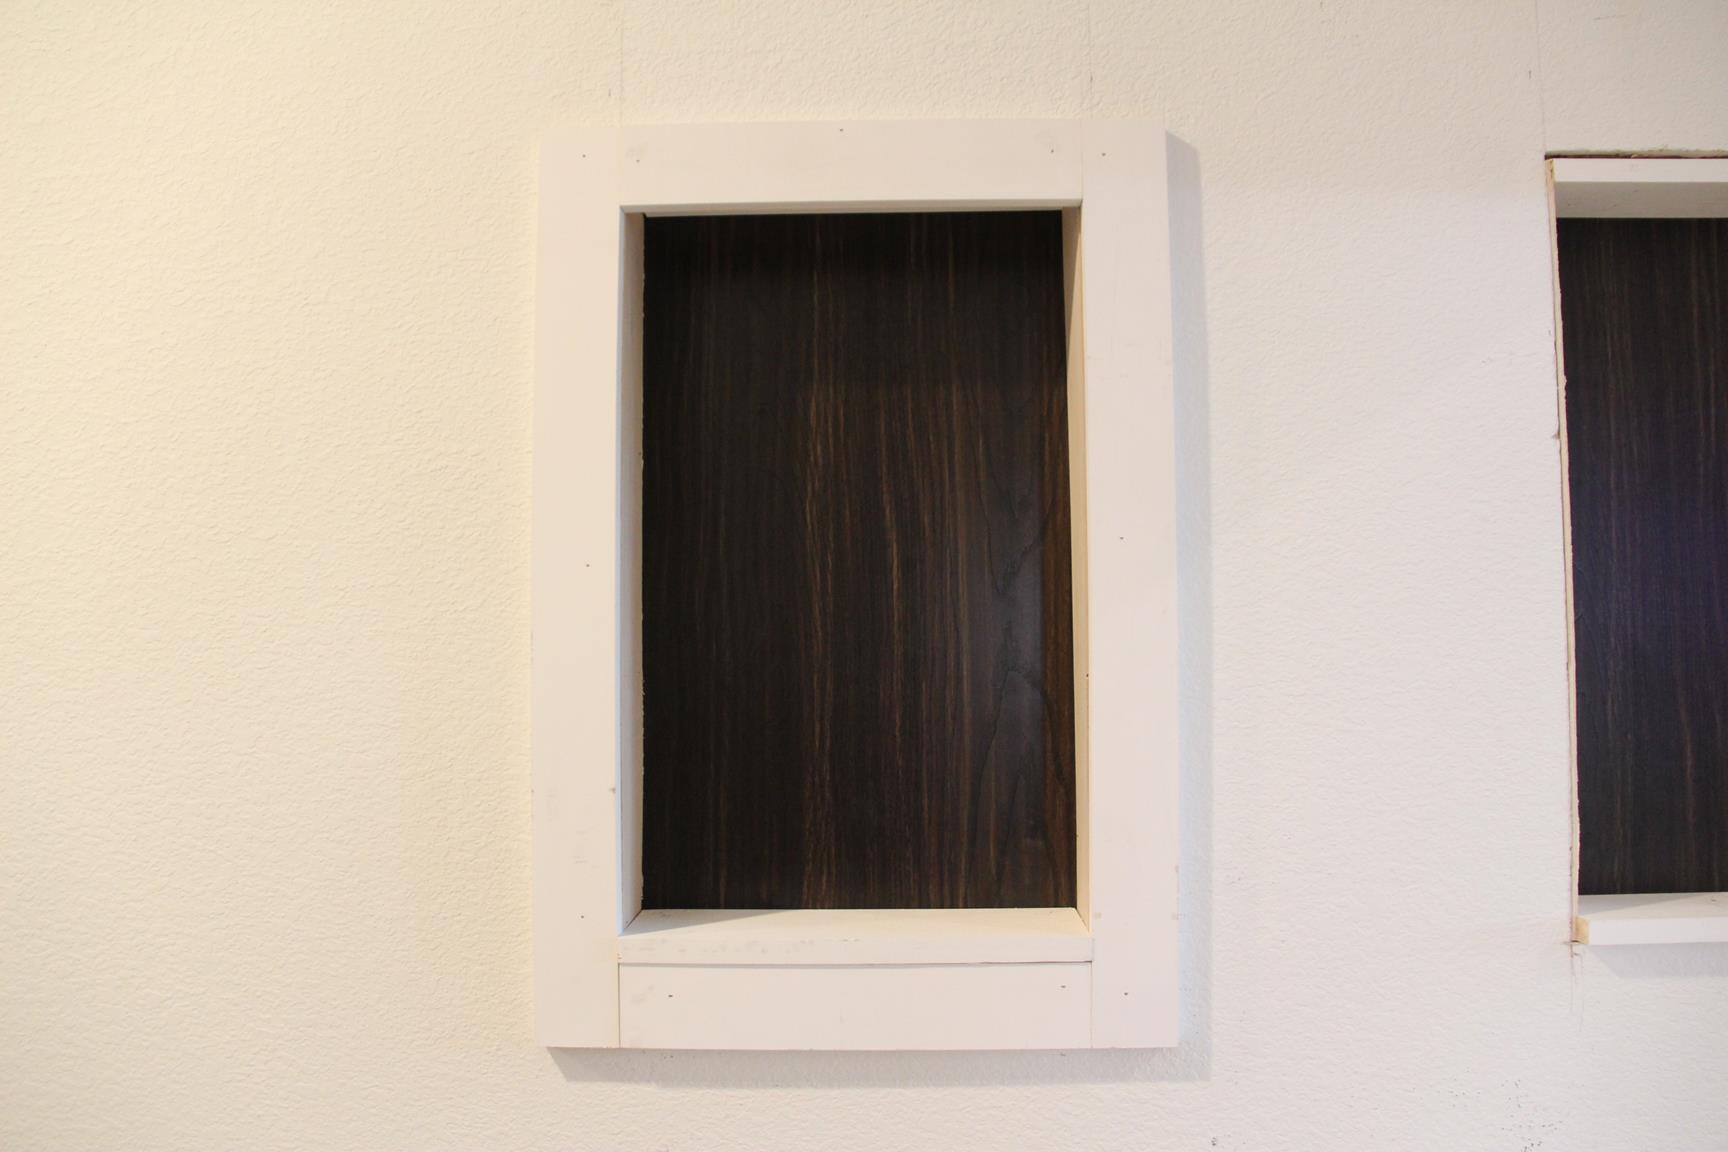
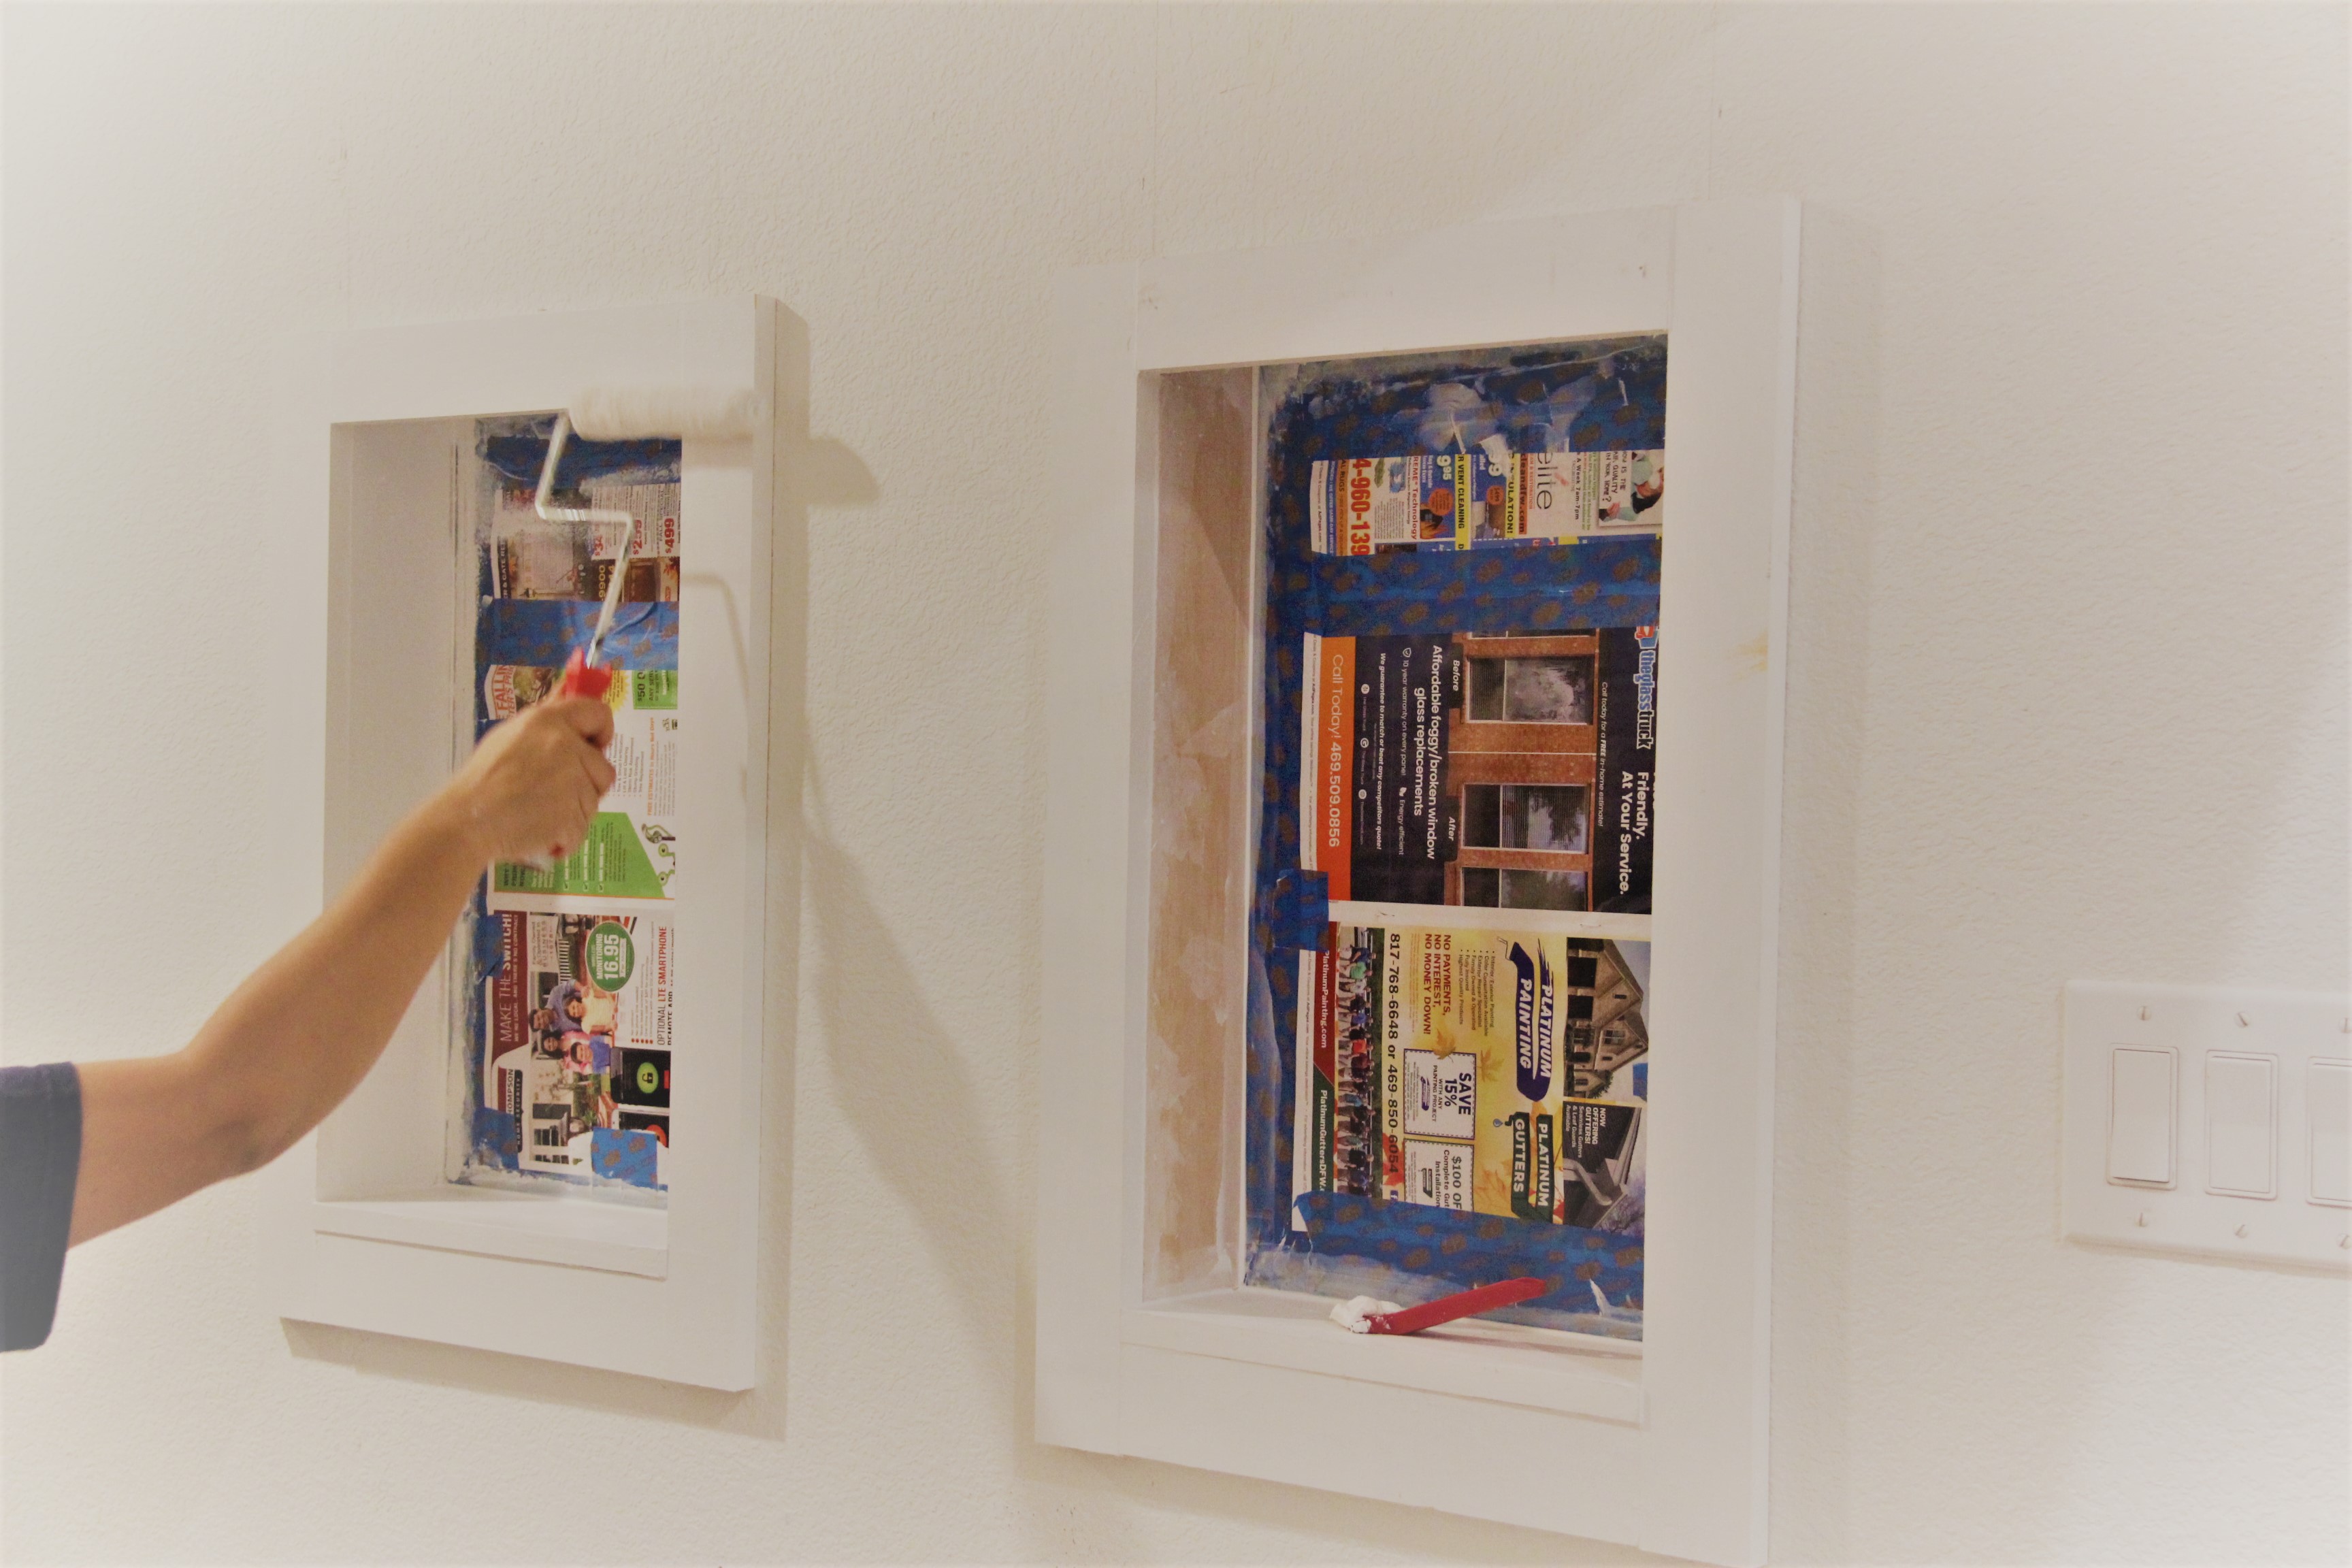
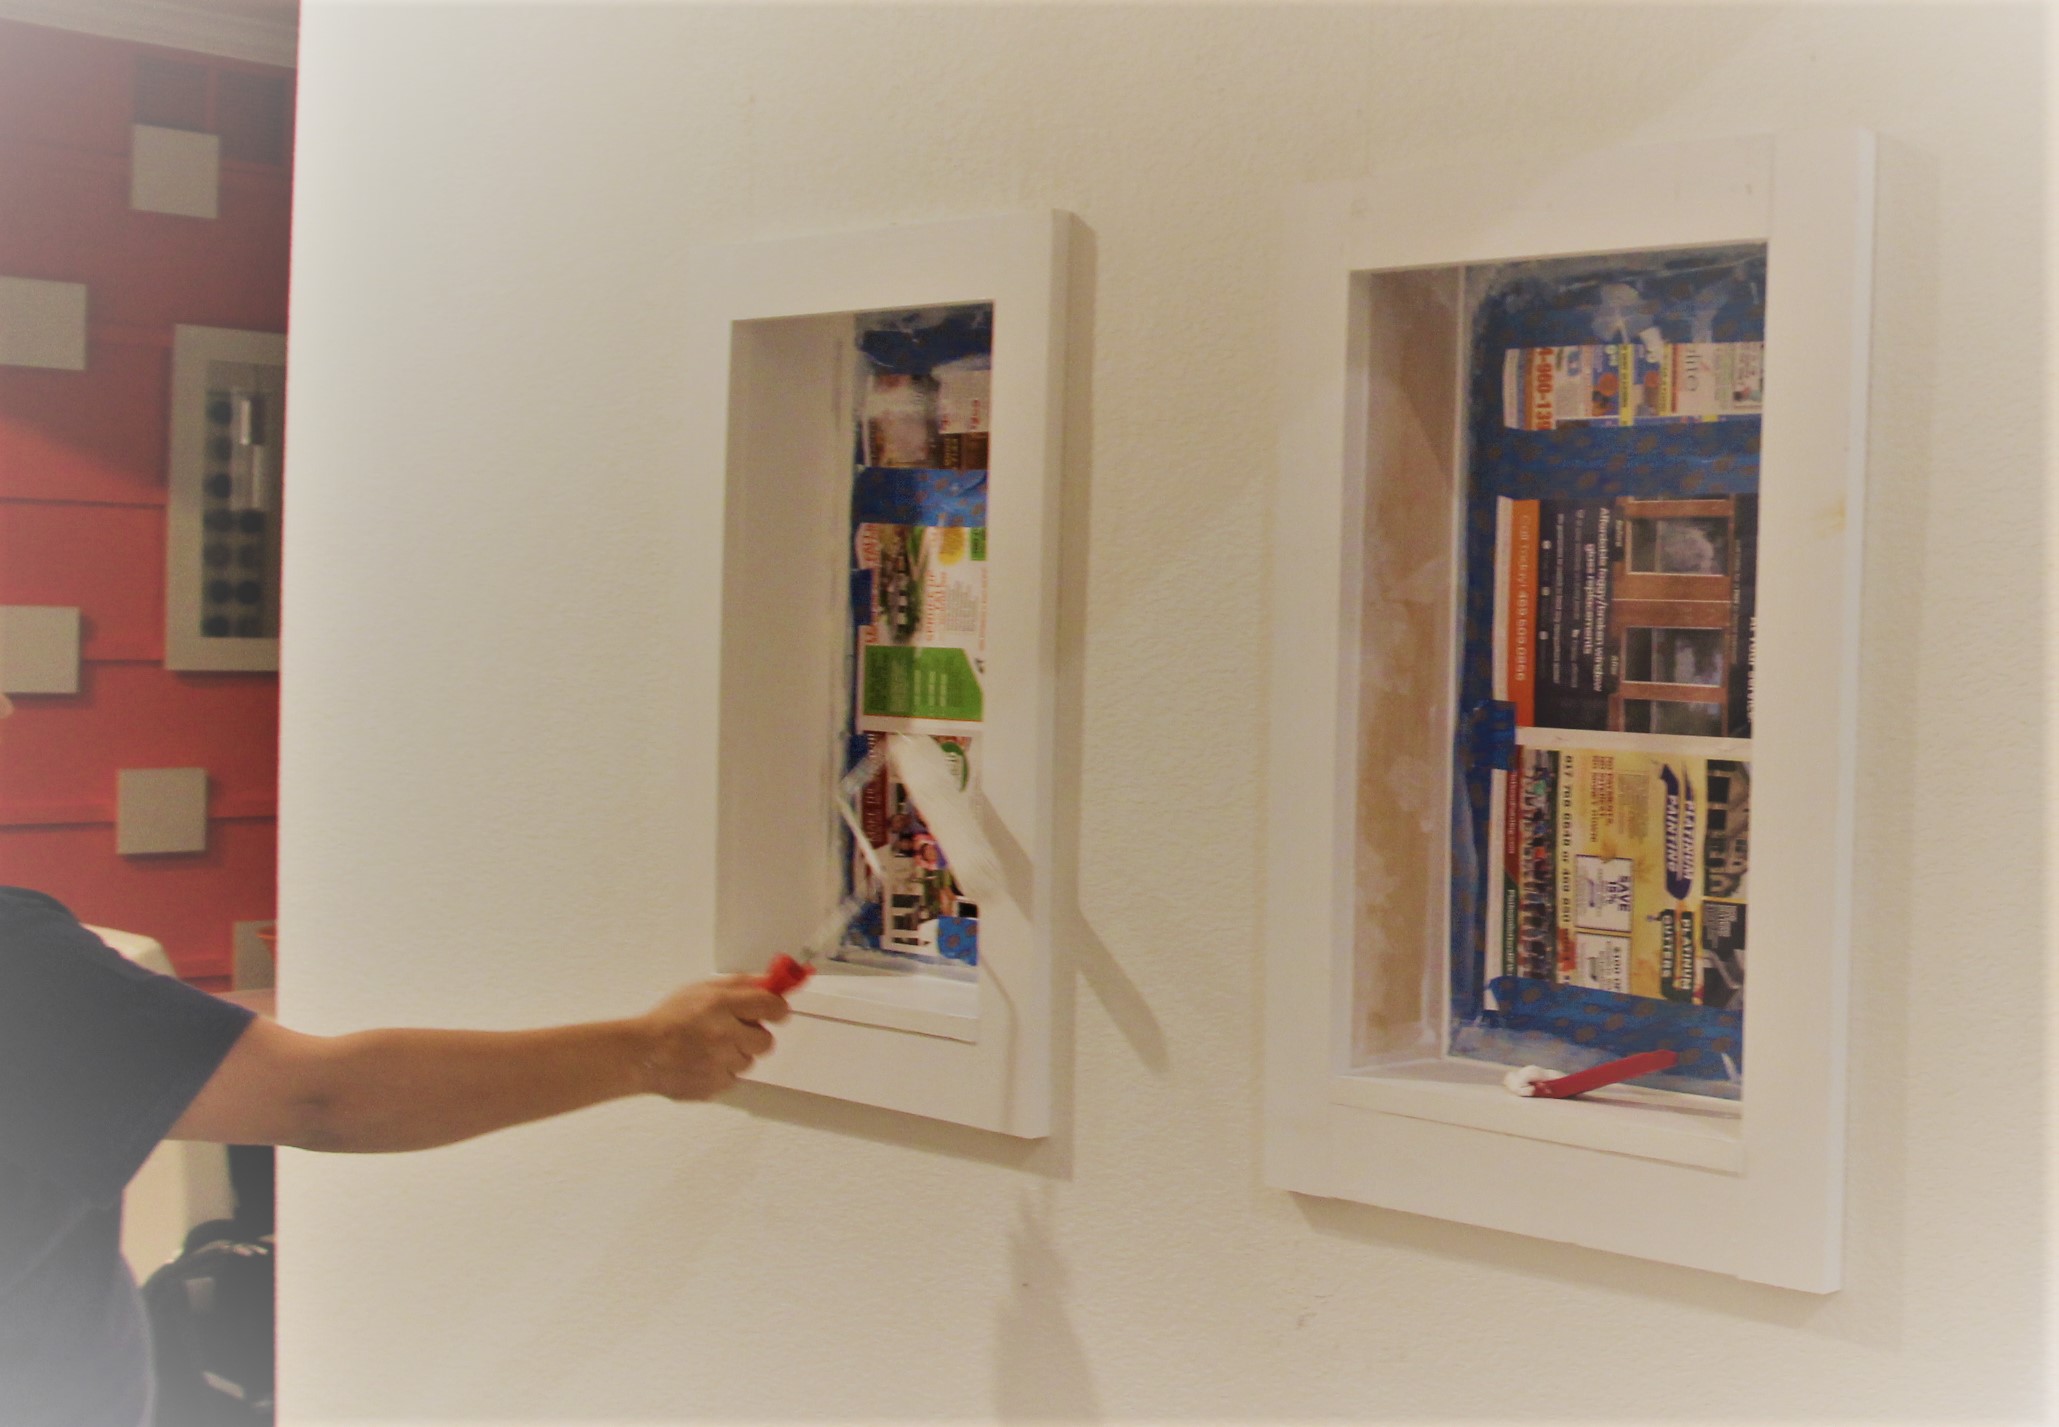
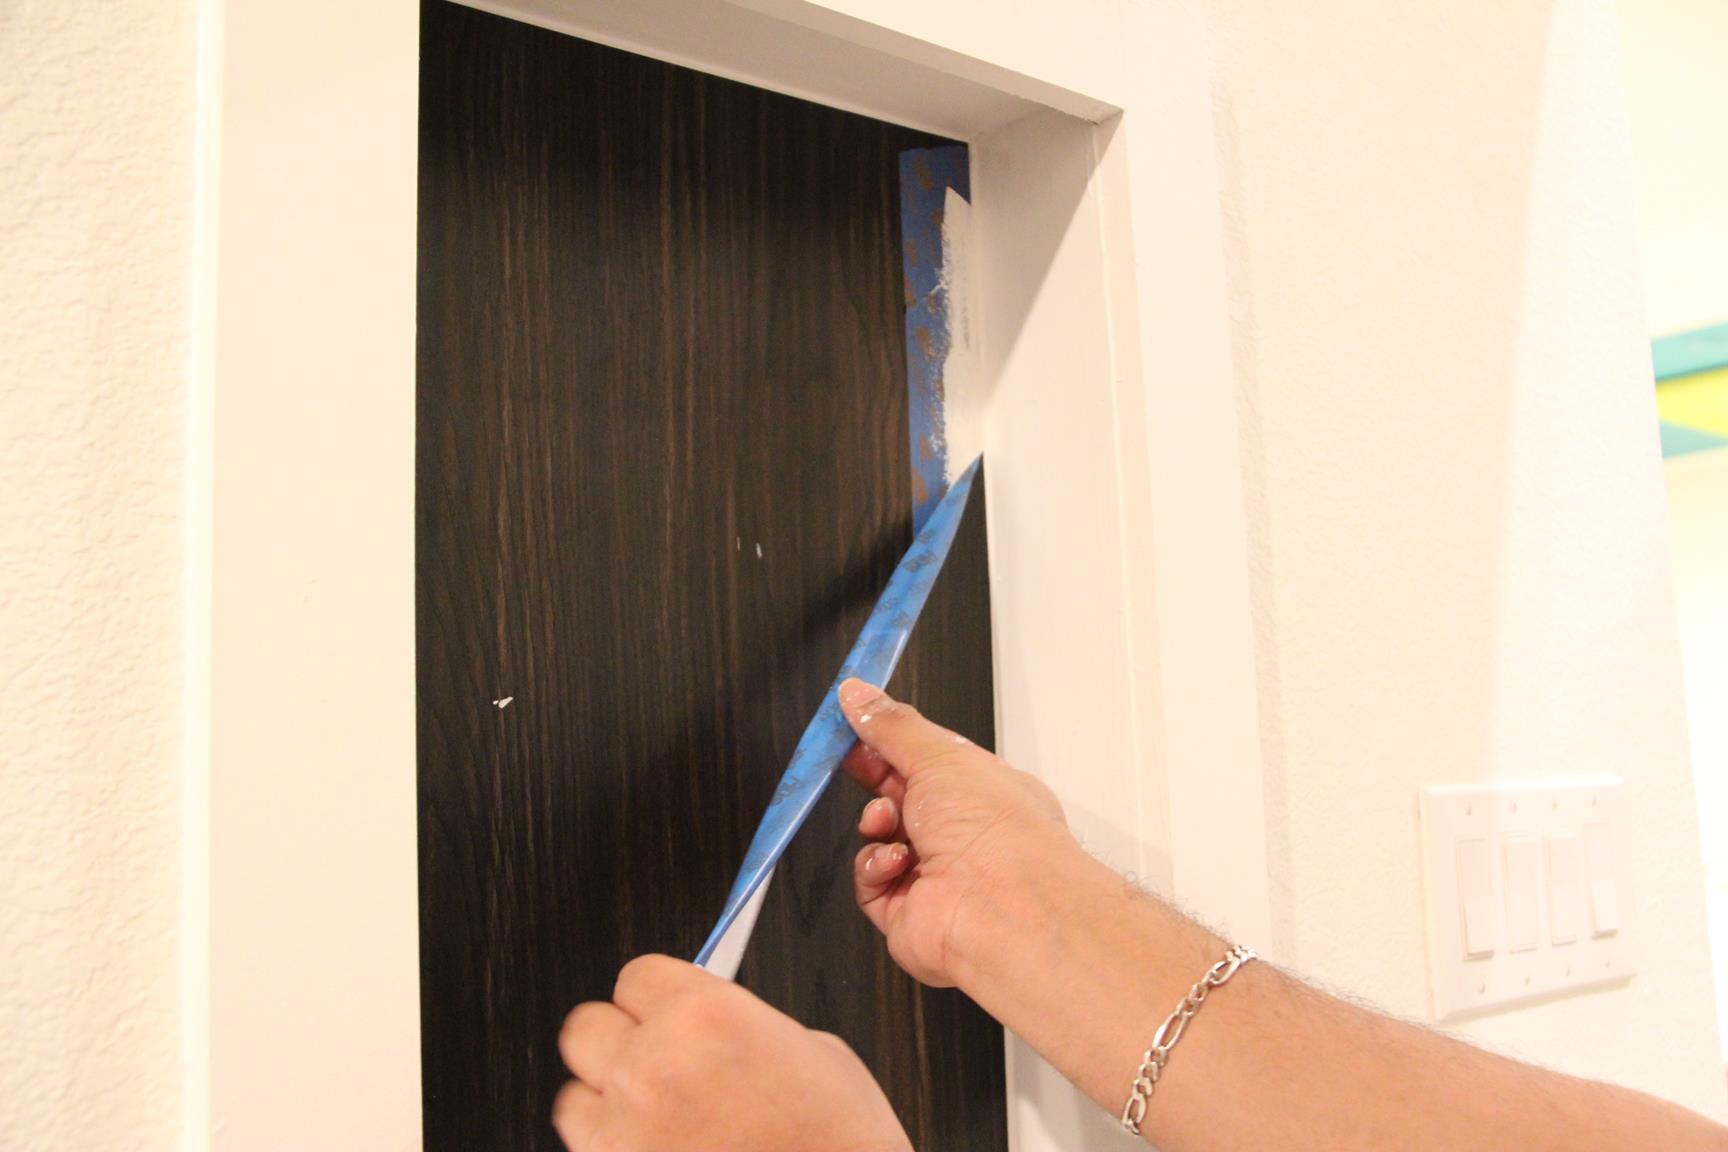
Step 6: Paint & Finishing
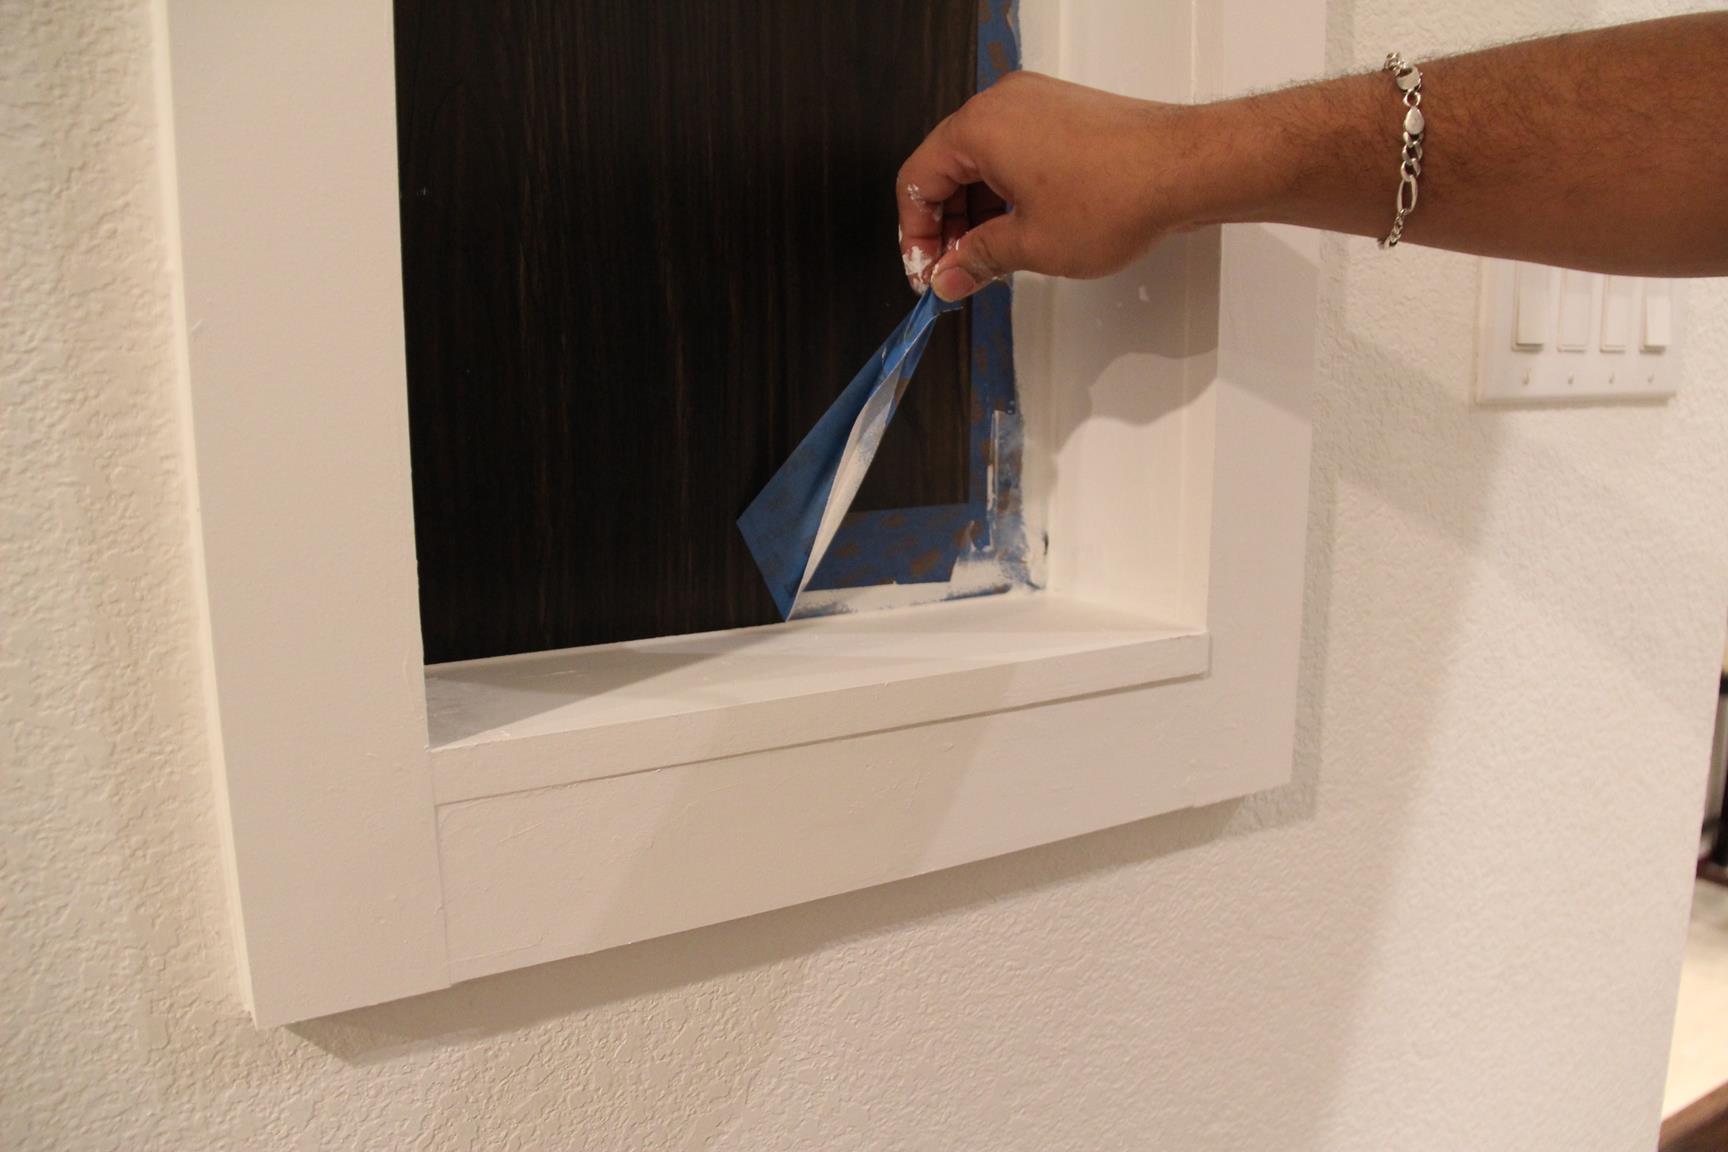
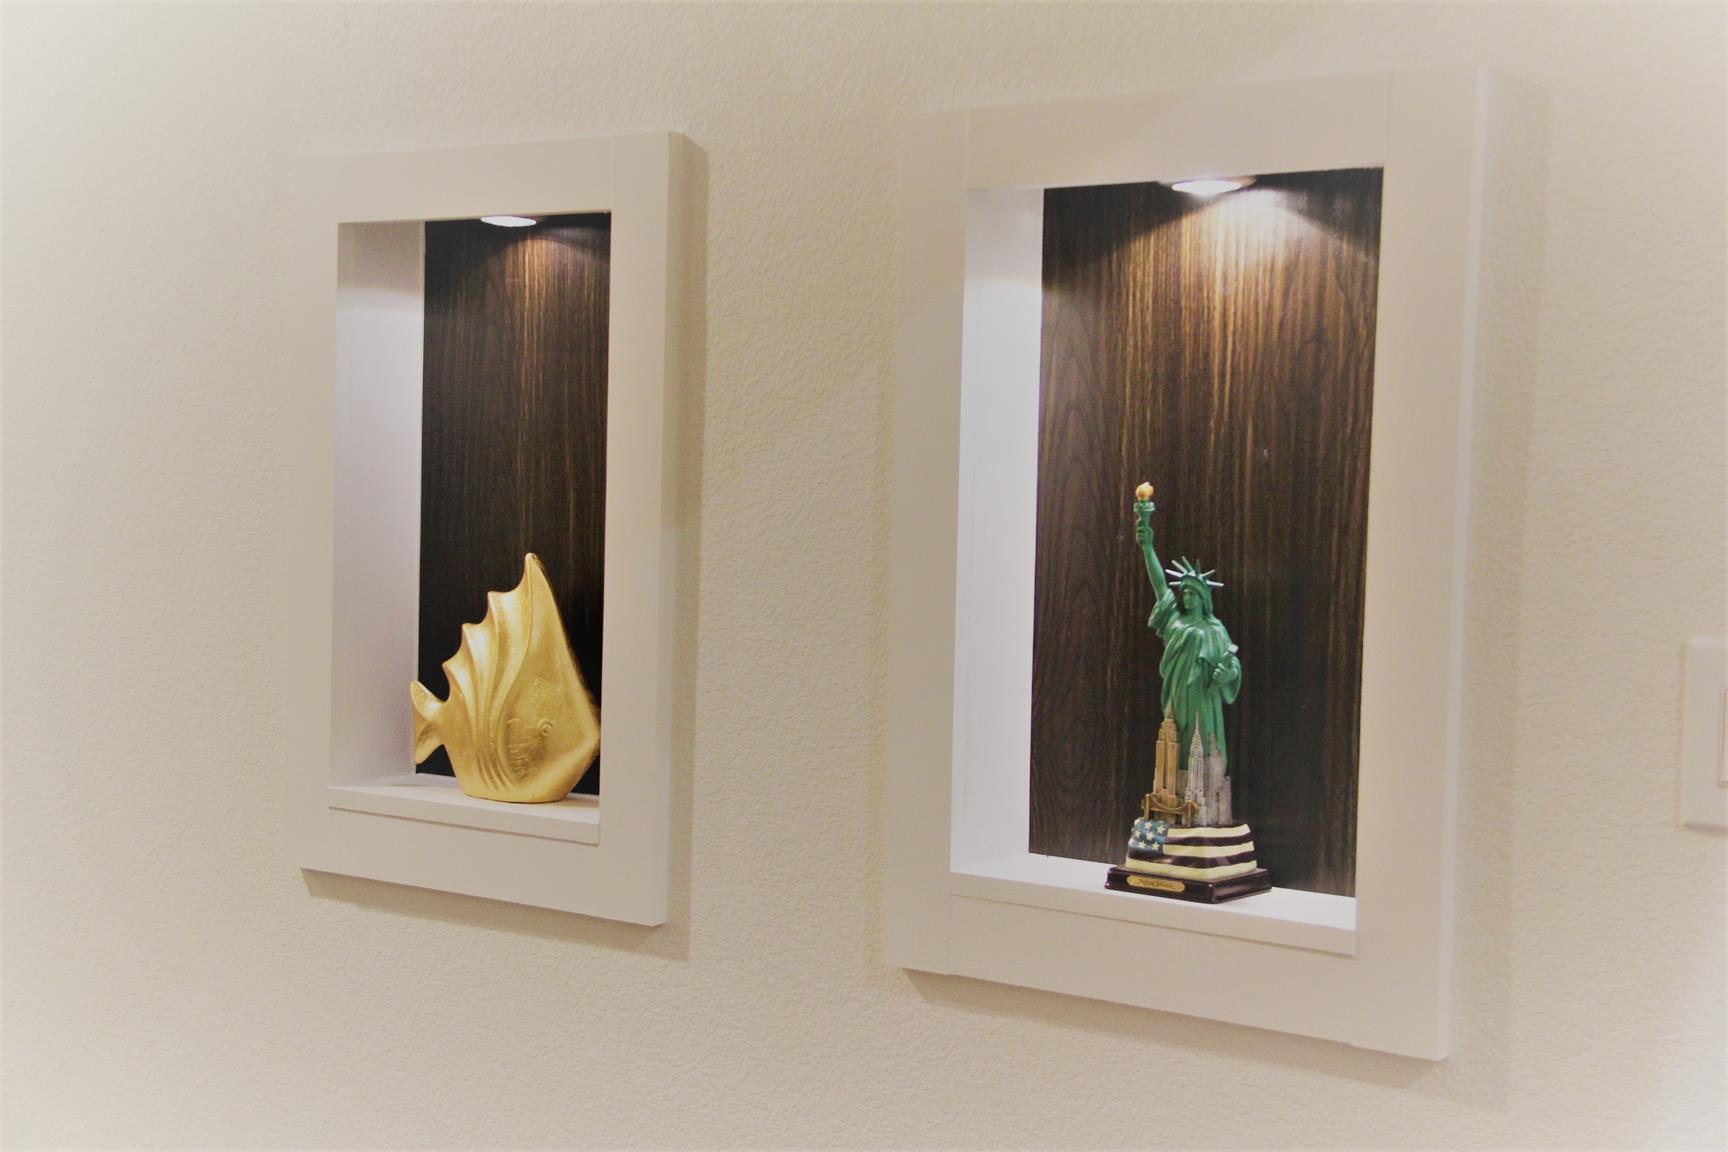
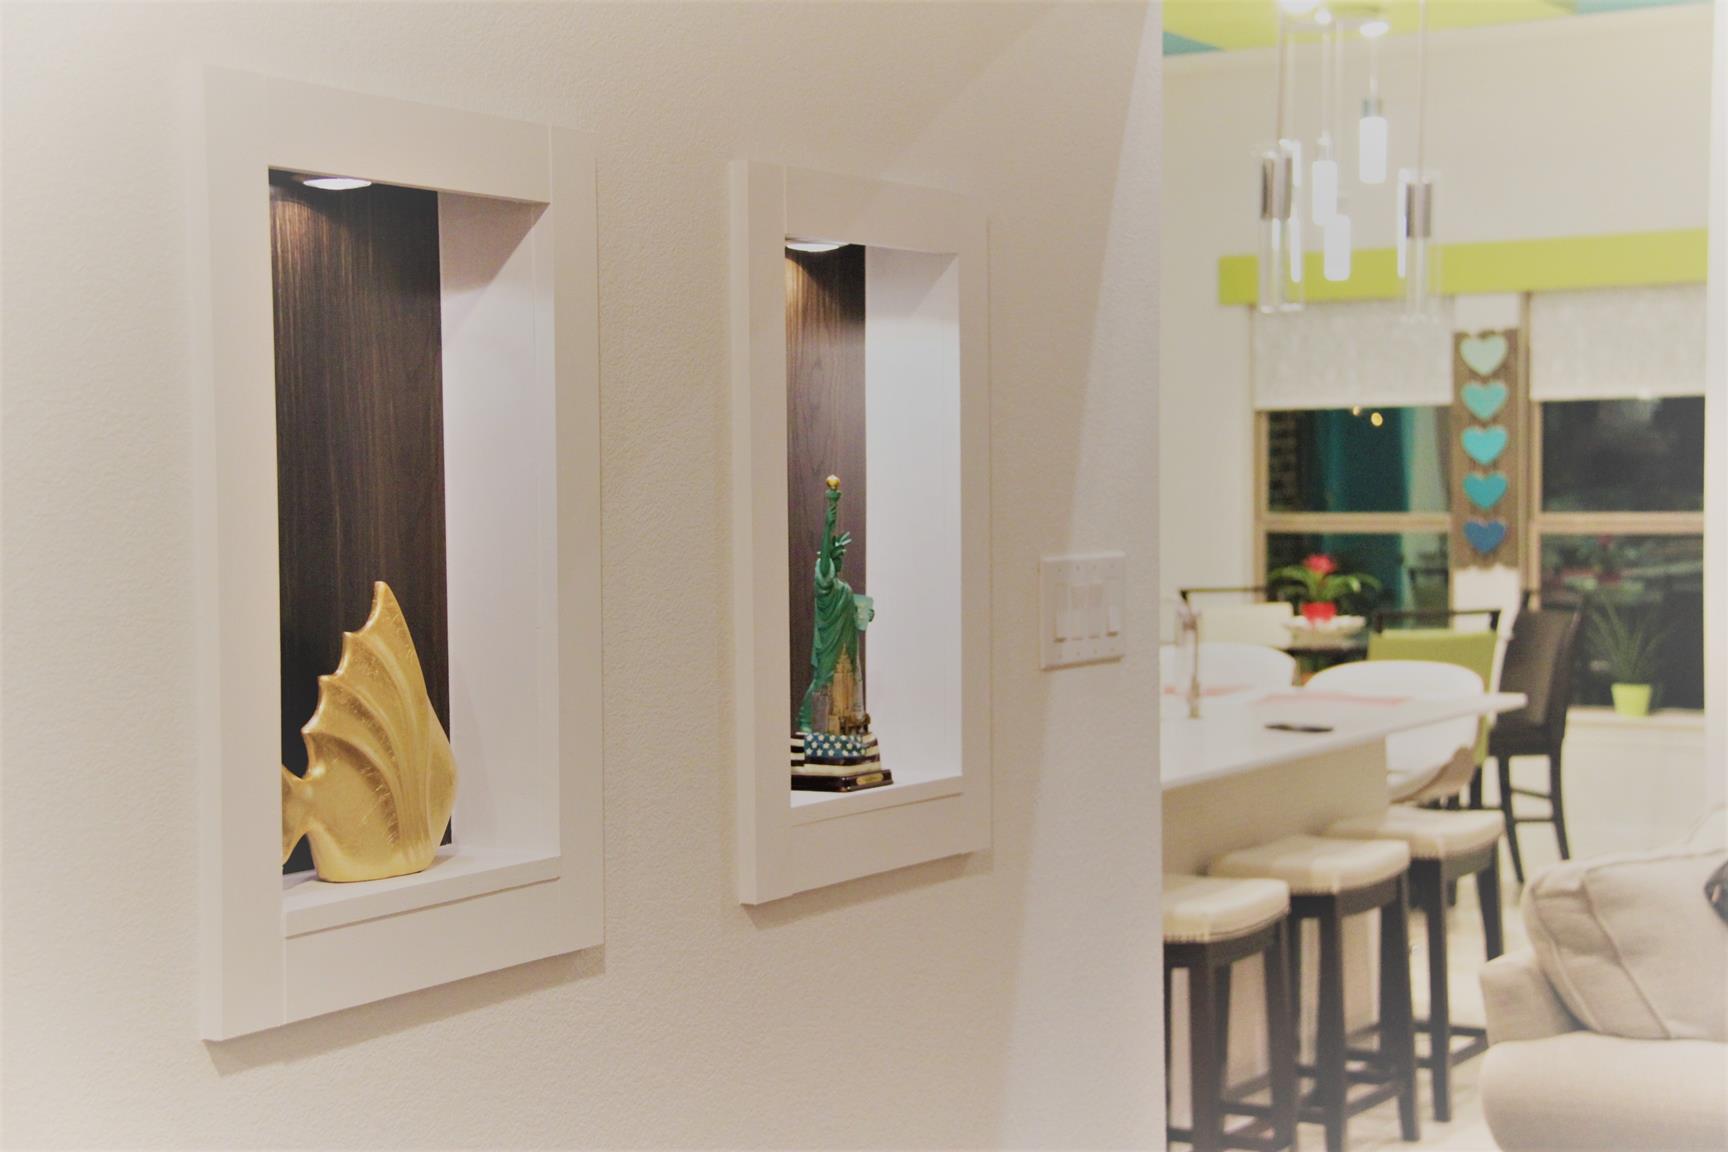
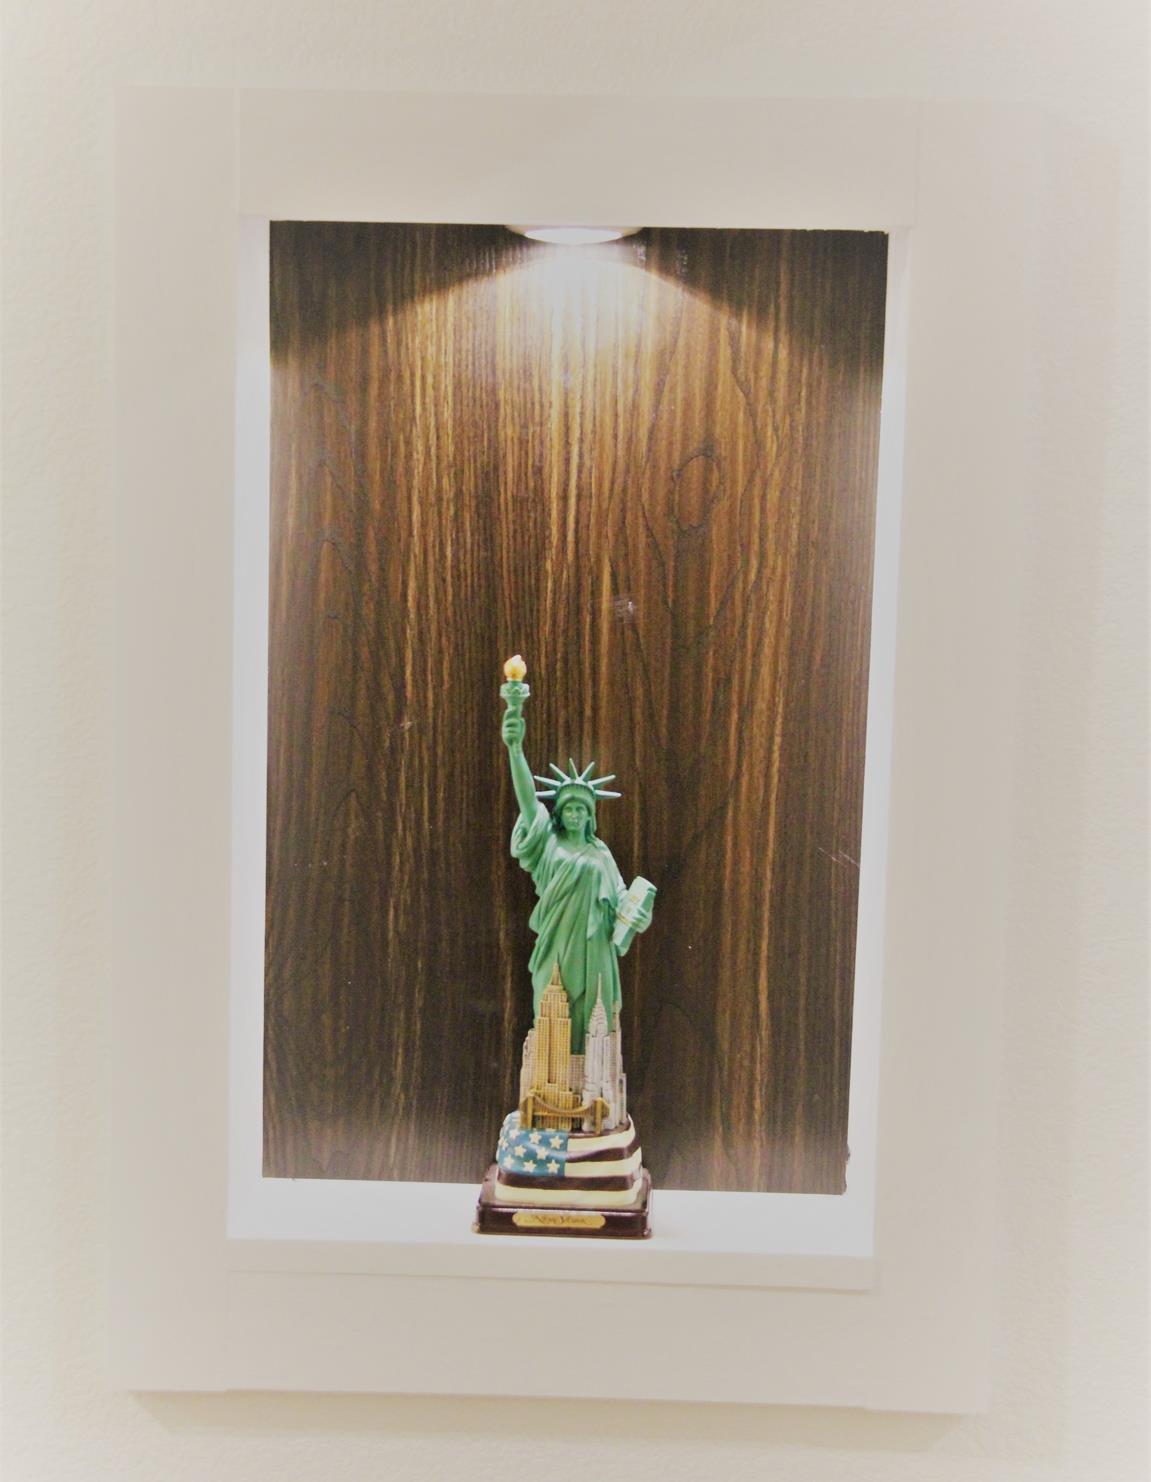
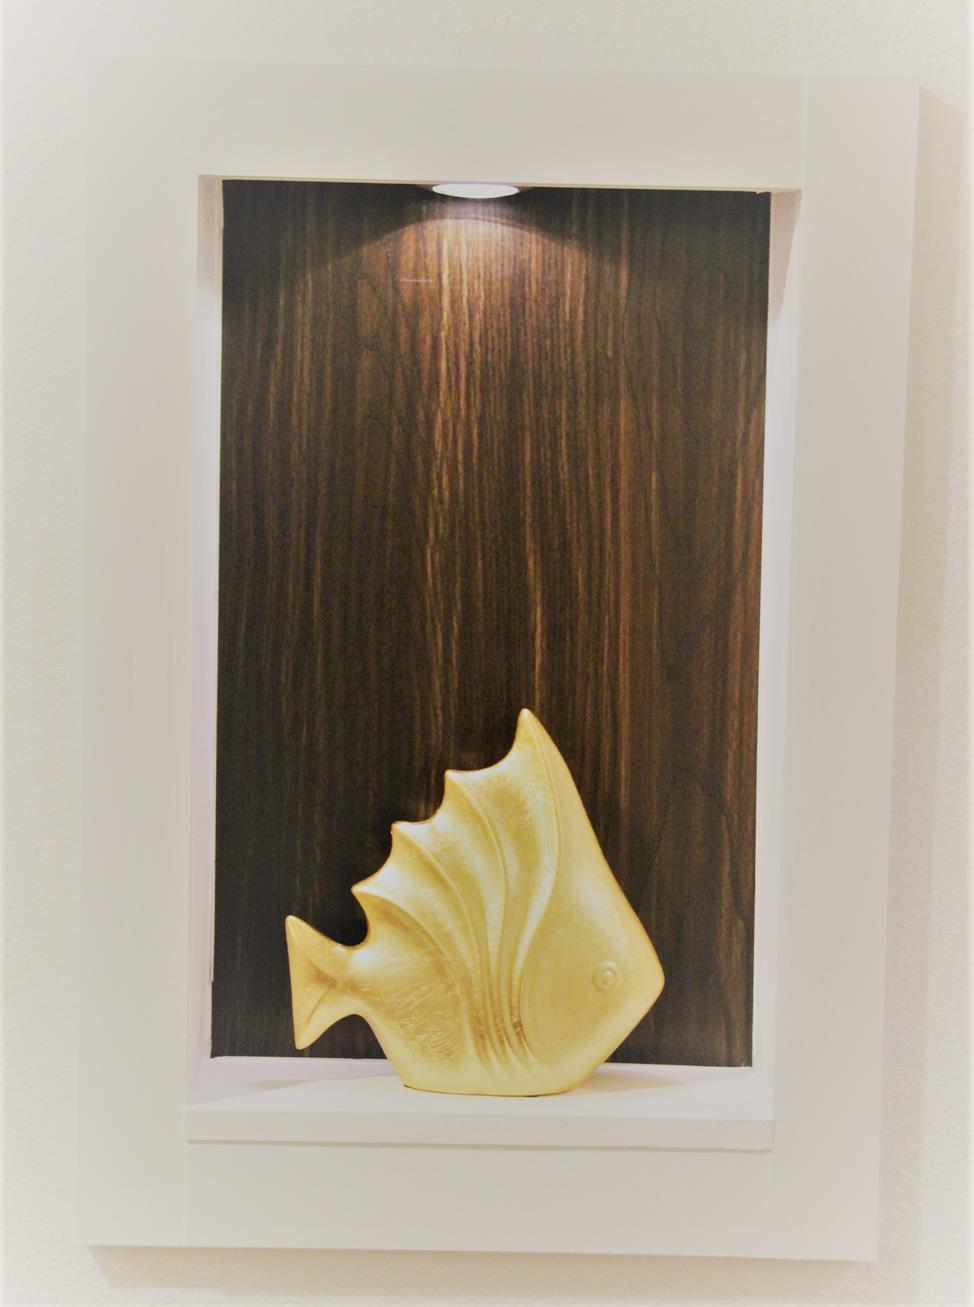
Final Products !!!